7
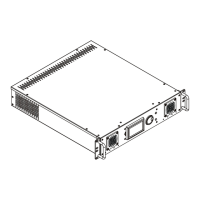
Cord plug connections:
Cable (EU) Cable (US) Pin International
Brown Black Live L
Liht blue White Neutral N
Yellow/Green Green Earth
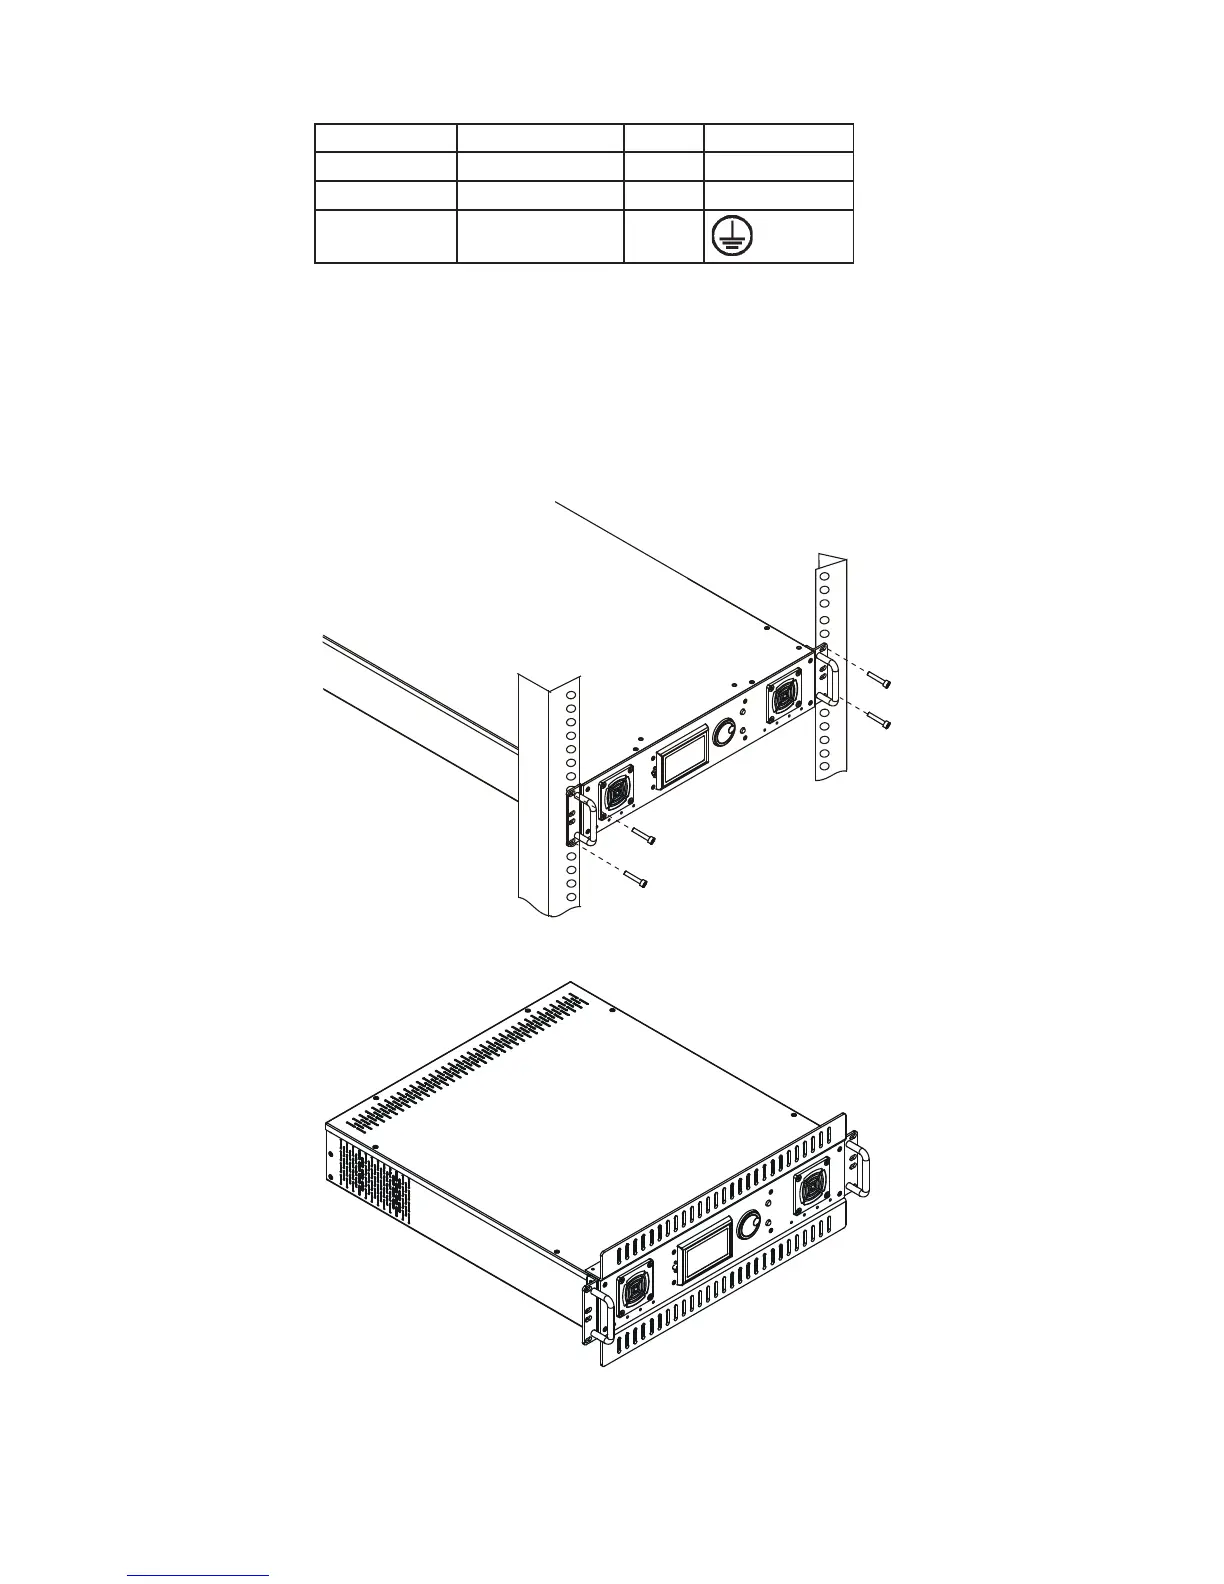
5.2 Installing the ArcPower 384 Rack Mount into the rack
The ArcPower 384 Rack Mount is designed for the mounting into 19- inch equipment rack.
The hight of the xture matches 2U size. Installing the ArcPower 384 Rack Mount involves following steps:
1. Mount the rails into the equipment rack.
2. Install the rails onto the ArcPower 384 Rack Mount unit.
3. Slide the the ArcPower 384 Rack Mount into the rack and secure it in this positione by tightening the 2 screws
on each side of the ArcPower 384 front panel.
Note: If the equipment rack is badly ventilated , we recommend to mount the 2 spacers (1U size) on both sides
of the ArcPower 384 as shown on the picture to ensure free space under and over the unit.
6. DMX 512 operation
The ArcPower 384 Rack Mount is equipped with both 3-pin and 5-pin XLR sockets for DMX input and output.
Only use a shielded twisted-pair cable designed for RS-485 and 3-pin/5-pin XLR- connectors in order to connect
the xture with the DMX controller or one xture with another.