5-6 POWER LEVEL
ACCURACY AND
FLATNESS TESTS
These tests verify that the power level accuracy and flatness of the
681XXC meet specifications. Table 5-3, beginning on page 5-19, con
-
tains test records that you can copy and use to record test results for
these tests. Test records are provided for each 681XXC model configu
-
ration.
Test Setup
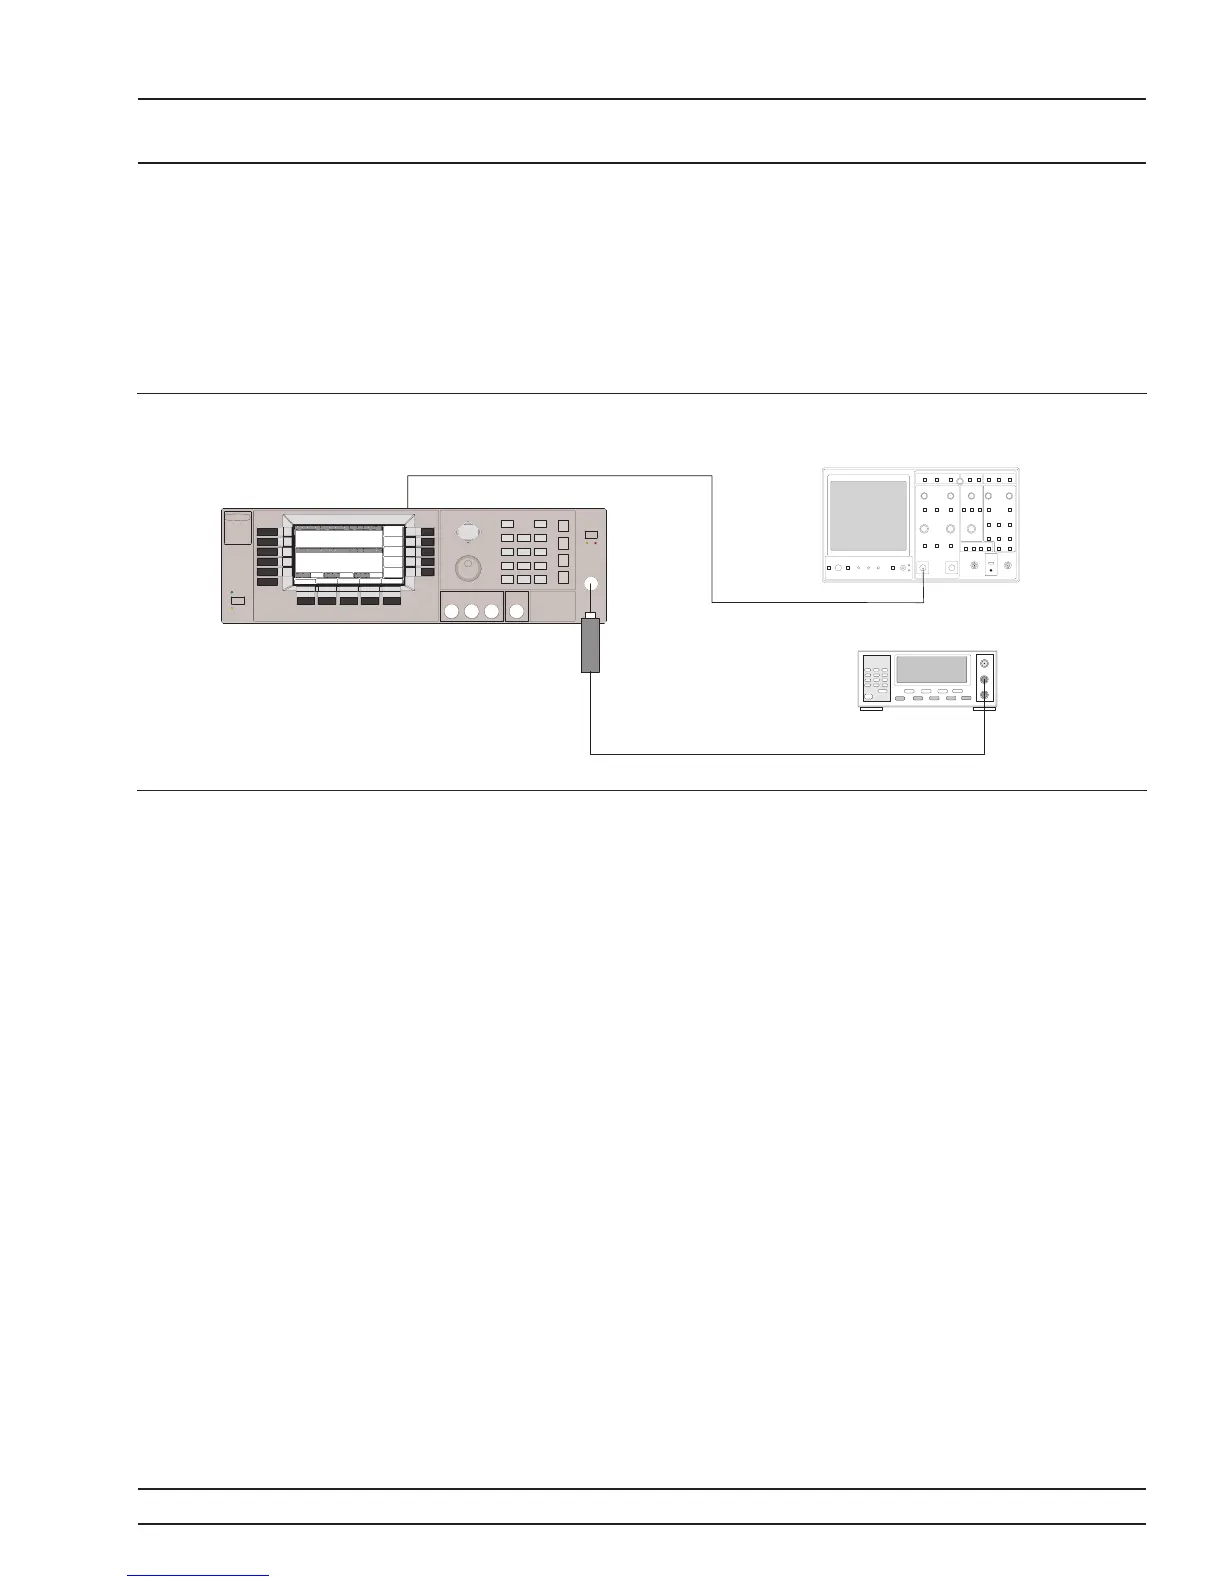
Connect the equipment, shown in Figure 5-2, as
follows:
Step 1 Calibrate the Power Meter with the
Power Sensor.
NOTE
For £40 GHz models, use the
MA2474A power sensor; for
>40GHzmodels,usetheMA2475A
power sensor.
Step 2 Connect the Power Sensor to the RF OUT
-
PUT of the 681XXC.
Step 3 Connect the 681XXC rear panel HORIZ
OUT to the Oscilloscope CH.1 input (X in
-
put).
NOTE
Before starting these procedures,
locate the test record in Table 5-3
for the particular 681XXC model
configuration being tested.
681XXC OM 5-13
OPERATION POWER LEVEL ACCURACY
VERIFICATION AND FLATNESS TESTS
R F
O U T
H O R I Z
O U T
6 8 1 X X C S I G N A L G E N E R A T O R
O S C I L L O S C O P E
P o w e r
S e n s o r
P O W E R M E T E R
C H 1 o r X I n p u t
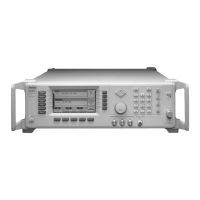
Figure 5-2. Equipment Setup for Power Level Accuracy and Flatness Tests






 To Next Page