Avoid sample dilution for measurement as much as possible.
Avoid operating under direct sunlight.
Do not pour solution into the sample vial holder. Sample vials must be used for measurement.
Please do not wash the sample vial holder as this may damage its optical structure.
6 PARAM ETER SETUP
6.1 Operation
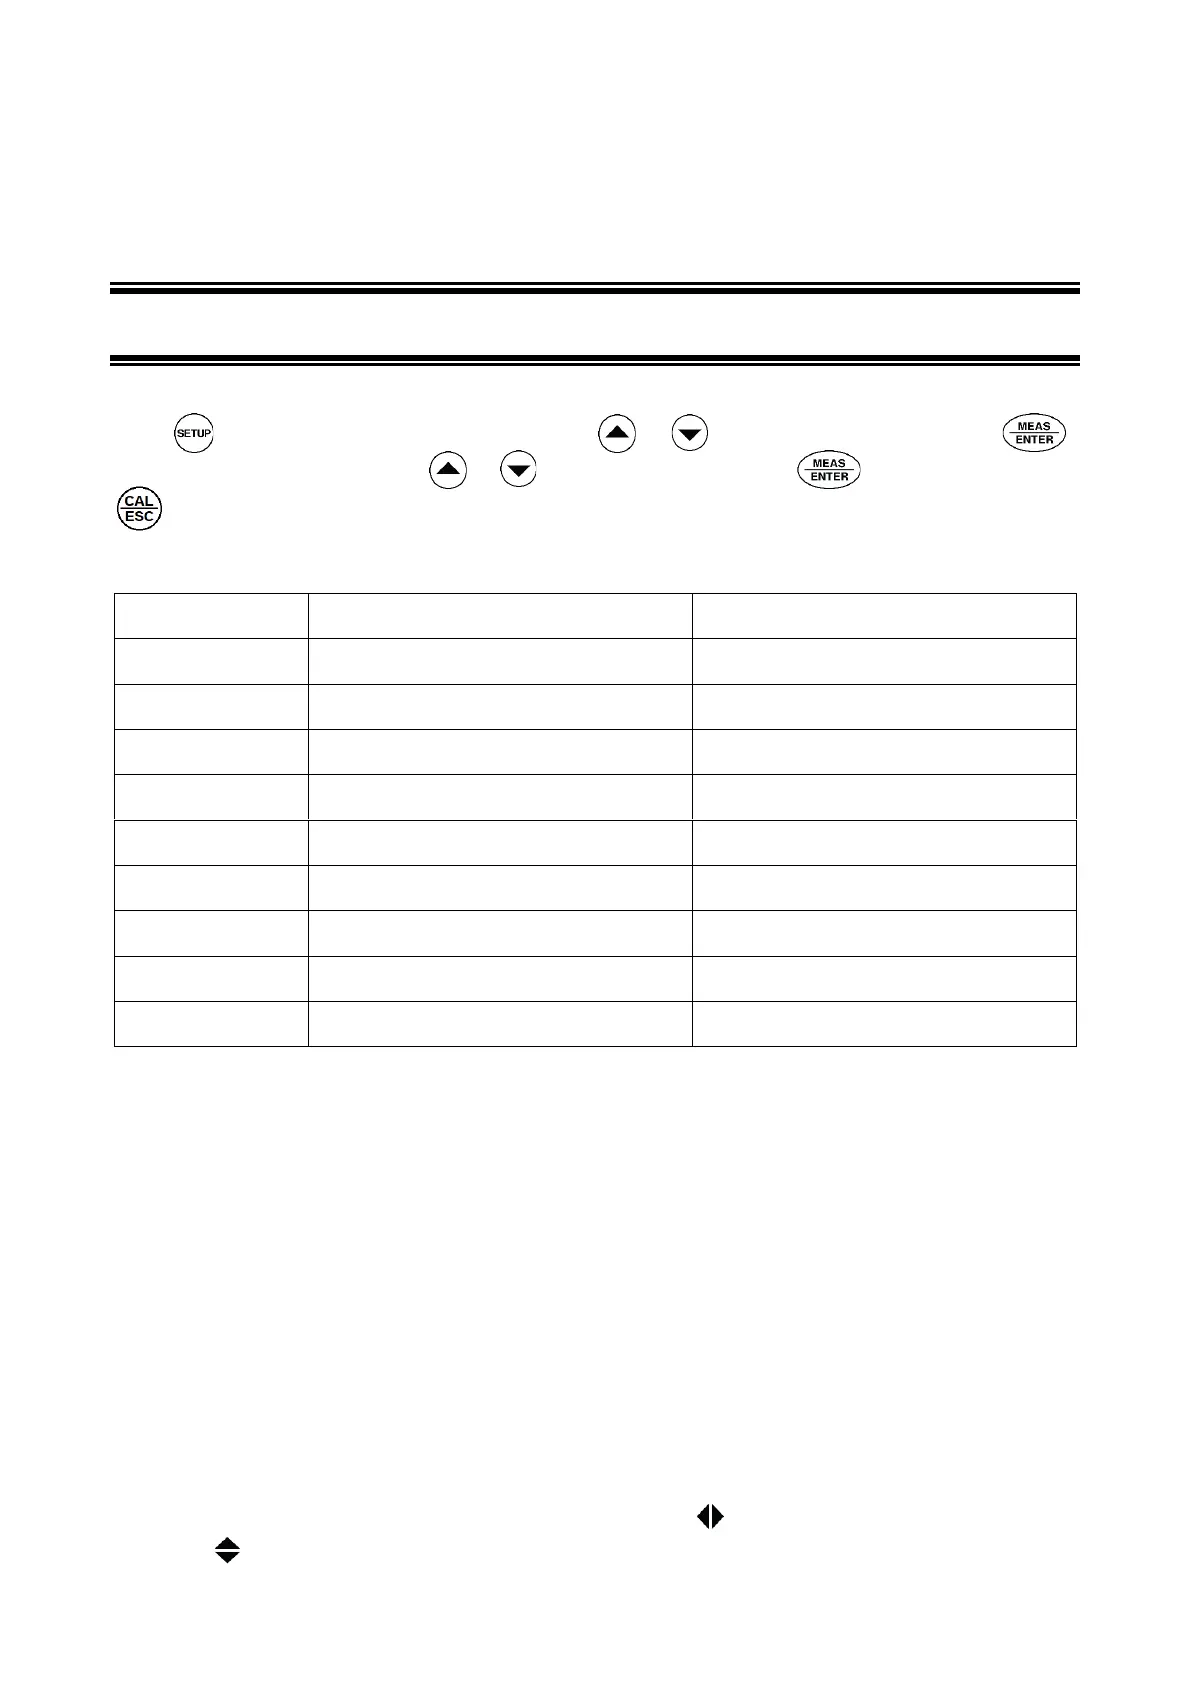
Press to enter parameter setup mode → press or to switch P1-P2-...P9 → press
to enter each parameter → press or to make changes → press to confirm → press
to return to measurement mode.
6.2 Parameter Setup Reference Table
6.3 Parameters Description
P1 ─ calibration date and time: users can check the date and time of last calibration
P2 ─ Continuous measurement: users can select the number of times for continuous measurements (5,
10, 15 or 20 times).
P3 ─ Measurement Unit: users can select which unit to use: NTU or FTU
P4 ─ Data logging mode: users can select automatic data logging mode or manual data logging mode
(see section 3.6 for details)
P5 ─ Delete saved data: select Yes to delete all the saved data (non-reversible)
P6 ─ Auto. close timer: users can select in how soon the instrument will turn off automatically if there is
no operation: 10 minutes, 20 minutes, 30 minutes, or off; when selecting off, the instrument can only be
turned off by pressing the power button.
P7 ─ select language: users can select English, Spanish, or Chinese as the system language.
P8 and P9 ─ set up date and time: in the setting process icon indicates to switch between date and
time, icon indicates to change the digit of date and time.