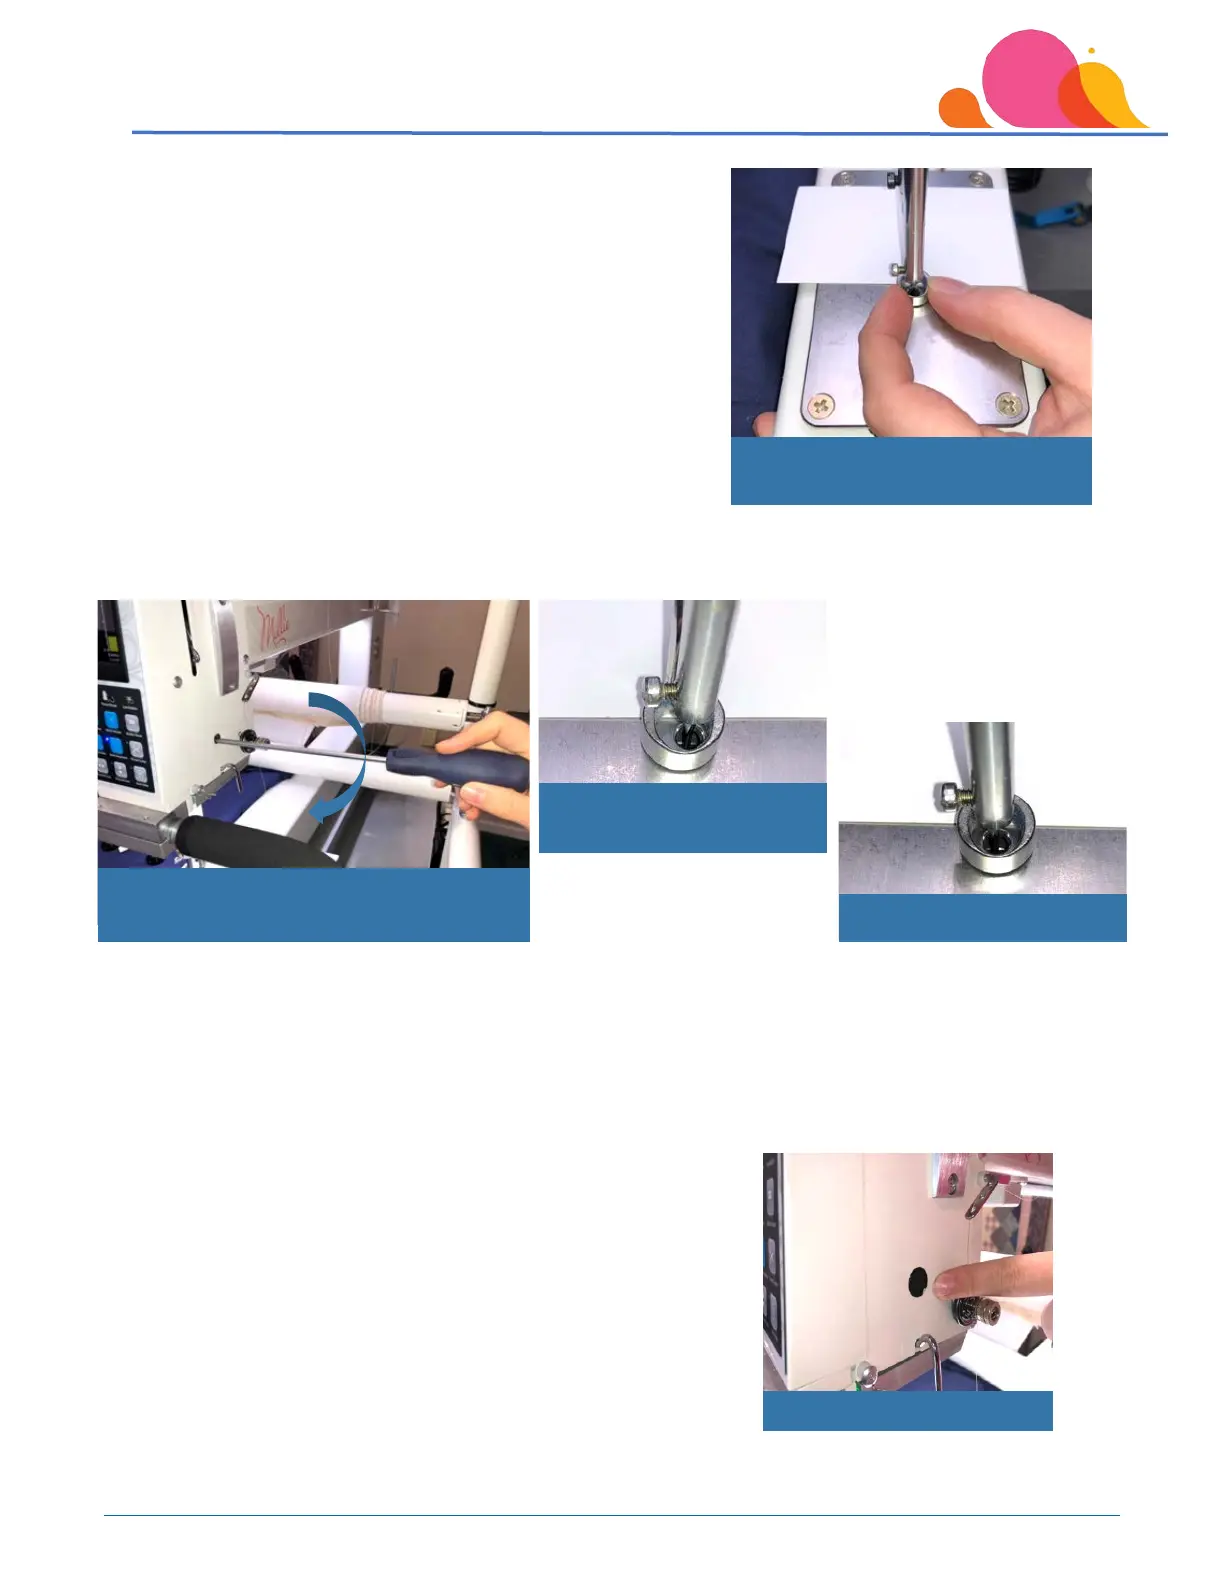
You’ll now be able to raise or lower the hopping foot as needed.
Let the foot rest on the card, and make sure that the needle is
centered in the foot’s opening.
Tighten the clamping screw by turning it to the right while holding the hopping foot in position centered on
the needle.
Turn the fly wheel by hand and observe the foot as the machine progresses through a “stitch sequence.” If
any additional adjustments are needed, be sure to make them with the needle in the lowest position. Make
the adjustments just a bit at a time; for example, try folding a business card and placing it under the foot, or
place a dime under the foot (away from the needle, of course) for a bit more clearance.
Replace the black plug into the access hole.
Place a sticky note or other reminder on/near your machine to
remind you to return the foot to normal operating height (set the
hopping foot so that the clearance is the thickness of a business card)
when you are finished with your special project. If you forget, you will
have loopy stitches and bird’s nests on the back of your quilt.
Tighten clamping screw while holding
hopping foot in desired position
Foot not centered on needle
Position foot to rest on business card