9
6
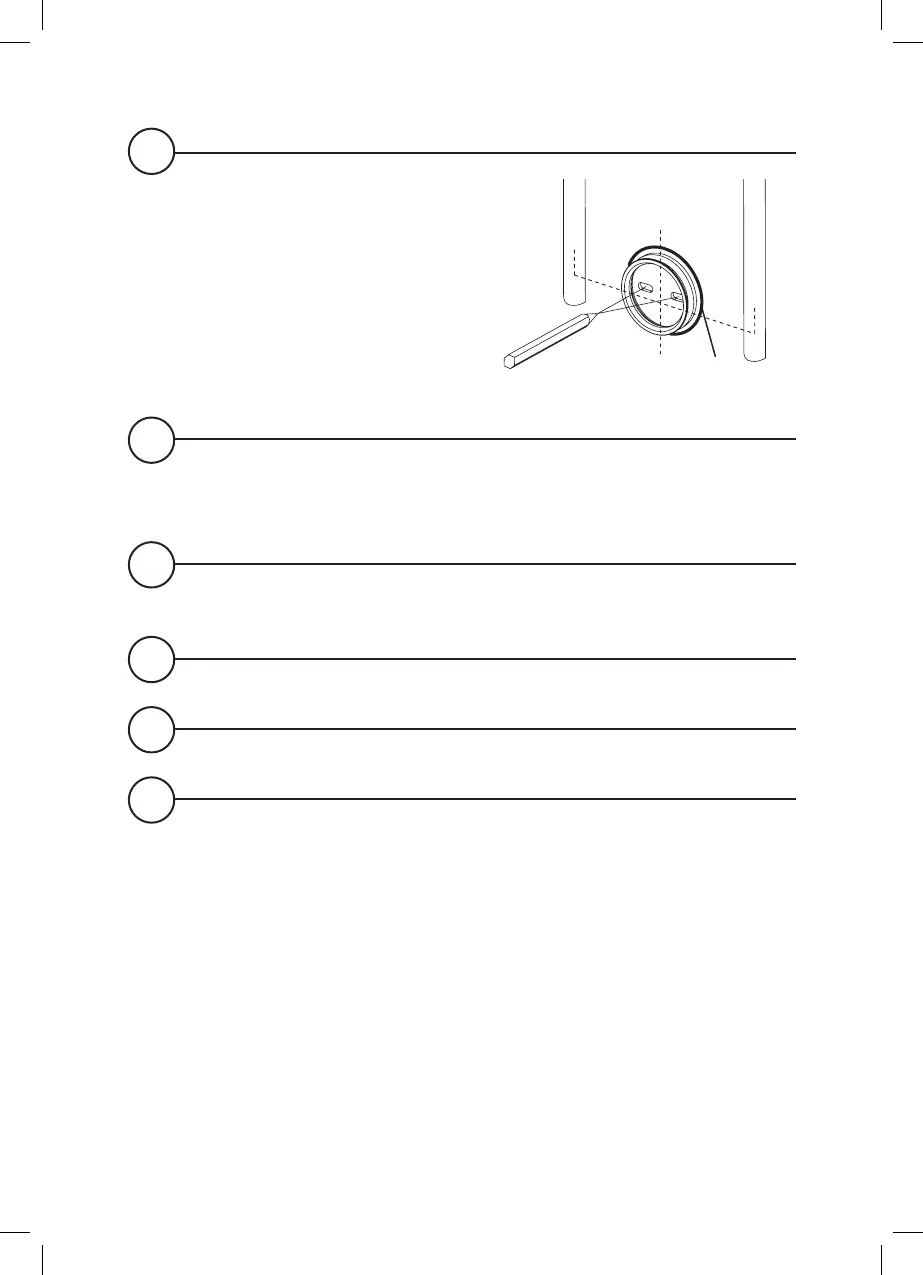
Place valve body into position
with elbows over the pipe tails
and mark around the base where
it sits on the mounting surface.
Remove valve body, place
mounting bracket in centre of the
outlined valve position* and mark
points for fixing holes.
*Valve position
outline
7
Important - Use suitable fixings for the mounting surface/
construction. Drill holes to suit required fixings (use wall plugs
supplied if suitable).
8
Secure bracket to the mounting surface using the wall screws
supplied (if suitable).
9
Fit the fixing nuts and copper olives over the pipe tails.
10
Insert the filtered washers into the elbows.
11
Making sure that the hot and cold inlet elbows align with correct
supplies, feed onto the pipes and push the valve body onto the
mounting bracket. Secure with the two grub screws using the
2.5mm hexagonal key (supplied).
Securely tighten the nuts of the elbows using a suitable spanner.
 Loading...