6
7
Fit the elbow cover plates, fixing nuts and copper olives over
the pipe tails and insert the filtered washers into the elbows of
the valve.
8
Making sure the outlet is at the bottom and that the elbows
align with the pipe tails, push the valve body onto the mounting
bracket, and secure with the two grub screws using the 2.5mm
hexagonal key (supplied).
Securely tighten the nuts of the elbows using a suitable spanner.
9
Fit the lever to the on/o and flow control handle.
10
Turn on water supplies and check for leaks.
Refer to page 13 for shower kit installation instructions.
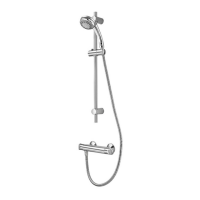
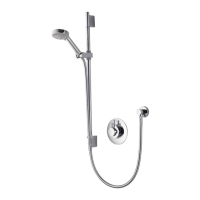
Concealed Shower Installation
1
Pre-fitting checklist
Chase out a suitable recess in the wall to receive the valve and
pipework.
In most cases it will be necessary to first install a suitable sound
fixing / nogging in the cavity area to secure the valve.
A hole of Ø165mm is required to install the valve and gain access
to the inlet and outlet connectors.
N.B. The outlet connector can be repositioned to the top of
the shower valve as required to suit plumbing arrangements.
Simply swap with the blanking plug and ensure both are
securely re-tightened.
Construct suitable pipework.
 Loading...