39
SECTION 7
MAINTENANCE INFORMATION
RECOMMENDED GUIDELINES for TERRAIN
Soft Ground:
Low Pressure • On soft terrain, use lower pressure.
Hard Ground:
Higher Pressure • On hard terrain and water, use higher
pressure.
Rocky Ground:
Highest Pressure •Onroughorrockyterrain,llto,but
not more than the recommended
range indicated on the tire sidewall.
This will reduce the possibility of tires and rims being dam-
aged during heavy duty applications.
It is also important to observe the recommended load capaci-
tiesofyourvehiclewhentravellingondierentkindsofter-
rain. For load capacities of your particular vehicle, see Section
1 of General Information in this operators guide.
IMPORTANT
It is ultimately the responsibility of the operator to determine
a SAFE MAXIMUM load capacity in accordance with
the driving terrain, conditions and vehicle specications.
7.2.7 TIRE REPAIR AND REPLACEMENT
Standard Tire:
Repairaattirebyremovingthetirecompletelyfromthe
rim. Proper tire changing equipment is necessary to remove
and remount the tire. Your authorized ARGO dealer will have
the necessary tools.
Apply a radial tire patch on the inside of the tire over the
puncture or hole.
Remount the tire on the rim using a bead lubricant such as
Murphy's Tire & Tube Mounting Compound. Spoon the tire
onto the rim to prevent tire bead area damage. THE TIRE
MAY EXPLODE IF OVER-INFLATED. Place the tire and
rimassemblyinaprotectivecagetoinateandtoseatthe
beads.Neverinateover32psi(220kPa)toseatthebead.
Oncebothbeadsareseated,deateto2.5to3.5psi(17to24
kPa), 7 psi (48 kPa) maximum operating pressure. A special,
low pressure tire gauge (ARGO Part No. 619-10) is available
from your ARGO dealer.
Replace badly worn or damaged tires with original equipment
Argo tires. Consult your ARGO dealer if in doubt. Any other
tires(size,typeortreadpattern),willaecttheskidsteering
characteristics of the vehicle and may cause vehicle damage.
ARGO track systems are designed for use ONLY with original
equipment Goodyear, Carlisle or ARGO tires.
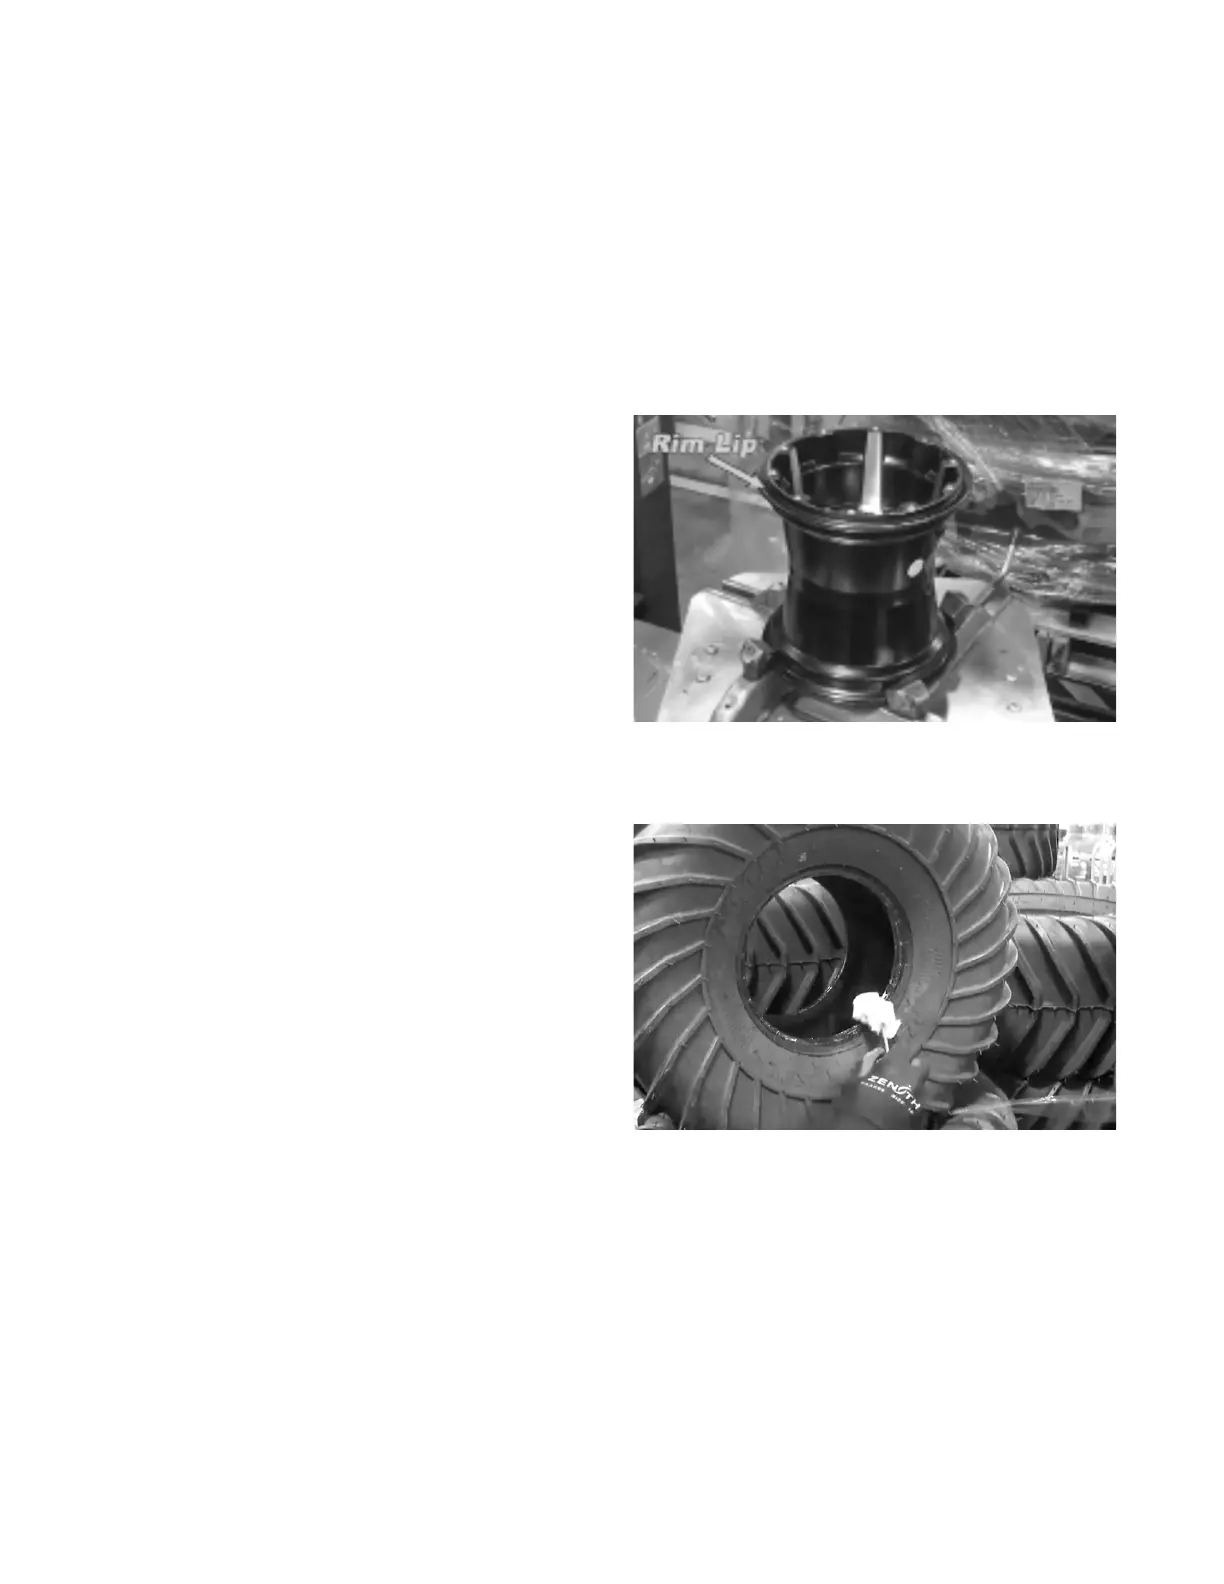
Bead Lock Tire and Rim Assembly
Before assembling a new tire to the bead lock rim, check both
valve stems for any damage. Ensure rim beads are free and
clean of any dirt/debris that might cause leakage due to poor
seating. Secure the rim tightly before proceeding with tire
installation. Figure 7-19.
Figure 7-19. Bead lock rim.
Apply tire bead lube around the perimeter of both tire beads
Figure 7-20.
Figure 7-20. Apply tire bead lube.