33
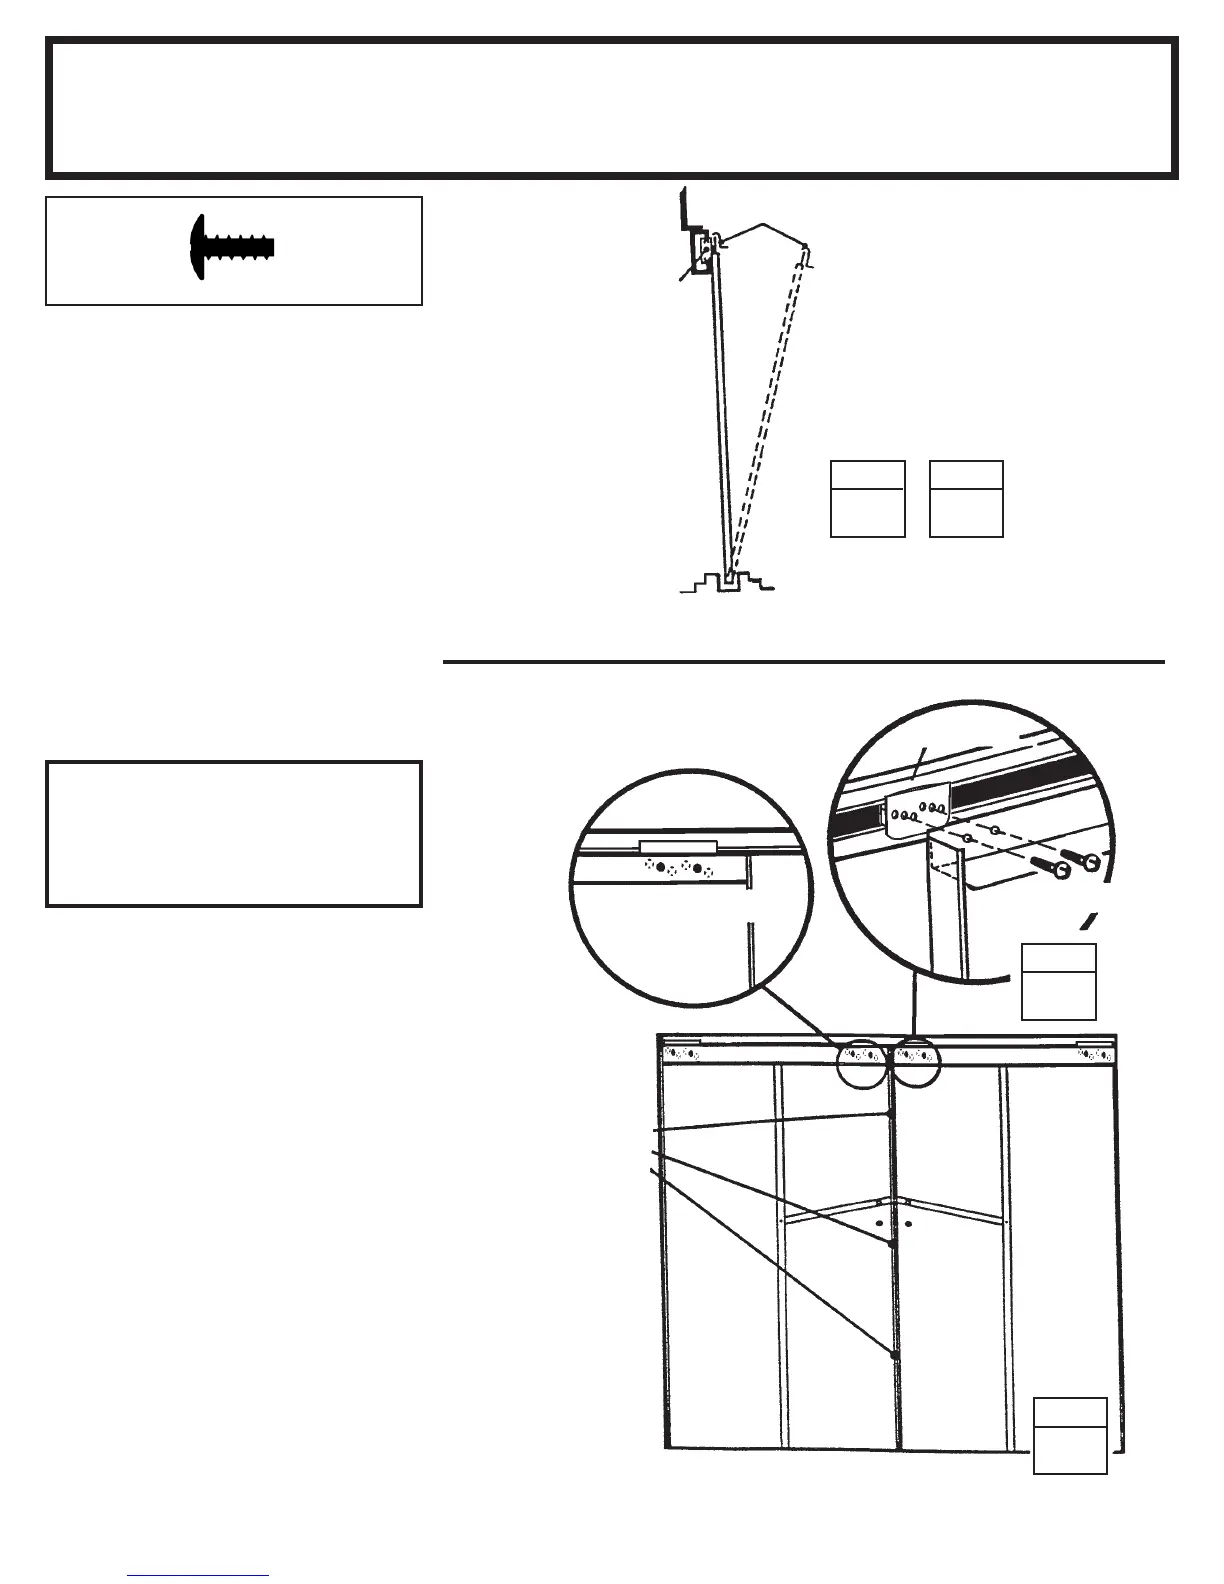
Step 20
SQ33hw
● Parts Needed For ●
Door Installation & Adjustment
●●
●●
● Right Door Assembly (1)
●●
●●
● Left Door Assembly (1)
1 From inside the building, put the
bottom of the right door assembly (on
your left when you are inside the
building) behind door jamb into the
front frame track.
2 Position the top of the door so that
the holes in the door line up with the
holes in the door slides.
3 Fasten the door to the door slides
using two #10Bx1/2" (13 mm) screws
per door slide.
NOTE
The holes in the door slides allow
you to adjust the doors. Place the
door in the middle holes.
4 Repeat steps 1 through 3 for the
left door.
STEP
2
Horizontal Door Brace
STEP
1
Gable
STEP
3
#10Bx1/2" (13 mm)
Screw
Door Slide
Adjustment Holes
Adjustment Holes Allow
Doors to Meet Evenly
Along Their Length
Right Door Left Door
STEP
4
Front Floor Frame Assembly
Door Track
Door Slide
Door
Keep this Owner's Manual and Assembly Instructions for future reference.
(8)