Do you have a question about the Art HEADAMP 6 and is the answer not in the manual?
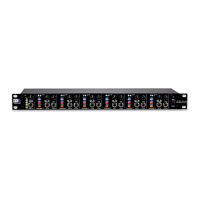
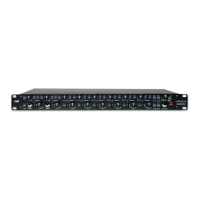
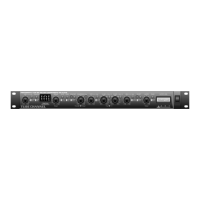
Overview of the HeadAmp6's features, including six channels and auxiliary inputs.
Guidelines for setting up the HeadAmp6 in various environments and applications.
Instructions for connecting the unit to the mains power supply.
Details on connecting audio sources via XLR and 1/4-inch jacks.
Detailed description of controls on the front panel including volume, mute, and balance.
Explanation of balanced main inputs and thru connections for daisy-chaining.
Information on the stereo headphone output jacks located on the rear panel.
Steps for setting controls, connecting audio sources, and headphones.
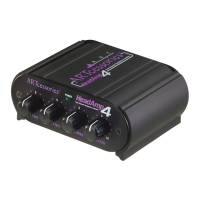
Guide to using the AUX IN jack for custom mixes on individual channels.
Details on the limited warranty provided for the HeadAmp6 unit.
Information and steps for returning the unit for service or repair.
| input connections | XLR-F balanced (2), ¼-inch balanced (9) |
|---|---|
| output connections | XLR-M balanced (2), ¼-inch balanced (2), ¼-inch stereo headphone (18) |
| input impedance main | 40K Ohms |
|---|---|
| input impedance direct | 10K Ohms |
| input impedance aux in | 15K Ohms |
| output impedance headphones | <12 Ohms |
| maximum input level | +21dBu |
|---|---|
| maximum output level 600 ohm headphones | 150mW |
| maximum output level 32 ohm headphones | 500mW |
| maximum output level 8 ohm headphones | 150mW |
| maximum gain | 22dB |
| signal to noise ratio | >90dB typical |
| thd | <.01% typical |
| dynamic range | >101dB typical |
| cmrr | >40dB |
| phase shift | <10 degrees, 20Hz - 20kHz |
| power requirements | 120VAC / 50-60Hz, or 230VAC / 50 Hz, 15 Watts |
|---|
| dimensions (h x w x d inch) | 1.75 x 19 x 6 |
|---|---|
| dimensions (h x w x d mm) | 44.5 x 483 x 152 |
| weight | 5.3 lbs. (2.4kg) |