Installation and Getting Started | Installation and Getting Started Guide 15
Prepare the Installation Site
Make sure the physical environment into which you will be installing the switch is properly prepared,
including having the correct network cabling ready to connect to the switch and having an appropriate
location for the switch.
n Verify that copper and fiber cabling meets the requirements of the Cabling and Technology Information
Specifications.
n Protect the switch from radio frequency interference emissions.
n Use electrical surge suppression.
n Use safe connections with no damaged cables, connectors, or shields.
Ensure that you understand and observe the two preceding sections before proceeding with switch
installation.
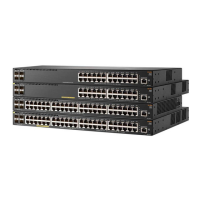
Mounting options
Select one of the following mounting methods for an 8PoE, 16-port/16PoE, 24-port, or 26-port 1430
switch:
n 19-inch Telco rack and/or equipment cabinet
n Wall attach
n Under a table
n On a horizontal surface
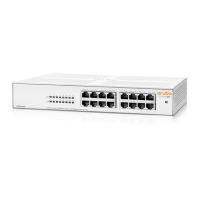
Select one of the following mounting methods for a 5-port or 8-port 1430 switch:
n Equipment cabinet
n Wall attach
n Under a table
n On a horizontal surface
Installation Space Requirements
Switch
Orientation
Clearance Requirements
Front At least 7.6 cm (3 inches) of space for the twisted-pair and fiber-optic cabling.
Back At least 3.8 cm (1 1/2 inches) of space for the power cord and switch cooling.
Sides At least 7.6 cm (3 inches) for cooling, except if the switch is installed in an open EIA/TIA rack.
 Loading...