Raising the Standards
An ASSA ABLOY Group company
7
Do you need fail secure or fail safe?
If the answer is fail secure follow the instructions under step 7a.
If the answer is fail safe follow the instructions under step 7b.
What is fail safe?
Step 7
Step 7b
Fail safe means if the strike loses power it remains unlocked.
If you need to convert the strike to fail safe
What is fail secure?
Step 7a
a
Move screws into fail safe position
as shown.
b
Tighten screws.
c
a
Move screws into fail secure position as shown.
b
Tighten screws.
c
Fail secure means if the strike loses power it remains locked.
All HES strikes come standard as fail secure.
If you need to convert the strike to fail secure
Loosen screws, but do not remove them.
b
Loosen screws, but do not remove them.
b
a
a
Installer Hint
When using the trim enhancer you will need to make the cutout
slightly larger than the actual dimensions given for the strike. This
will allow space for the trim enhancer.
8
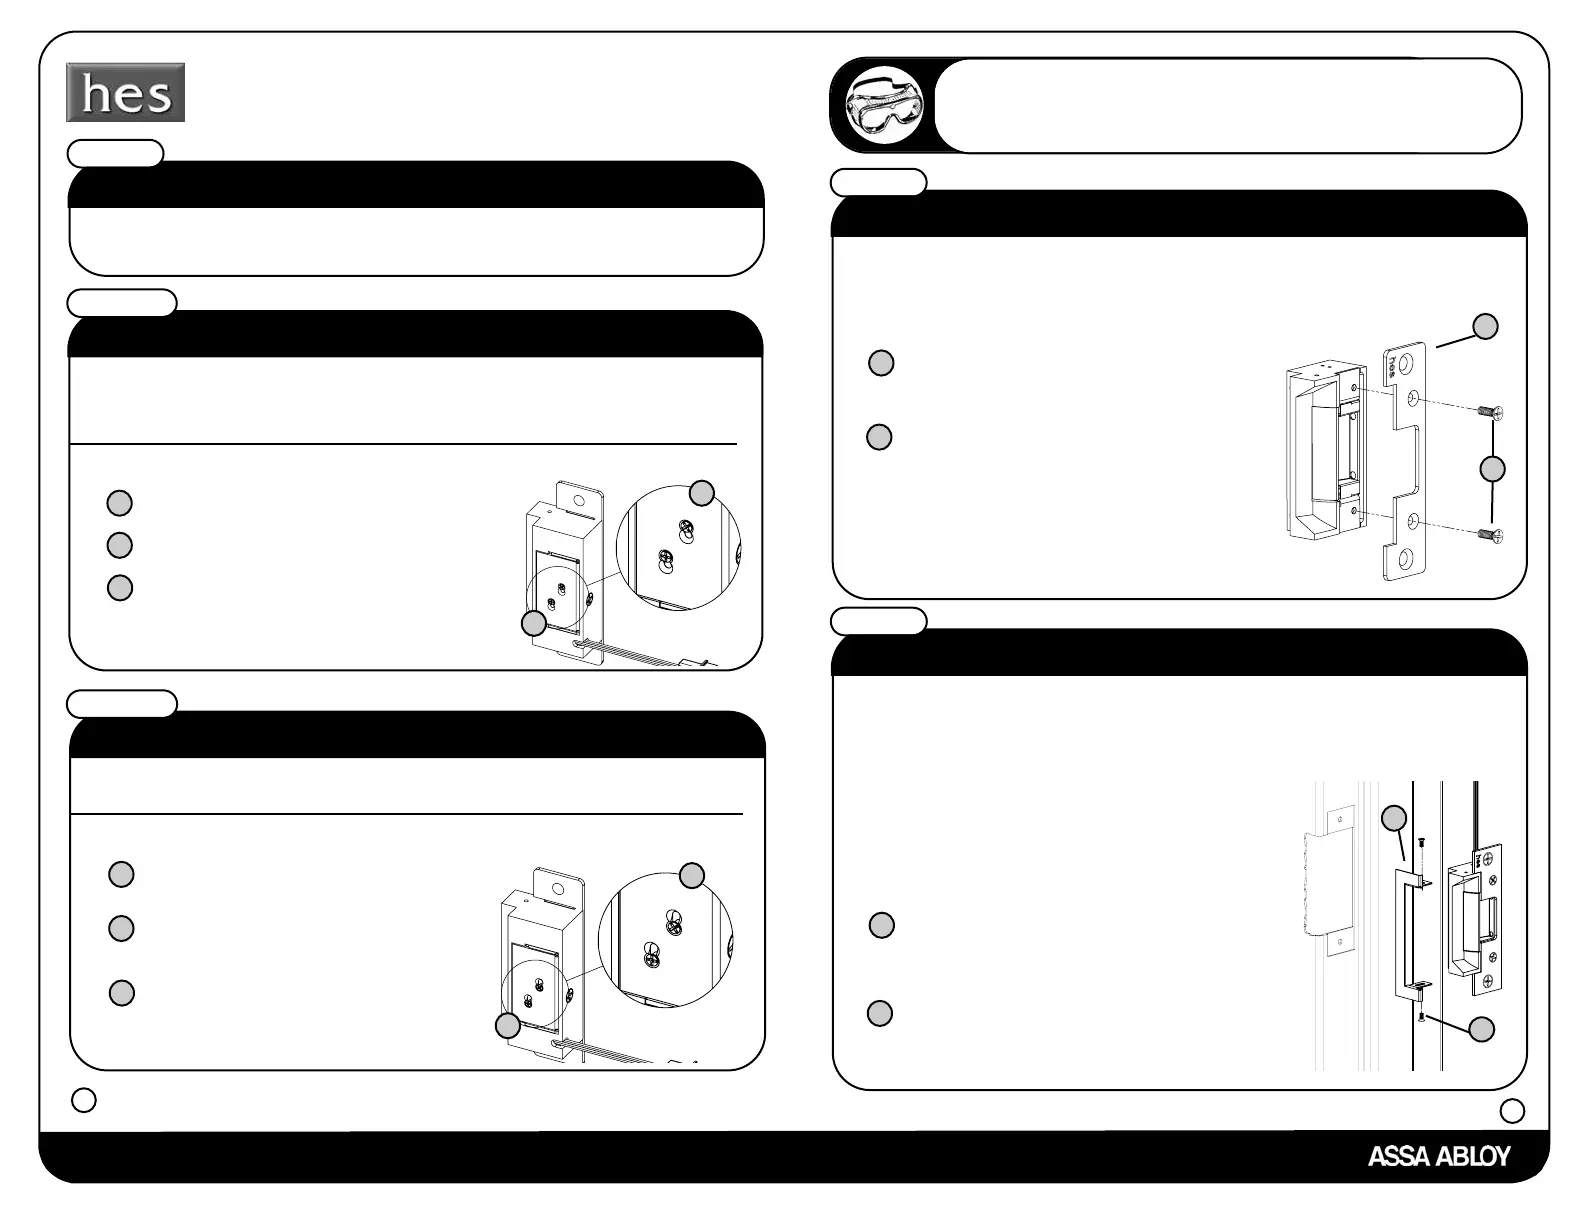
Do you want to use a trim enhancer?
If the answer is no continue to step 10.
If the answer is yes please follow the instructions below.
Step 9
Place trim enhancer on
electric strike body.
a
b
The trim enhancer allows the installer to cover up a rough or
incorrect sized frame cut.
a
b
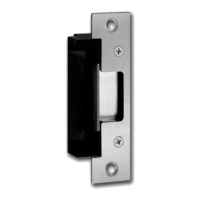
How do I attach the faceplate?
Step 8
Place faceplate on electric strike body.
a
Attach the faceplate to electric
strike body using the faceplate
screws provided with the
faceplate option kit.
Attach the
trim enhancer to electric
strike body using the provided
trim enhancer screws .
b
a
b
 Loading...