1-800-810-WIRE • www.sargentlock.com • A8205B 28
Copyright © 2018, Sargent Manufacturing Company, an ASSA ABLOY Group company. All rights reserved.
Reproductions in whole or in part without express written permission of Sargent Manufacturing Company is prohibited.
01/31/18
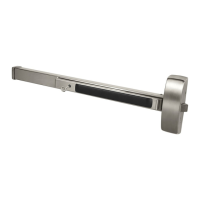
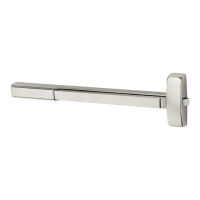
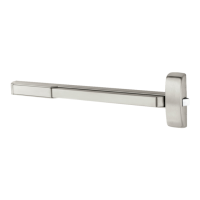
IN220 Exit Device
For devices without cylinder, go to Step 6.
1. While installing the rim cylinder, support the tail piece of the cylinder,
verifying its engagement with the top hub of the exit chassis.
Note: Be sure ET harness is clear of cylinder and tailpiece.
2. Secure the cylinder by through-bolting the cylinder
through the exit chassis using (2) #12-24 x 1-7/8”
connecting screws (see Fig. 6A).
3. Verify that the key retracts latchbolt.
Position cylinder so that the SARGENT
logo is right-side up.
Correct Incorrect
Fig. 5
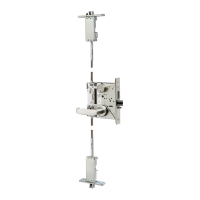
5 Install Cylinder
To comply with UL certifications and for security:
Fasten exit chassis to door using (4) #10 wood
screws (for wood door) or (4) #10-24 machine
screws (for metal door).
6 Secure Exit Chassis
Inside of Door
(4) #10 Wood Screws or
#10-24 Machine Screws
(2) #12-24 x 1-7/8”
Flat Head Screws
(Through-bolts
Cylinder to Chassis)
Fig. 6
 Loading...