GB-13
Subsequently, the unit identification and
the data bus address will appear.
After setting the bus address using the
rotary pushbutton and confirming this by
pressing it, the allocation determined by the
address will appear automatically.
Attention:
Double allocation of bus addresses is not
permitted and inevitably lead to faults in
data transfer and therefore to faulty control
of the heating system.
B - Changing bus addresses
If a bus address has to be changed
afterwards, then carry out the following
procedure:
1 - By pressing the bottom locking device,
remove the thermostat from the
ground board (the bus is
disconnected).
2 - Place the thermostat again while
keeping the rotary pushbutton
depressed until the address setting
appears.
3 - Set and confirm a new bus address.
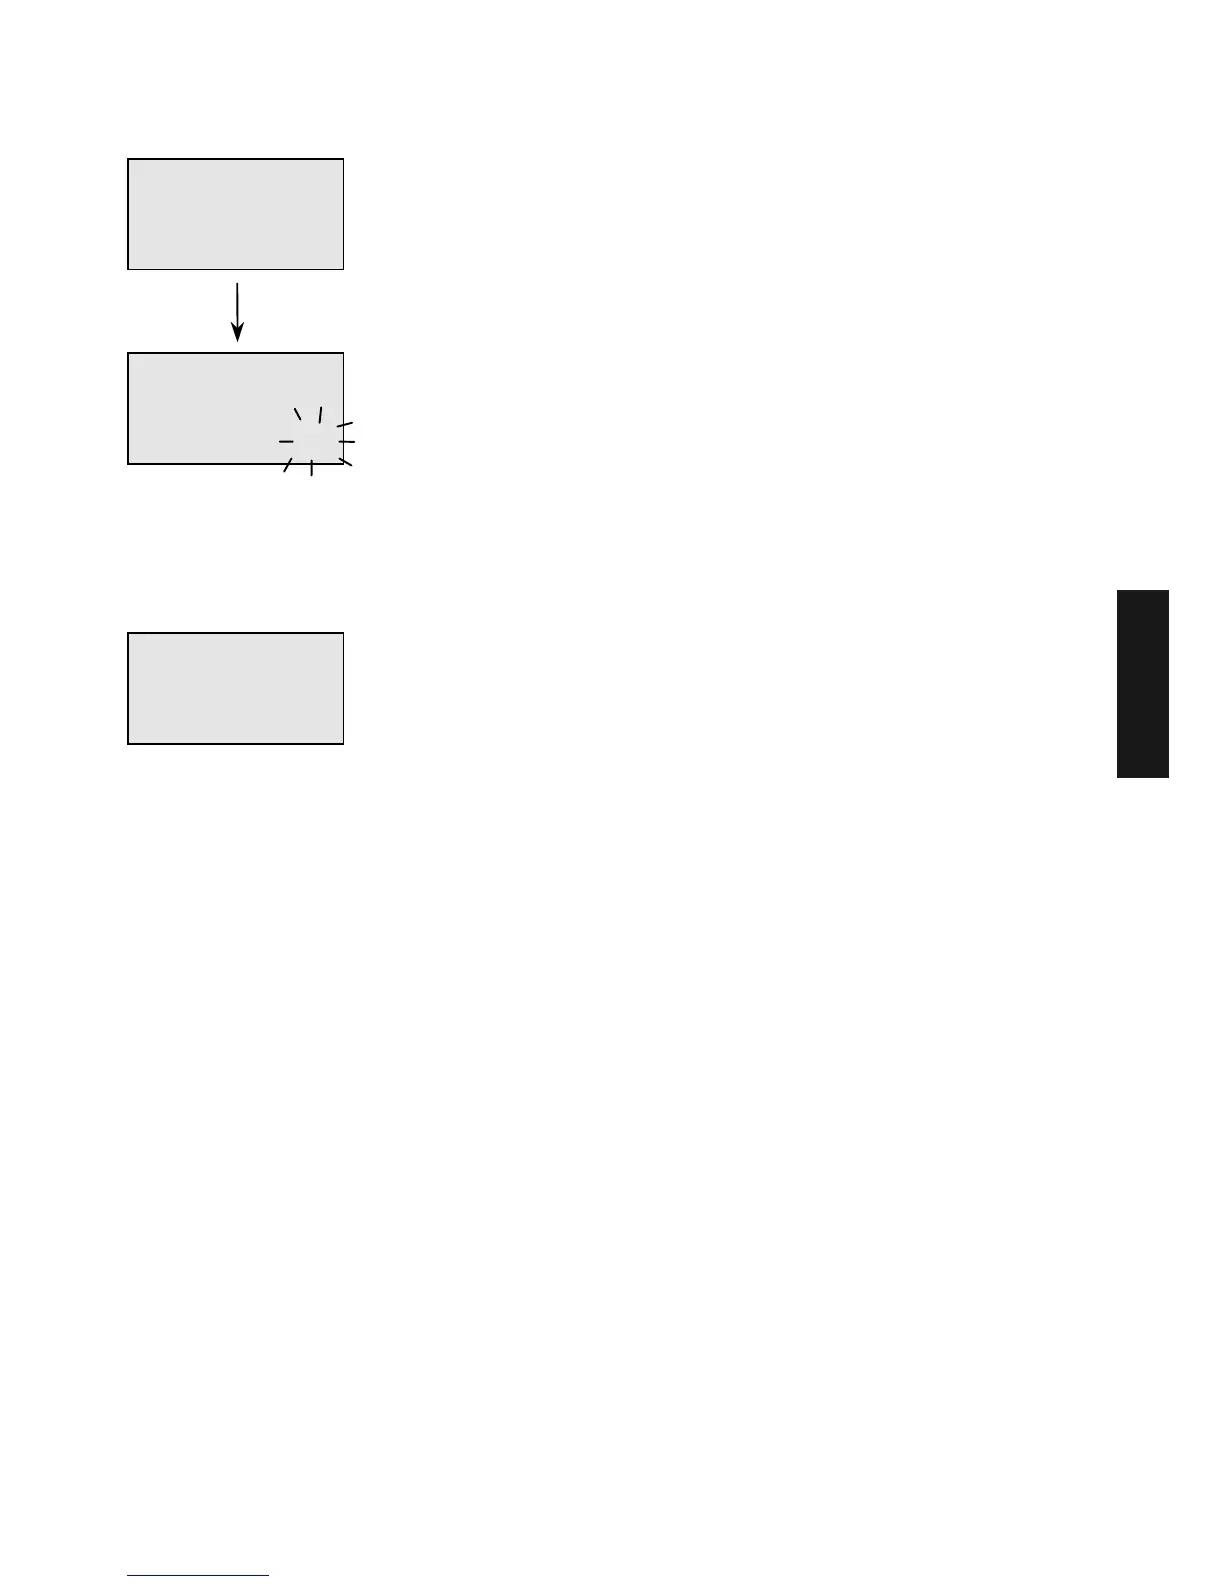
RS-2
15.05.
V1.2
BUS
ADDRES
11
Instrument identification
Device type
Software date
Software version
Address settings
see table above
BUS
HC
AU-1
Data bus address
Unmixed circ.
MadQ control unit 1
(=AU1),
MadQ control unit 2
(=AU2), etc.
GB
 Loading...