Installation and
Operation
of
Atari
Computers
25
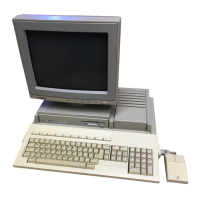
Once
these precautions have been taken, use
an
Atari
I/O
Data
Cord
to
connect
the Atari
400
or800 to the850
Interface
Module.
Connect
an
AC adapter
to
the Power I n jack
on
the
850
Interface
Module.
Connect
the
other
end to a regular
household
AC
outlet.
Connect
the 3
prong
power
cord
on
the
Atar
i
825
printer
to
an
outlet.
The Edge-on
connector
of
the Atari
printer
cable
should
be
connected
to the
printed
circuit
card
connector
on
the
back
of
the
printer.
The side
of
the
connector
marked
'This side
up'
should be facing
up
when
the
connection
is made.
Do
not
attempt
to force this
connector,
as
this
cou
ld damage
the
cable
connector.
Connect
the
other
end
of
the
printer
cable
to
the
parallel
bit
printer
interface
connection
on
the
850
Int
erface
Modules.
The
850
I nterface
Module
must be
turned
on
before
the Atari
825
can be used. Programming procedures
for
the
Atari
825
will
be
covered in
Chapter
8.
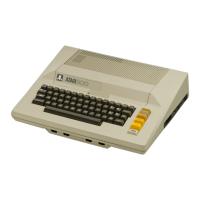
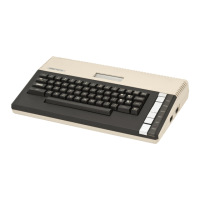
Installing a
ROM
Cartridge
As
discussed in
Chapter
1,
the
ROM
cartridges are in
sta
lled
under
the hatch cover
on
the
top
of
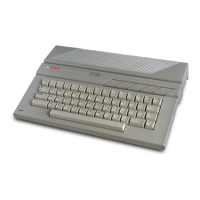
the Atari. The Atari
400
has
one
socket,
while
the Atari
800
has
two.
Generally, cartridges are installed in the
l
eft
slot.
When
inserting
a cartridge,
hold
it
so
that its label
is
facing towards you. Plug
the
cartridge
into
the socket and press it all
the
way
into
the
socket.
Finally, close the hatch. This
is
shown in
Illustration
2-4.
When
the Atari
is
operated
without
a
cartridge
installed, it will be
operating
in
the
memo
pad mode. In this
mode,
all the Atari can
do
is
display what
has
been entered at
the
keyboard.
Obviously,
the
memo
pad
mode
is
not
very useful.
In
our
discussions
in
this
book,
we
will
assume
that
the BASIC
Computing
Language
ROM
cartridge
is
installed.