4
Installation and Set-up
Choosing the Location
Your air purifi er can be placed directly against a wall. The housing design
ensures proper clearance between the air purifi er and the wall to allow full
circulation of purifi ed air. The air purifi er can also be placed in the center of
a room, or in a corner, with no change in effectiveness.
For maximum effectiveness, use the air purifi er in a room that’s 36 m
2
or
less. For larger rooms, multiple air purifi ers should be used.
Important: Do not locate the air purifi er in front of a heating vent. Also, make sure the location
you select will allow the cord to easily reach a wall outlet. The cord is 3.05
meters long.
Preparing the Filters for Operation
The ATMOSPHERE™ Air Purifi er uses three fi lters–pre-fi lter, HEPA fi lter,
and odour fi lter. The HEPA and odour fi lters are shipped in plastic bags to
minimize the spread of carbon dust. Prior to using the air purifi er, the plas-
tic bags must be removed and the fi lters properly re-installed.
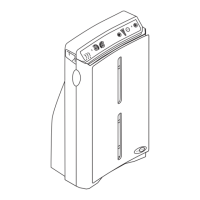
Removing the Filters
1. To access the fi lters, remove the front cover from the air purifi er using the
fi nger tabs located on each side of the air purifi er–near the top (Fig. 2).
Steady the air purifi er by fi rst placing your thumbs on the outside edges
of the front display label. Remove the front cover by gently pulling on the
tabs with your fi ngers. Then, pull off the bottom of the cover.
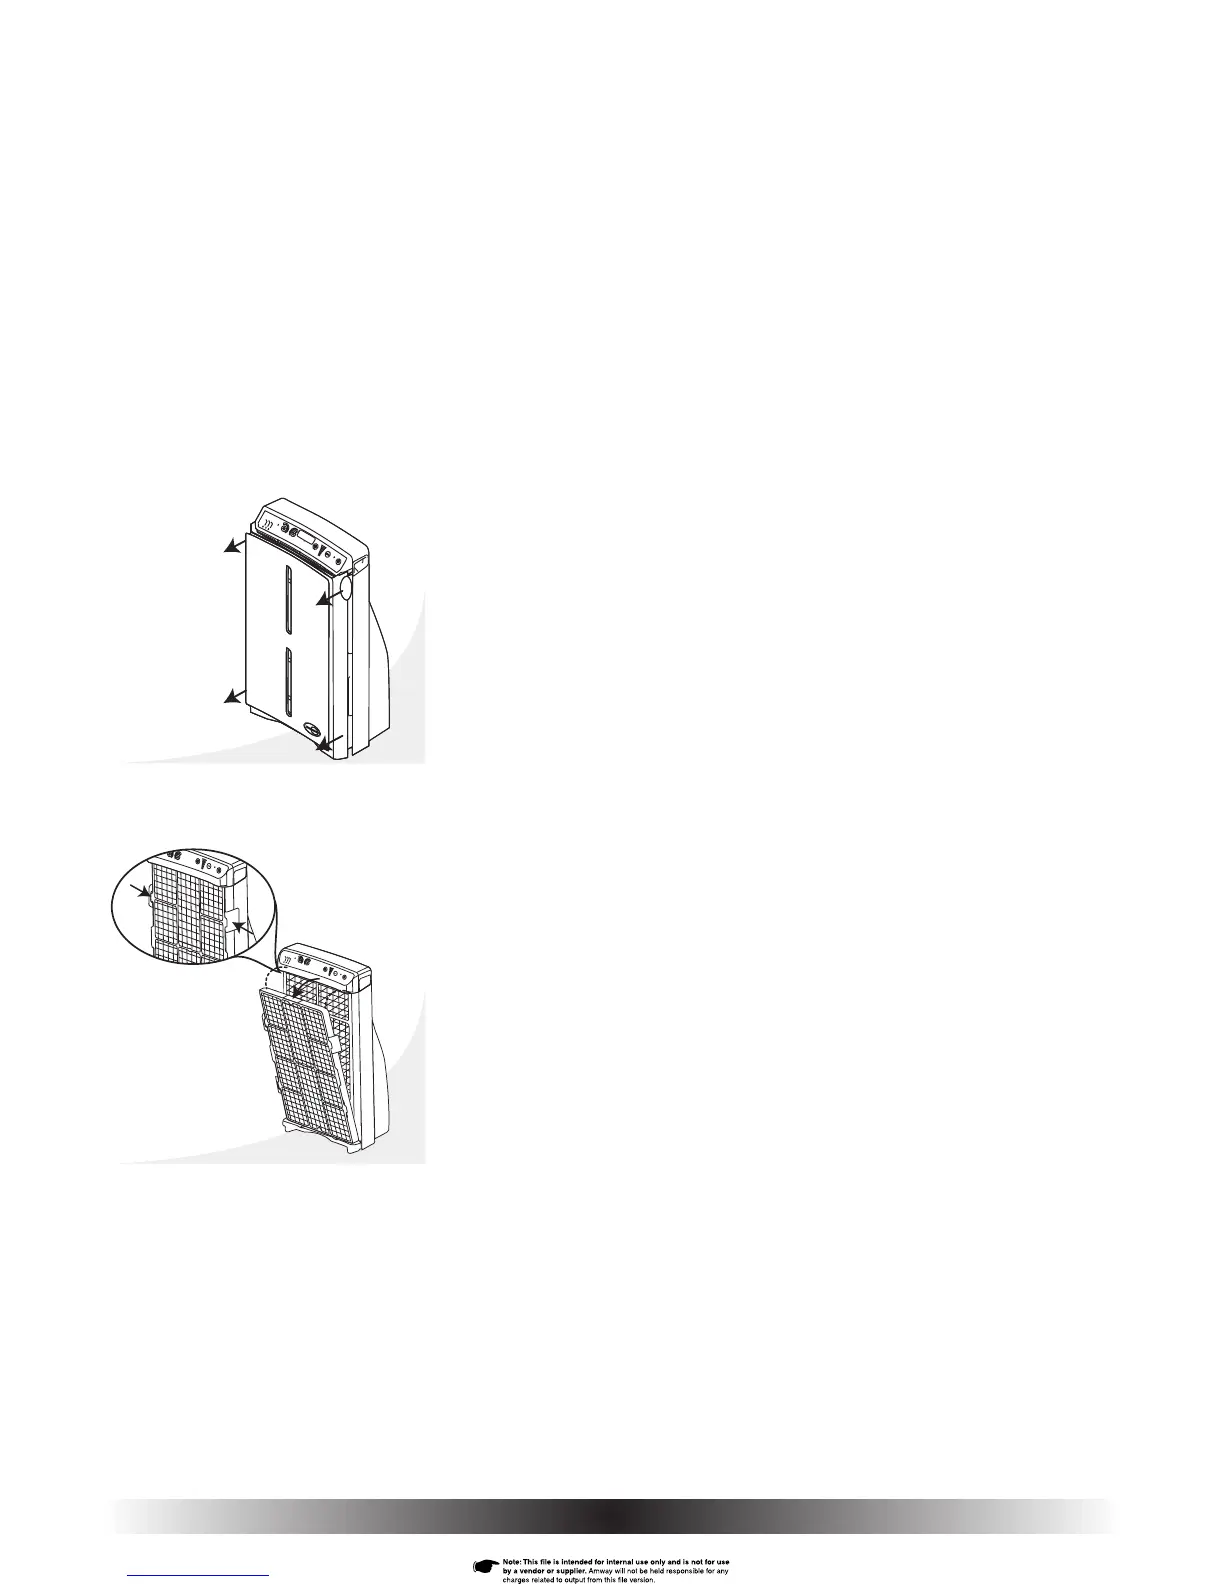
2. The pre-fi lter is attached to the outside of the HEPA Filter. Remove the
combined pre- and HEPA fi lters by squeezing the two tabs located on either
side of the HEPA fi lter frame (near the top) until they unlatch (Fig. 3a).
3. Swing the fi lters out and away from the housing (Fig. 3).
Fig. 3
Fig. 3a
Fig. 2