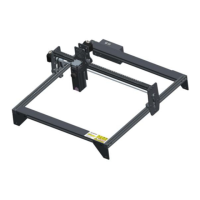
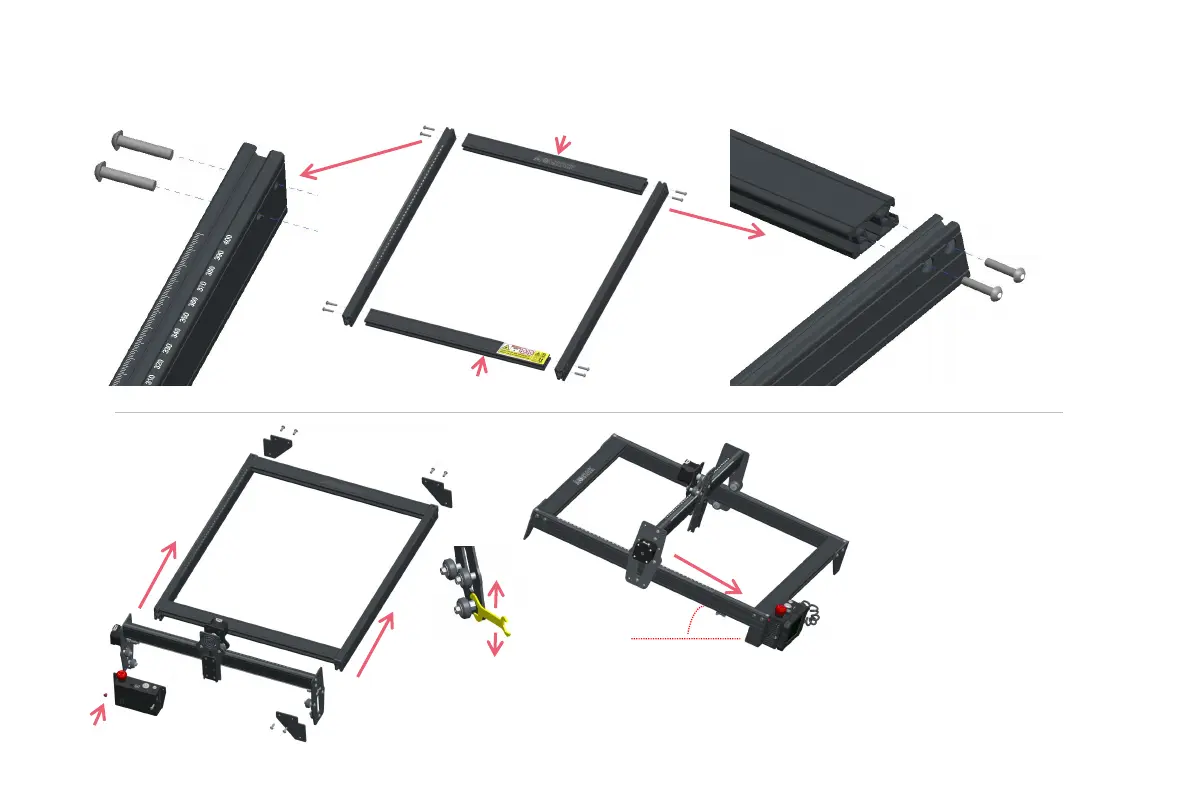
S t e p 1
P a r t 4 : I n s t a l l a t i o n S t e p s
Logo side up
Tabel side up
Large hole outwarderSilkscreen tick marks outward
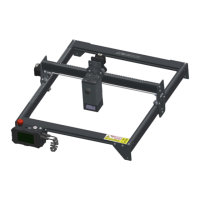
S t e p 2
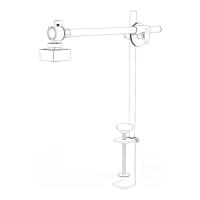
The guide rail passes through the middle of the 3 rollers.
Use a wrench to turn the eccentric nut, to loose the
distance between the upper and lower guide wheels
appropriately, then tight the eccentric nuts.
This screw is different
TIPS:
How to determine the tightness of
eccentric nuts?
Under the condition of ensuring that
the bracket does not shake, you can lift
one end of the machine to an angle of
45 degrees with the horizontal plane,
and release the X-axis or Y-axis bracket
from a high place. If the bracket can
slide at a constant speed to the end, the
tightness is suitable.
After the assembly is completed, if you
find that the four feet are not level,
please slightly loosen the 8 screws in
the first step, and after the four feet are
leveled, tighten the screws again.
45°
TIPS:
Place the screws, but do not
tighten them.
Then tighten the screws
diagonally.