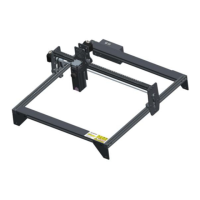
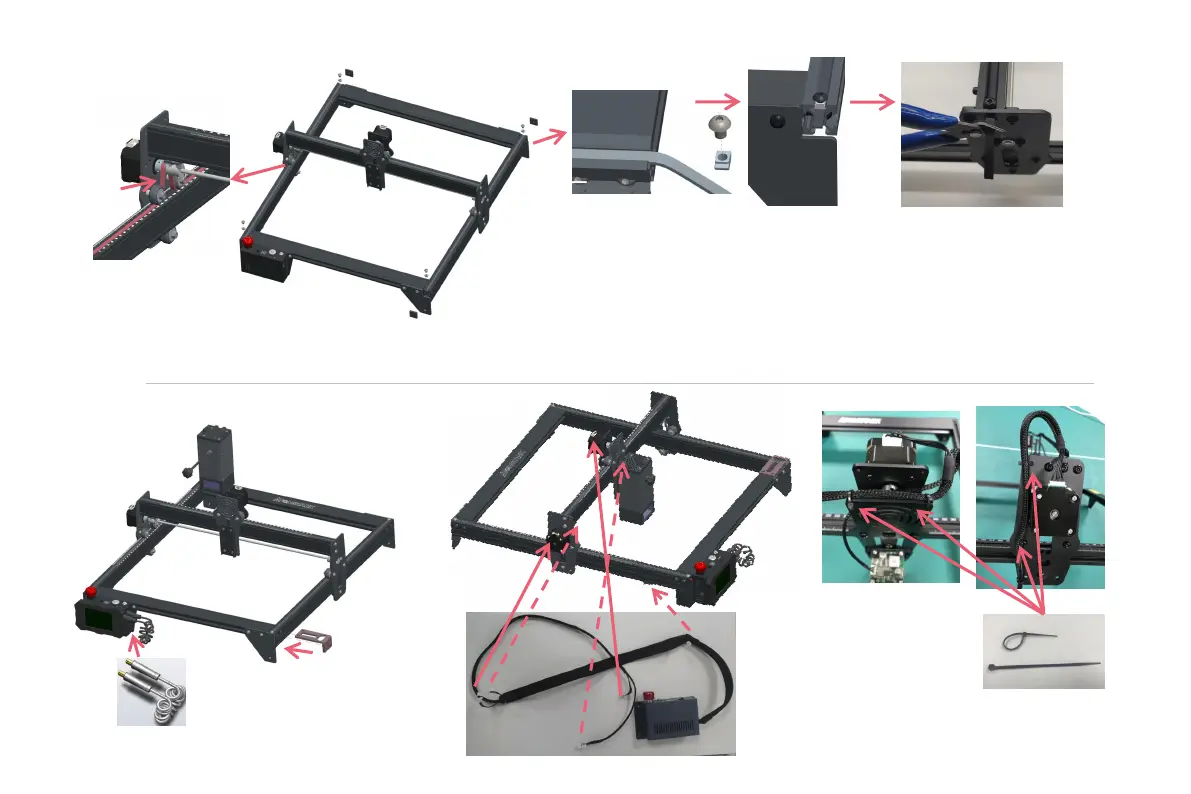
S t e p 3
S t e p 4
Tighten the T nut and cut off the excess belt,assembly the end cap.
TIPS:
The installation of the Y-axis synchronous belt can refer to
the installed synchronous belt on the X-axis assembly.
Determine whether the belt is tight enough:
Use your finger to press the position shown in the picture
on the far left, if the belt is elastic, it is tight enough. If the
deformation is large, loosen the T-Nut on one end, tighten
the belt, and then tighten the T-Nut.
Press
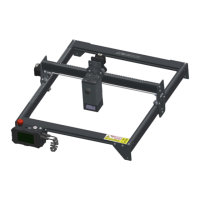
Connect the display
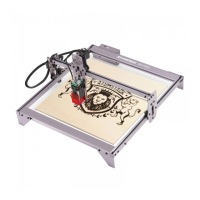
Assembly Laser
Placing focus pad
Insert the five wire terminals
as shown,
Tie the wires to the machine
with cable ties.