Copyright © 2006-2011 AudioNote Kits
www.AudioNoteKits.com
audionotekits@rogers.com
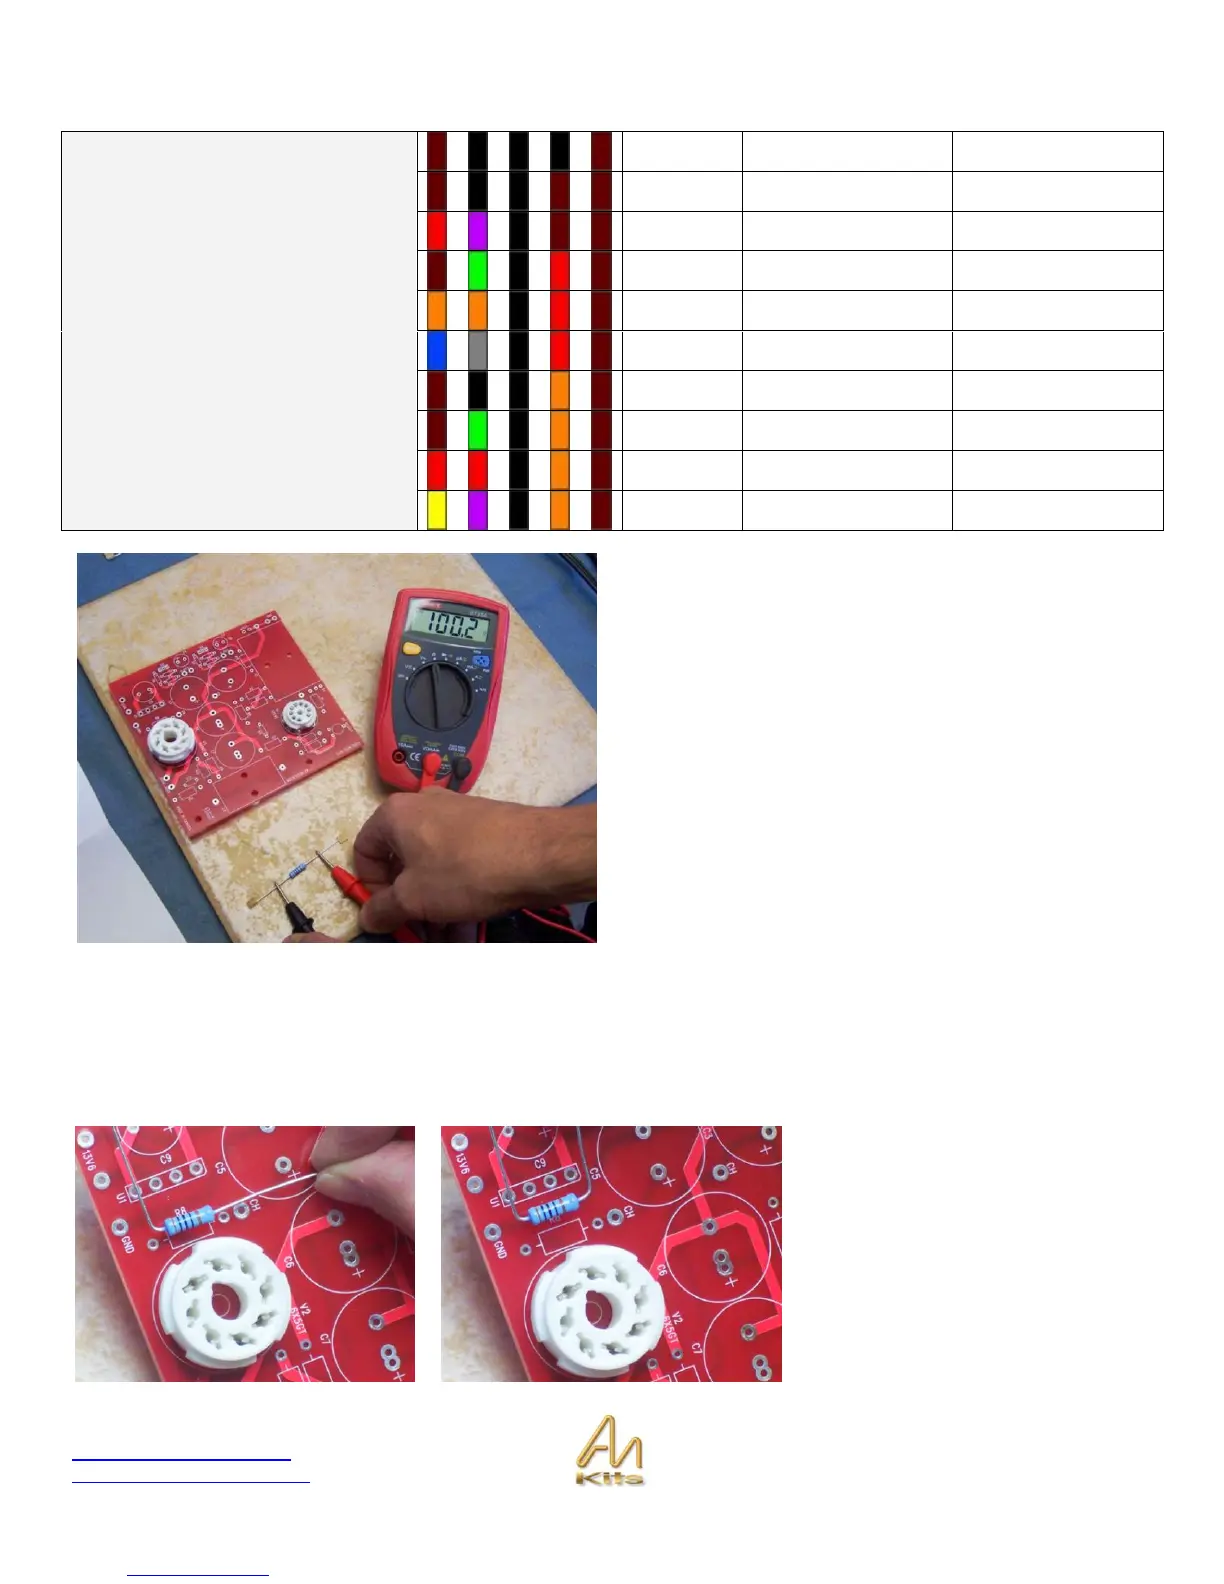
If you have a voltmeter you can check the value of each
resistor prior to soldering in OR you can refer to the color
code chart in the above parts list.
Identity the correct resistor and then install in the specified
designator (R1 for example).
Resistors have no polarity so it does not matter the
orientation but I find that if I stick to one direction from left to
right it makes it a lot easier to read the resistors on the
board.
RESISTOR NAMING LESSON: When a resistor has a value of lets say 10 ohms we will refer to this as 10R. If the resistor
has a value of 10.5 ohms we would say 10R5. When a resistor value is 250 ohms we would say 250R – When it becomes
1000 ohms we say 1K or 1K0 or 1 Kilo ohm.
Its common to see 1K5 which would be like 1.5 K ohm or 1500 ohms – Just like when we get to 1 Mega Ohms we would
say 1M or 1M0. For 1.2M we would use 1M2 – so this is the standard way of naming resistors – The first resistor we are
going to install is the 100R or 100 ohm resistor!
Here we are installing the 100R
resistor.
You should locate the reference
designator on the board (in this case it
is R8) and then do an approx bend on
the correct length as we have done
opposite.