ACR-
1 Dash
Control Installation
~
®
. '
~
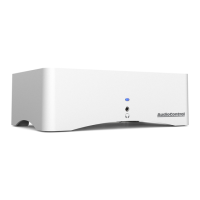
The
optional AudioControl
ACR-
1 dash
control
is
a remote
level
control
for your
LC-
1.800 amplifi
er.
It
may be mounted under the dash
using its own enclosure,
or through a custom
hole
in the dash. The
level control
knob
should
be
within
reach
ofthe
driver, and in a spot
where
the
LED
is
plainly visible.
Disconnect
the
vehicle
battery + 1
2V
and Ground connections before installation.
Dash Bracket Installation:
The dash control
mounts
with
two
screws, which attach
to
the
underside
of
the
dashboard.
Slide
under the dash and
place
the dash
control
in its mounting
position, mark
the
two
best
mounting
holes, drill pilot holes,
and
secure
with
two
screws.
Custom Installation:
For
that
custom, finished
look,
the
dash
control
can
be flush-mounted
directly on
the
dashboard (or anywhere
else). Disassemble
the
ACR-
1 from its
enclosure.
Top Lid
Removal
The
top
lid
must be removed
to
gain
access
to
the
controls,
and then
put
back on again
to
protect the controls
from dust bunnies.
Removal
Procedure
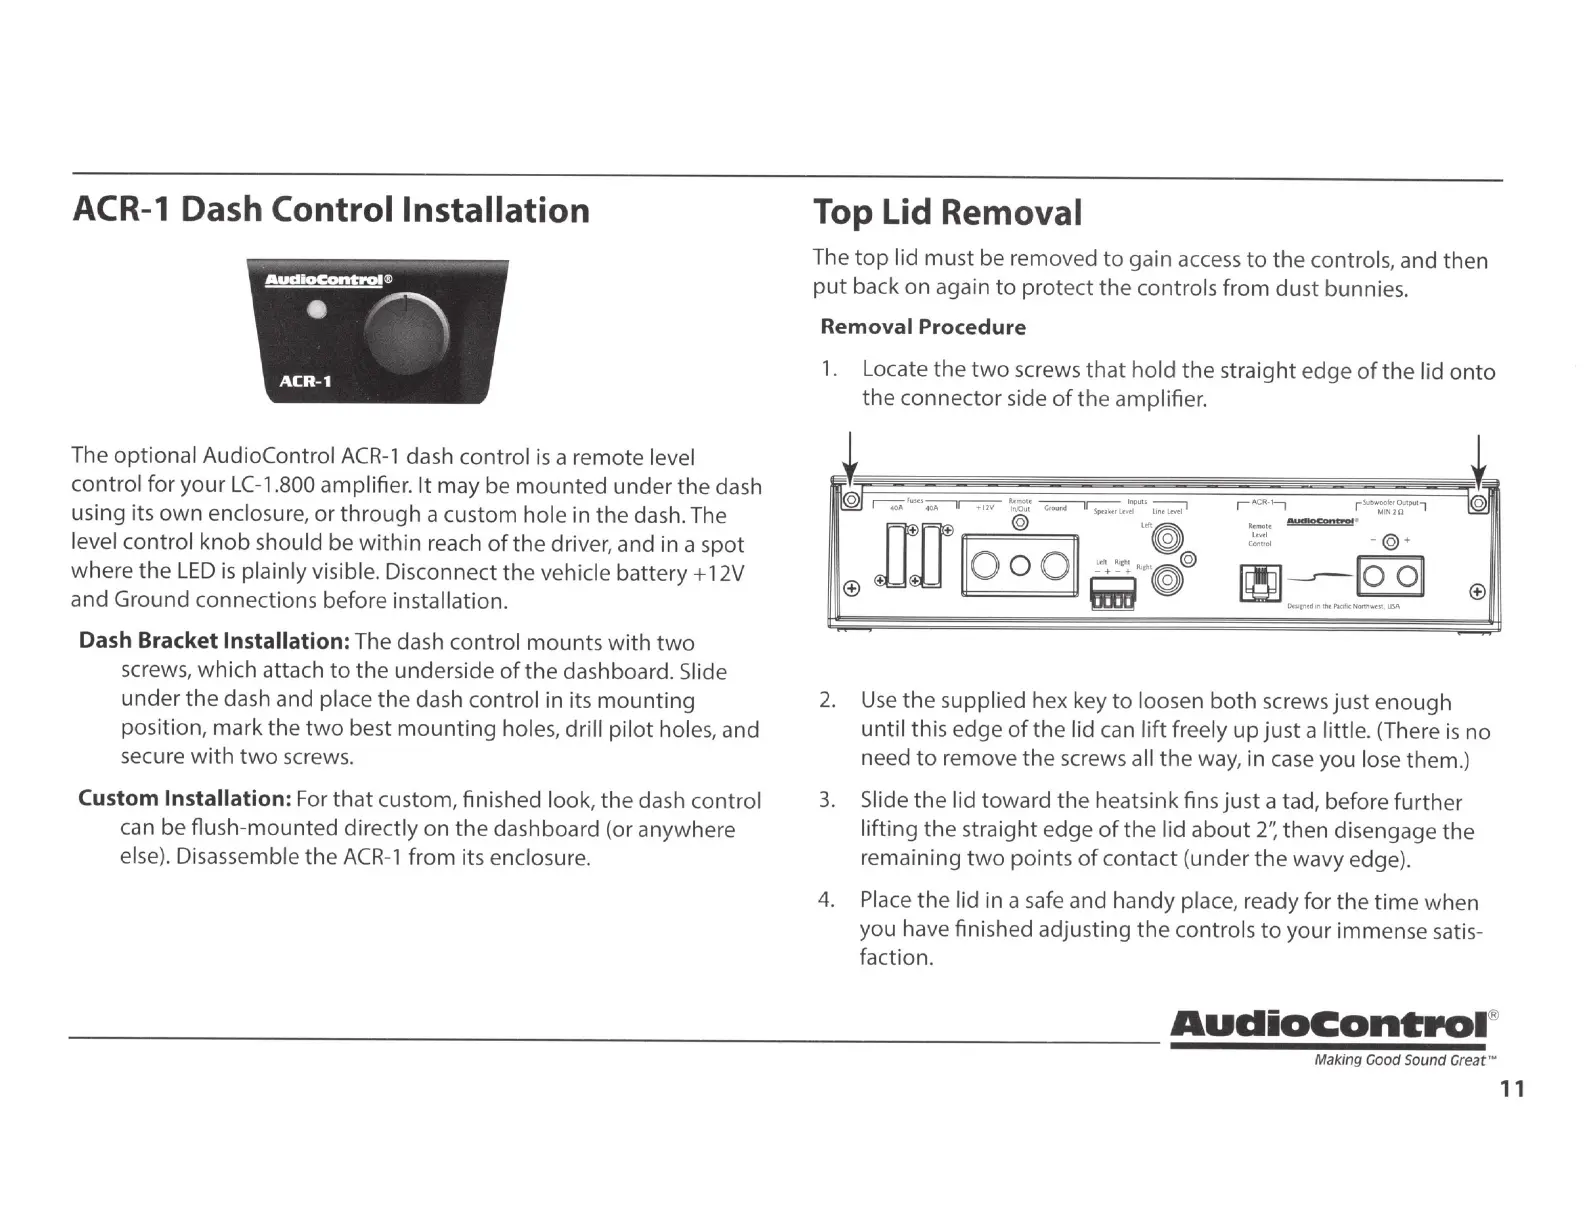
1. Locate the
two
screws
that
hold
the
straight edge
of
the
lid
onto
the
connector side
of
th
e
amplifier.
l
nf'O\r
,UH,
~-~
~
.,.._,
~
~
~
r-;o;
tQA
0
+1211
rVOut
~
s,.taWLrwl
l1~l~l
++
@
,,
.0
®
JJ.IT
l
lo
0
oJ
J
{fif0@
r
ACR-'1
r~~~~-,
~
11101
,
au
tuvt
•
'""
Coo••
- @ •
~-r-
lool
,.......
,
'
tllll"Ko6cNon~
USA
l
~
®
2.
Use
the
supplied
hex key
to
loosen
both screws just enough
until
this edge
of
the
lid
can
lift
freely
up
just a little.
(There
is
no
need
to
remove the screws all the way, in
case
you
lose
them.)
3.
Slide
the
lid toward
the
heatsink fins
just
a tad, before further
li
fting
the straight edge
of
the
lid
about
2':
then disengage the
remaining
two
points
of
contact (under
the
wavy edge).
4.
Place
the
l
id
in a
safe
and handy
place,
ready for
the
time when
you have finished adjusting
the
controls
to
your immense satis-
faction.
AUdioContPOI
®
------------------------------------
----------
--
Making Good
sound
Great
'"
11

 Loading...