8
Axess
®
Pro 1505 Installation Instructions
5. Pre-Installation
IMPORTANT SAFETY INSTRUCTIONS FOR INSTALLATION
Warning: Incorrect installation can lead to severe injury.
Follow ALL installation instructions.
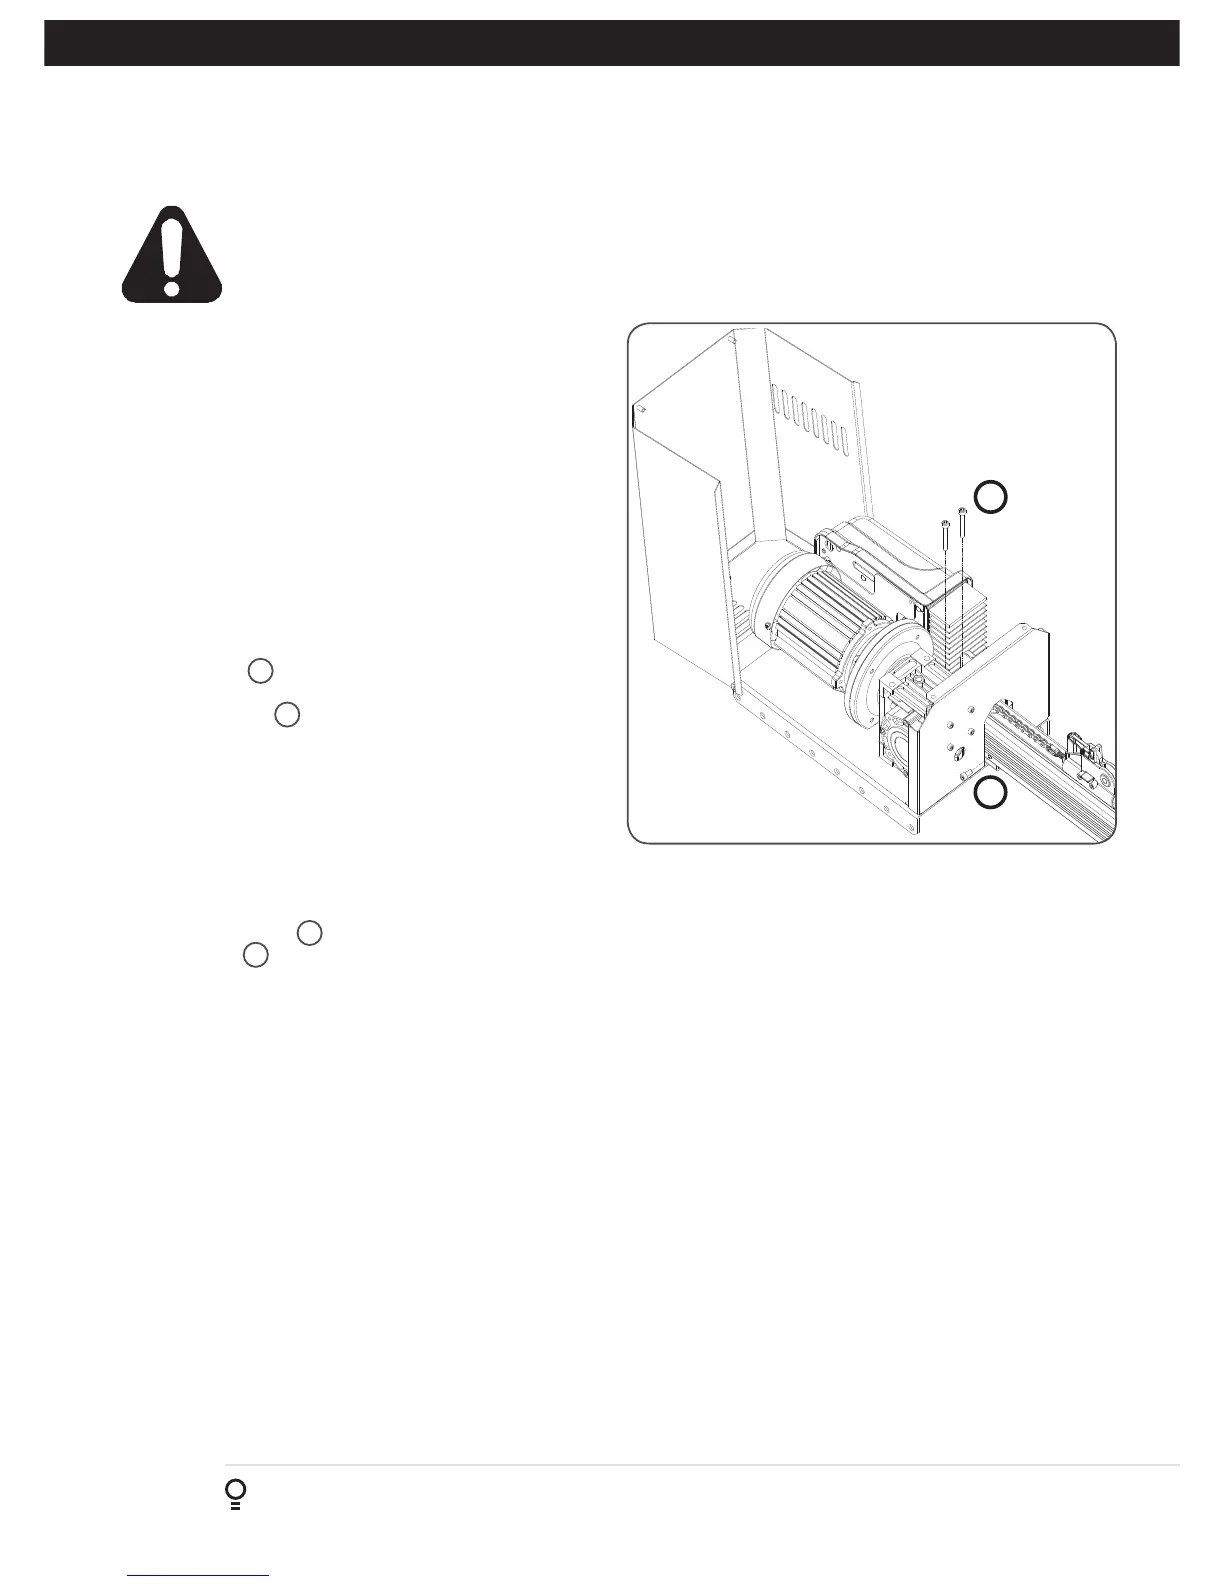
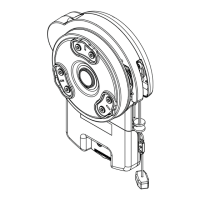
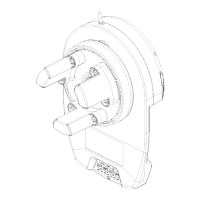
Fig 5.1
The Axess
®
Pro 1505 is designed to operate most commercial
and heavy residential overhead doors.
5.1 Initial Check
Before commencing installation, check the following:
a. The door is in good working condition and moves freely
for the full travel in both directions.
b. The mounting must be a solid construction (concrete,
brick, wood or steel) and must be able to withstand the
full driving force applied to the door (2kN).
c. There is a 240V 10 Amp power point located within one
metre of the drive unit.
d. Safety Beams have been installed. The Safety Beams
should be positioned as close to the door as practicable.
5.2 Drive Unit Pre-assembly
The drive unit
1
and track are supplied as two separate
packages. The drive sprocket is part of drive unit.
a. To connect rail
22
to the drive unit, open the cover by
removing screws.
b. Cut the cable tie that holds the chain index together on
the track.
c. Wrap the chain around the hub on the spocket on the
drive unit.
d. Pull the chain towards you approx. 0.5m.
e. Run the chain around the sprocket.
f. Slide rail into the opener and align holes.
g. Secure the rail to drive unit with the two (2) M5 x 45 Space
Head Cap Screws
17
and two (2) M6 x 12 Space Head
Cap Screws
18
using an allen key as shown in Fig 5.1.
h. Pull the other end of the chain to connect the chain index.
i. Turn the index and tension the chain.
j. Close the cover to the drive unit.
17
18