Installation Instructions Axess
®
Pro 1505 9
6. Installation
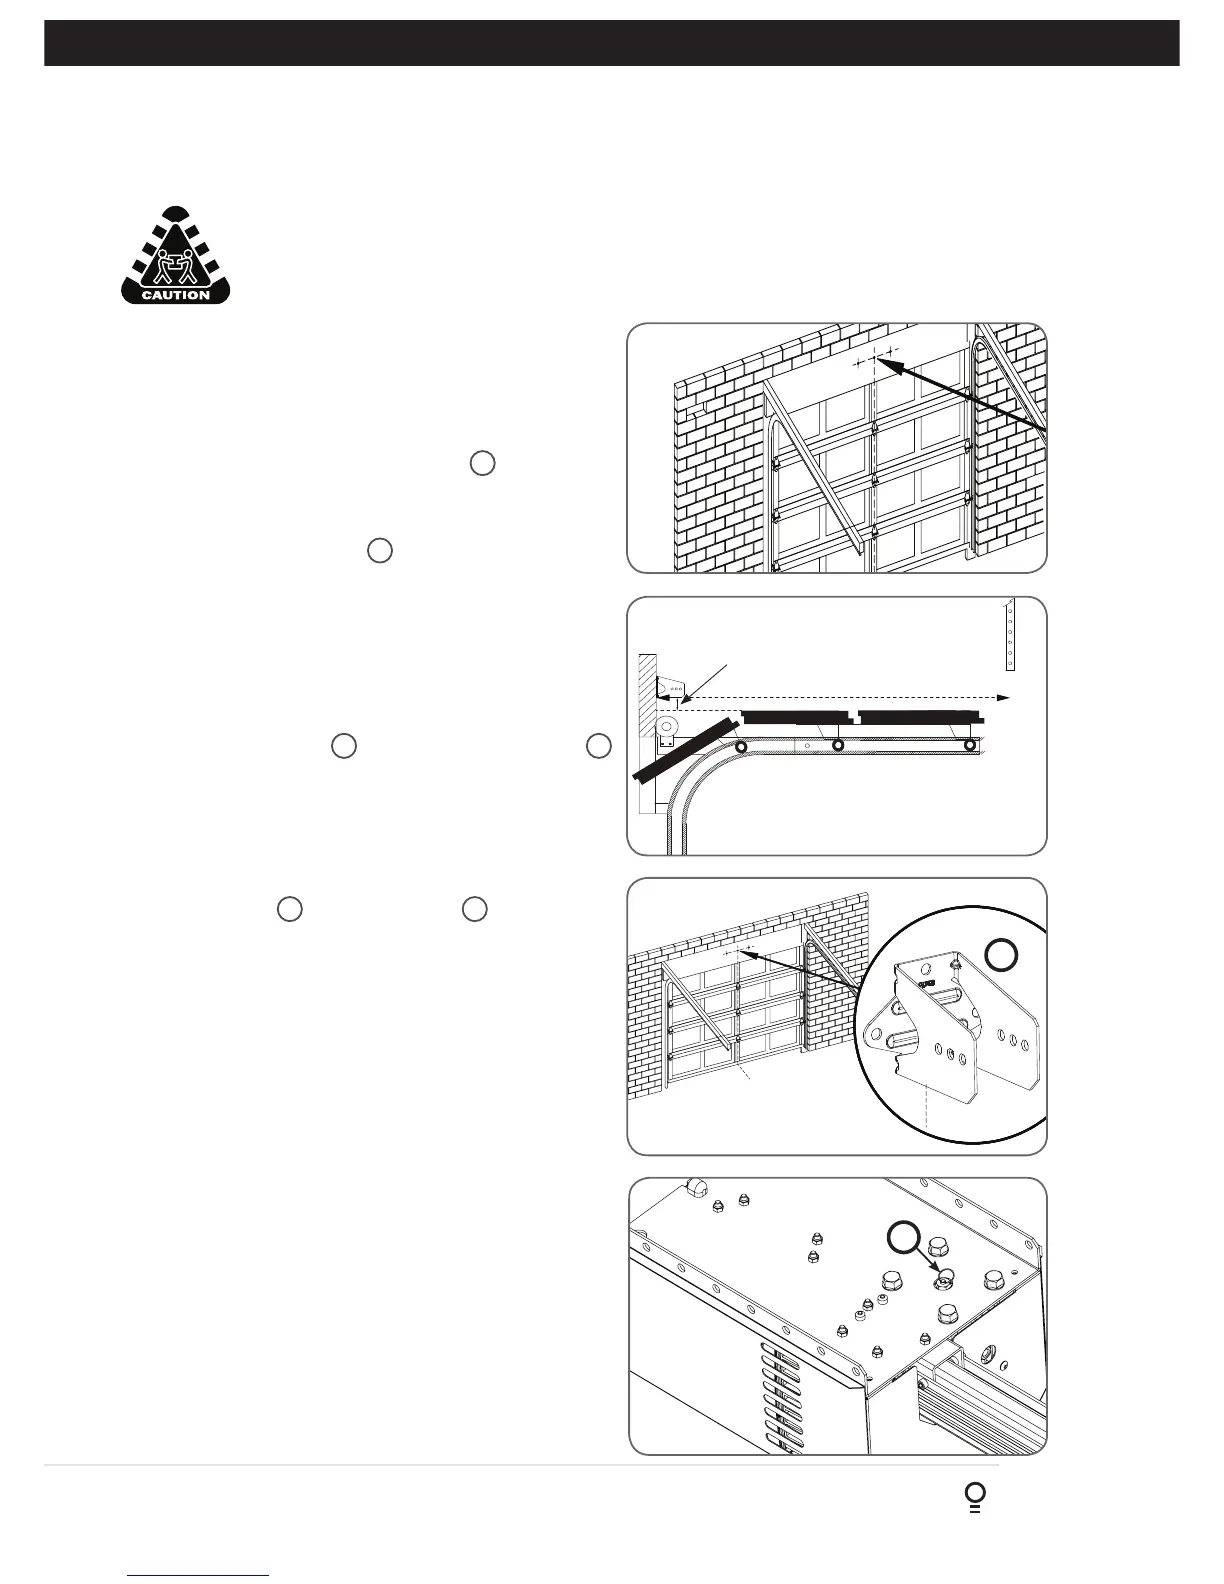
6.1 Mounting The Drive Unit
a. Determine the centre of the door and mark this point on
the wall above (Fig. 6.1).
b. Raise the door to the open position.
c. Measure 50mm above the top of the door (at the doors
highest point) and mark this position (Fig. 6.2).
d. Mark the position of the wall bracket
8
holes on the
wall above the door (Fig. 6.3). Check the bottom of the
bracket is a minimum of 50mm above the top of the door
when in the open position.
e. Secure the wall bracket
8
in place with loxins or
appropriate fasteners (not supplied).
NOTE: The supporting structure where the bracket is
mounted, must be capable of supporting 2kN push / pull
force.
f. Measure 4080mm (+ /- 150mm) across the ceiling from the
wall centre point (Fig. 6.2). Install perforated angle or similar
(not supplied).
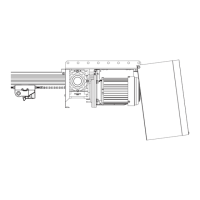
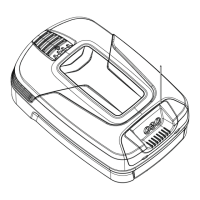
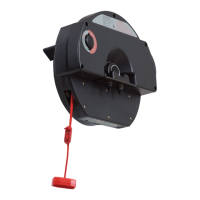
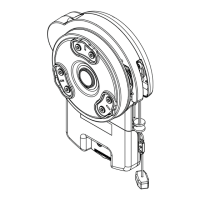
g. Turnover the drive unit
1
and pull the ring located at
Y
to release the vent (Fig. 6.4).
h. Raise the opener into position using suitable equipment
for the height of the door.
NOTE: The drive unit weighs over 25kg and therefore may
require 2 persons to mount into position.
i. Connect the rail
22
to the wall bracket
8
and mount the
opener to the perforated angle.
Fig 6.1
Track
Door
Fig 6.2
Fig 6.3
Fig 6.4
Perforated angle
8
50mm minimum
4080mm minimum (+ / - 150mm)
Y
THIS PRODUCT REQUIRES A TWO PERSON LIFT TO MOUNT ON MOST DOORS
- use proper lifting techniques and equipment to suit the site.