3. Slide the transceiver from the module slot.
4. If the transceiver does not slide easily from the module slot, use a gentle side-to-side rocking
motion while firmly pulling the transceiver from the slot.
5. Attach a dust cover over the fiber-optic bores and store the transceiver in a safe place until
you need it.
Important:
Discard transceivers in accordance with the proper laws and regulations.
RJ-45 connector pin assignments
The following section describes the connector pin assignments for the RJ-45 connectors.
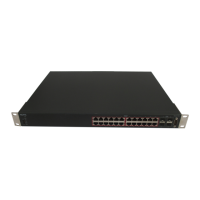
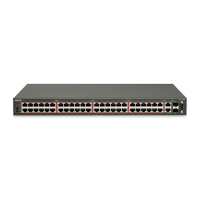
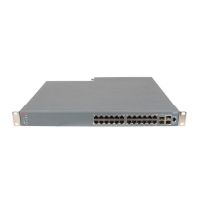
Avaya Ethernet Routing Switch 4826GTS-PWR+ and 4850GTS-
PWR+
The following table describes the Power over Ethernet, and Power over Ethernet Plus RJ-45
connector pin assignments in the Avaya ERS 4826GTS-PWR+ and 4850GTS-PWR+.
Table 4: PWR PoE, and PWR+ RJ-45 connector pin assignments
Connector
Pin Number Signal Description
1 RX+/power– Recieve Data+/power–
2 RX–/power– Receive Data–/power–
3 TX+/power+ Transmit Data+/power+
4 Not applicable Not applicable
5 Not applicable Not applicable
6 TX–/power+ Transmit Data–/power+
7 Not applicable Not applicable
8 Not applicable Not applicable
Important:
The Avaya ERS 4800 PWR+ models use pins 1, 2, 3, and 6 for PoE Plus, and is compliant with
Type 2 (MDI-X) in IEEE802.3at.
Console port pin assignments
The following table describes the console port pin assignments.
Installing the Avaya Ethernet Routing Switch
August 2016 Installing Avaya ERS 4800 Series 16
Comments on this document? infodev@avaya.com
 Loading...