establish a link. Connect ports using the same set speed or use auto-negotiation on each
switch.
Set IP parameters for the switch
After the switch starts up and initializes all software modules, it begins switching operations.
To manage the switch using Telnet or SNMP, or to perform TFTP operations, you must set certain
IP parameters. Also, if you intend to connect the switch to a stack configuration, you must assign
additional parameters to ensure proper stack operation.
You must configure the following IP parameters for initial switch setup:
• IP address of the switch or stack
• subnet mask
• gateway address
Setting IP parameters using the console port and CLI Quickstart
To set IP parameters for a switch configured with the factory default settings, perform the following
procedure using the console port and CLI Quickstart.
1. Connect a terminal to the console port of the switch.
You can use any terminal or PC with an appropriate terminal emulator as the management
station. The following table lists the parameters that you must use with any terminal
emulation software used to connect to the switch.
Property Value
Baud Rate 9600 bps
Data Bits 8
Stop Bits 1
Parity None
Flow Control None
You require a console cable and connector to match the console port on the switch to
connect the terminal to the switch console port.
Note:
Autobaud is not supported. If you change the terminal speed and then reboot the unit,
non relevant characters appear in the display. Workaround: Use only 9600 (baud rate)
for terminal speed.
2. Set the terminal protocol on the terminal or terminal emulation program to VT100 and
VT100/ANSI.
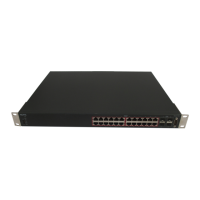
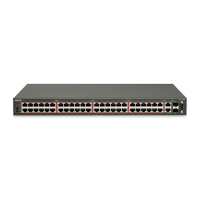
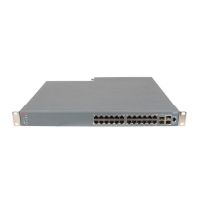
Installing the Avaya Ethernet Routing Switch
August 2016 Installing Avaya ERS 4800 Series 28
Comments on this document? infodev@avaya.com
 Loading...