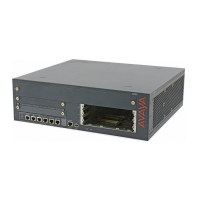
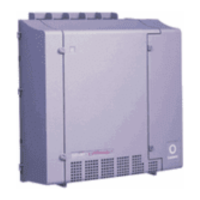
Removing a VoIP module
About this task
Electrostatic alert:
Hold the module only by its edges to avoid damage from static electricity. Do not touch the
top or bottom of the circuit board. If possible, wear a wrist-strap and use an anti-static
bag.
Caution:
The connector pins can be bent or damaged if the module is handled roughly, or if misaligned
and then forced into position.
Procedure
1. Locate the VoIP module slot (see
the figure on page 24).
2. Unscrew the locking screw attaching the VoIP module to the motherboard (see
the
figure on page 24).
3. Open the latches on both sides of the module slot.
The module lifts up.
4. Pull out the module.
Hold the module only at the edges.
Replacing the G430 cover
About this task
Electrostatic alert:
Do not touch any components on the printed circuit board.
Procedure
1. Place the G430 cover back on the unit.
2. Screw in the 8 cover screws you previously removed.
Their locations are indicated by small arrows etched into the cover:
• One screw on the top (see the figure on page 22).
• Four screws on the right side (see the figure on page 22).
Installing the MP120 VOIP module
26 Configuring V.150.1 on Avaya G450 and G430 Branch Gateway May 2014
Comments? infodev@avaya.com


 To Next Page