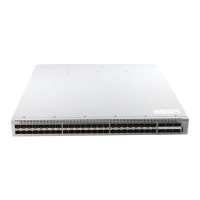
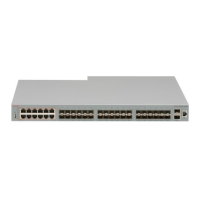
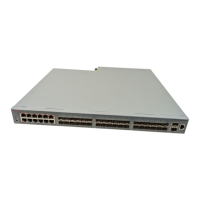
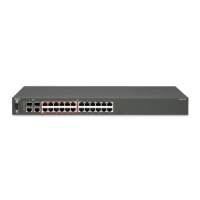
The switch chassis must be securely mounted in an equipment rack.
Procedure
1. Ensure that the chassis is securely mounted in a rack before installing the MDA.
2. Loosen the two thumb screws on the MDA blanking plate and remove the blanking plate
from the front of the chassis.
3. Remove the MDA from the protective packaging. Ensure that you remove the packing
around the insertion pins on the rear of the MDA.
4. Grasp the MDA using both handles, one in each hand.
5. Align the MDA so that the card edges line up with the card guides in the chassis.
6. Insert and slide the MDA into the opening on the front of the chassis. Firmly press the MDA
into the MDA slot until it is fully seated.
Important:
Inserting the MDA can require a large amount of force to ensure that the MDA is fully seated.
7. Verify that the MDA is fully seated and tighten the two thumb screws to secure the MDA
module.
Caution:
Risk of equipment damage
If the MDA is not fully seated, do not use the thumb screws in an attempt to pull in the
MDA. This can result in deformation of the MDA.
Next steps
The default MDA status is Enabled and the MDA ports can function immediately after you install the
MDA. For more information about configuring the MDA status and MDA ports, see Getting Started
with Avaya Virtual Services Platform 7000 Series, NN47202–303.
Preparations for network connectivity
62 Installing Avaya VSP 7000 Series August 2014
Comments? infodev@avaya.com
 Loading...


