99
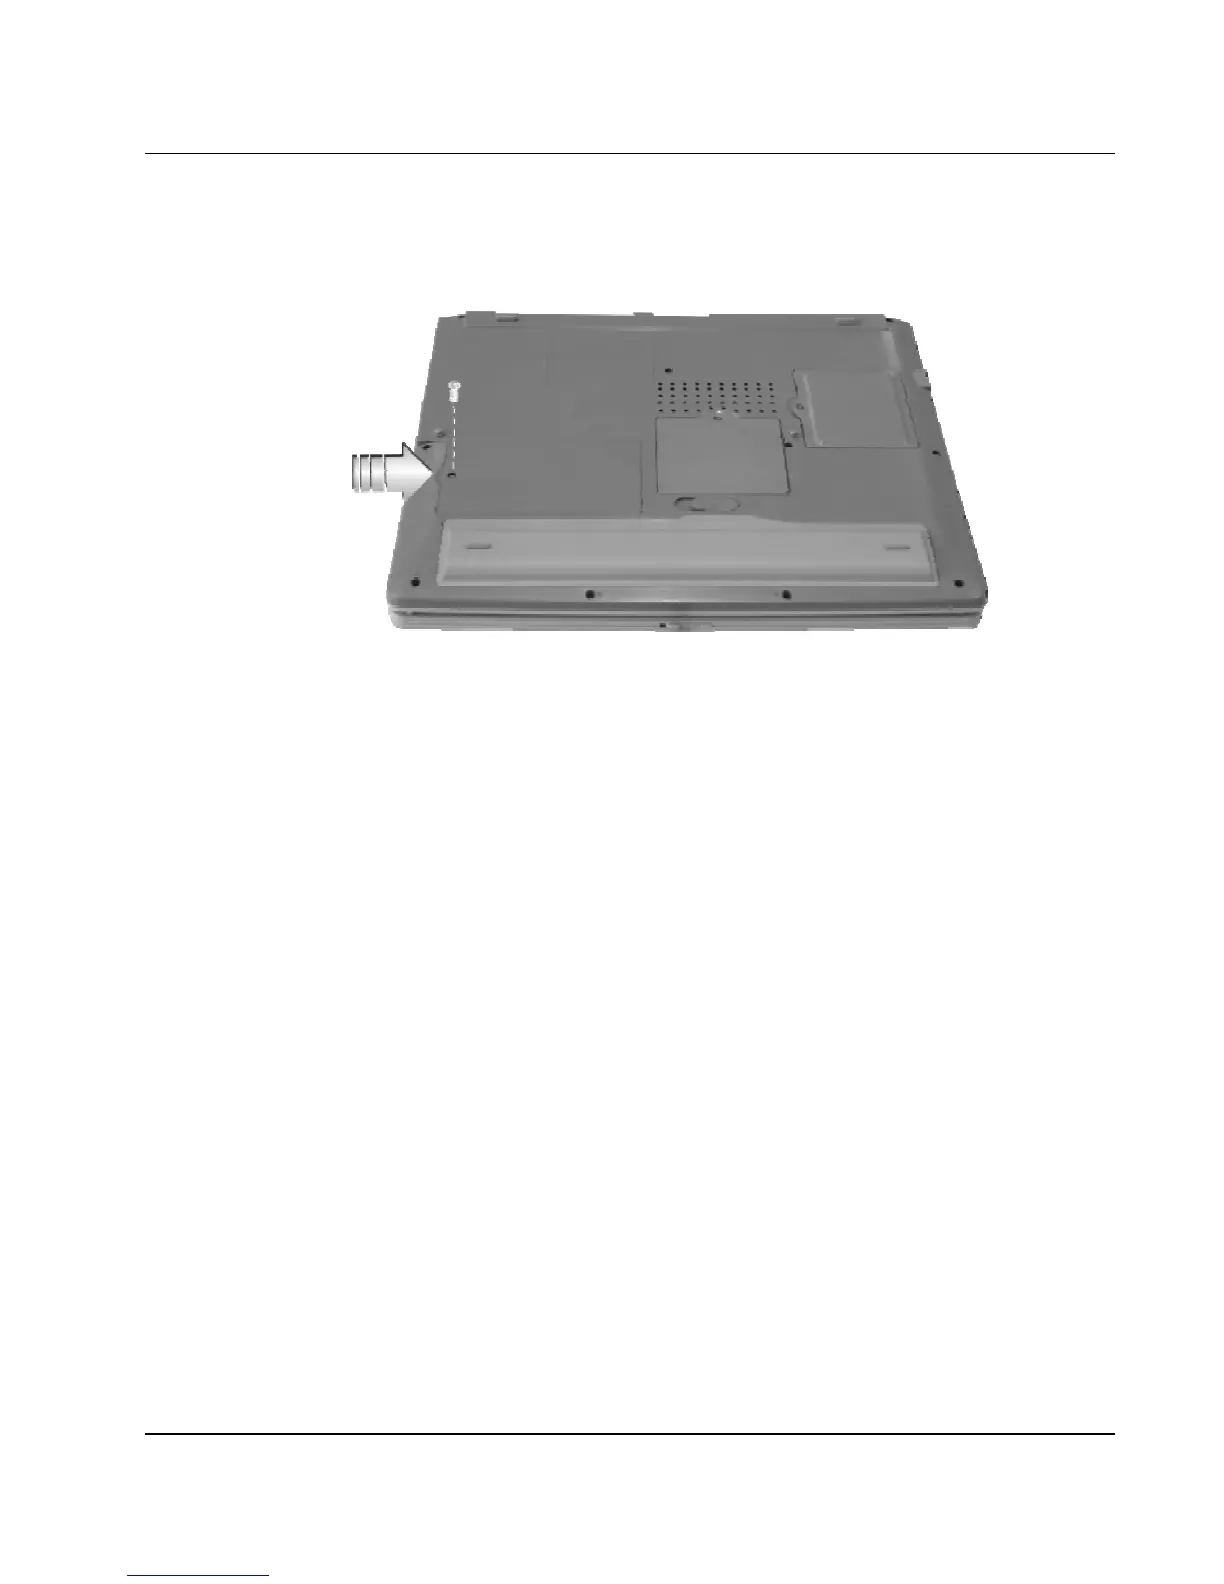
1. Remove the screws and open the cover by lifting its upper side cover.
2. Take out the hard disk from the compartment by finger carefully
3. Remove the crane screws located at each side of the hard disk.
4. Remove the connector from the hard disk gently.
5. Attach the connector to the new hard disk precisely.
6. Rotate and tighten the crane screws to the new hard disk.
7. Place the hard disk back to the compartment and push the hard disk
forward into the connector side of the computer until the hard disk is
attached to the computer.
8. Cover the lid, then rotate and tighten the screws.
9. Set the boot device as optical disk drive and Primary Master as Auto on
BIOS setup menu. Please refer to Chapter 6 about the setting of BIOS
setup menu. Then, boot the system by using WinXP CD-ROM and the
system will detect the hard disk automatically and prompt you how to
format the new disk.
 Loading...