Chapter 3: Installing KeyStudio 7
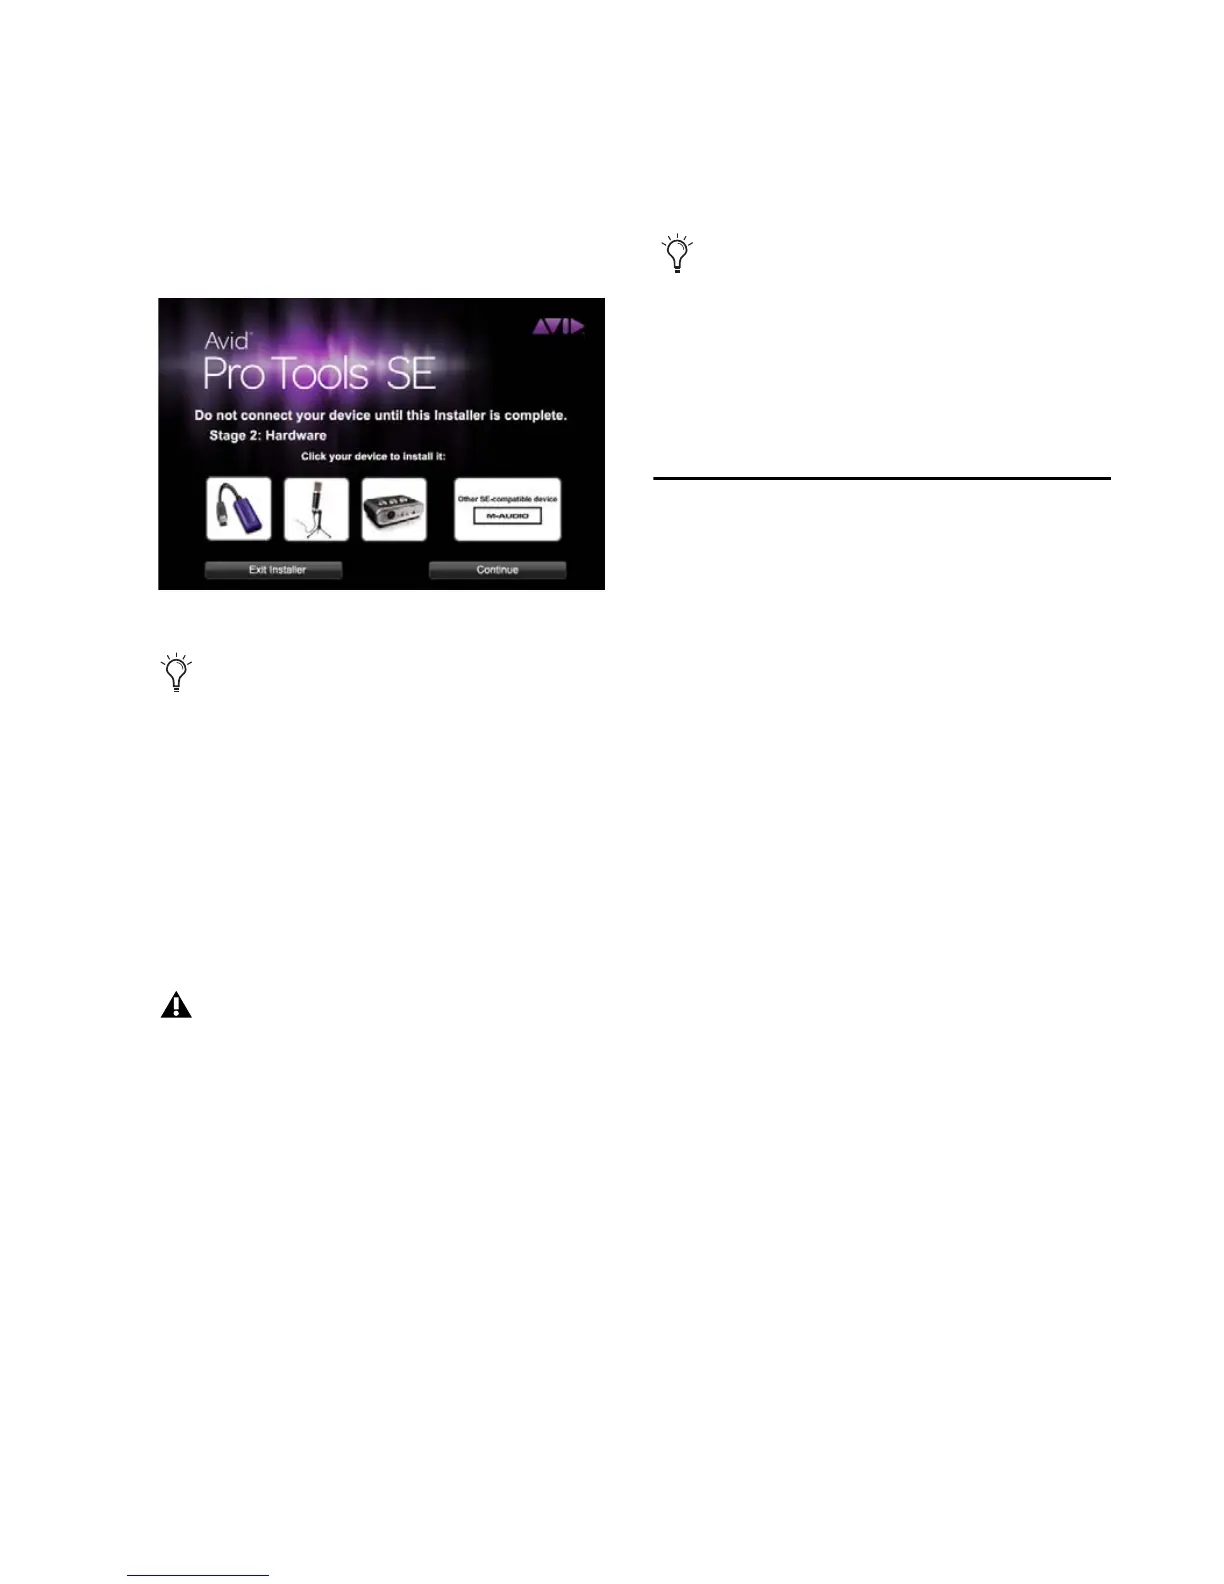
4 When the following screen appears, choose
the picture of USB Micro, and follow the on-
screen instructions to install the USB Micro
driver.
5 Once the installation is complete and your
computer has been restarted, connect USB Mi-
cro to an available USB port on your computer.
6 Windows XP may ask if you want to search the
Internet for a driver. Select “No, not this time”
and click “Next.”
7 If the Found New Hardware Wizard dialog ap-
pears, select “Install the software automatically”
and click “Next.”
8 Click “Finish” once the software has been
installed.
MP3 Export Option
The MP3 Export Option lets you create MP3 files
from Pro Tools sessions when exporting a region
or a Timeline selection as a new audio file.
With the MP3 Export Option, the MP3 file type
is available when using File > Export > Audio.
Pro Tools uses the Fraunhofer codec for encod-
ing MP3 files.
Authorizing the MP3 Export Option
The MP3 Export Option is a paid option and can
be purchased and authorized when you export
an audio file as an MP3.
To authorize the MP3 Export Option using an
authorization code:
1 Launch Pro Tools.
2 Open a session.
3 Click on a region or make a Timeline selection
and choose File > Export > Audio.
4 Select Compressed MP3 as the File Type.
5 Click Export.
6 In the Pro Tools MP3 Option dialog, click Au-
thorize.
7 In the Pro Tools MP3 Export Option dialog, se-
lect Manual Activation, then click Next.
Driver Selection - USB Micro
You may be notified that the driver being in-
stalled has not passed Windows Logo Test-
ing, or asked whether the program you wish
to run is a trusted application. Click “Con-
tinue Anyway” (Windows XP) or “Install”
(Windows 7) to proceed with the installa-
tion.
Windows XP users may encounter addi-
tional dialog boxes. If so, proceed with steps
6 through 8.
If the Found New Hardware Wizard
reappears, repeat steps 6 through 8.
If the Windows Logo Testing or “trusted
application dialog appears, Click “Con-
tinue Anyway” (Windows XP) or “Install”
(Windows 7).