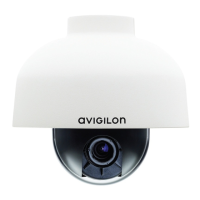
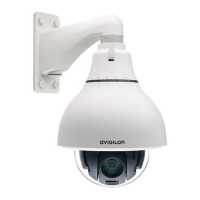
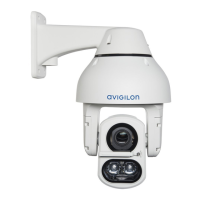
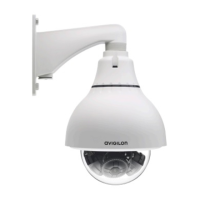
1. Push the dome camera into the 1 1/2” NPT mount adapter then twist until it locks into place.
NOTE: Be careful not to trap any cables between the dome camera housing and the mount adapter.
2. Use the Torx key included with the dome camera to tighten the three screws in the mount adapter.
3. Turn the dome camera and mount adapter until the camera heads are facing the right directions.
4. Use the locking nut to lock the dome camera in to place.
Assigning an IP Address
The camera automatically obtains an IP address when it is connected to a network.
NOTE: If the camera cannot obtain an IP address from a DHCP server, it will use Zero Configuration Networking
(Zeroconf) to choose an IP address. When set using Zeroconf, the IP address is in the 169.254.0.0/16 subnet.
The IP address settings can be changed using one of the following methods:
l Camera's web browser interface: http://<camera IP address>/
l Network video management software application (for example, Avigilon Control Center (ACC)™ software).
l ARP/Ping method. For more information, see Setting the IP Address Using the ARP/Ping Method on
page21.
NOTE: The default camera username is admin and the default password is admin.
Assigning an IP Address 14
 Loading...