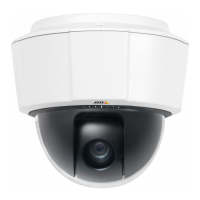
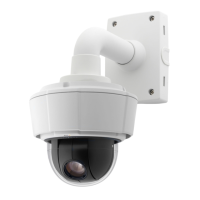
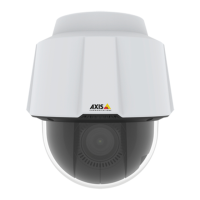
AXISP55NetworkCameraSeries
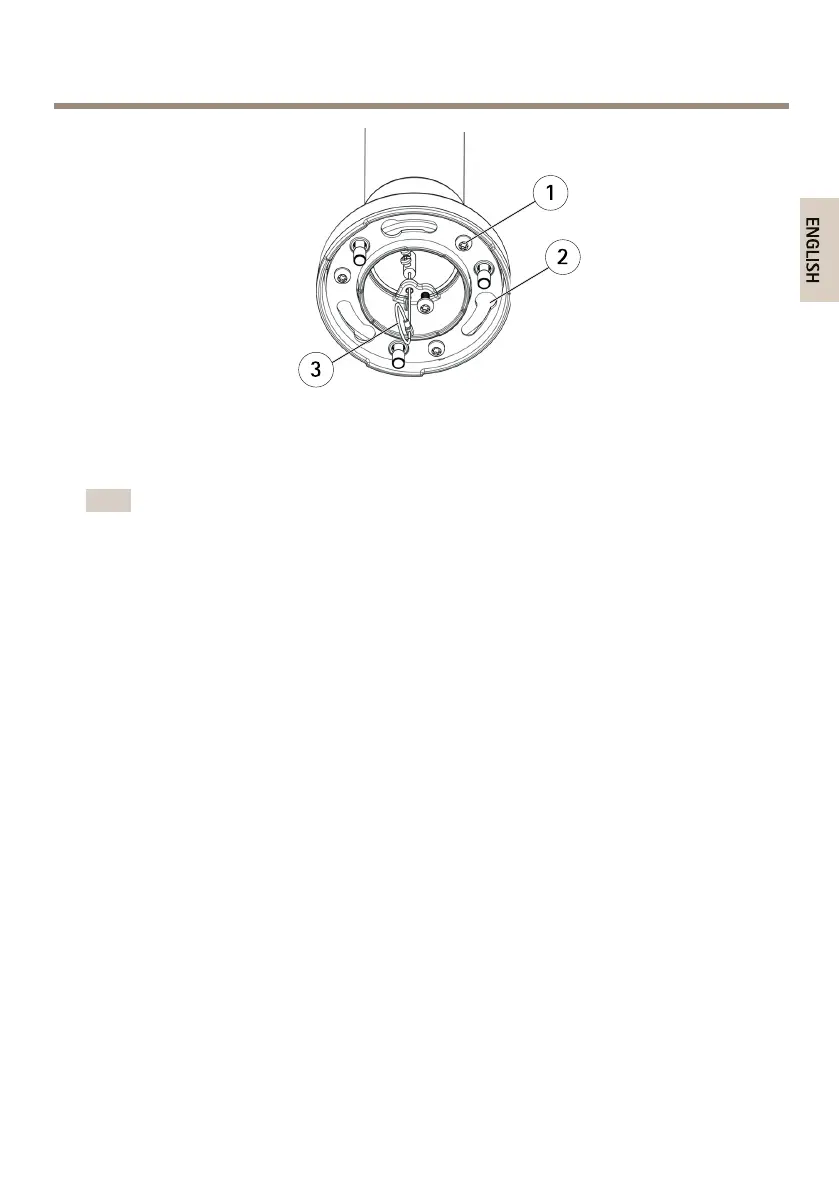
1
Screw
2
Slotsforunitholders
3
Safetywire
Note
•Becarefulnottodamagethecableswhenconnectingthem.
•Makesurethatthefoamgasketholesarealignedwiththecabletracksand,ifapplicable,
removethecut-outpieceforthemulti-connectorcablefromthefoamgasket.
4.Connectthenetworkcableandthemulti-connectorcable(soldseparately),ifapplicable,
tothecamera.
5.Turnthecableholderstokeepthecablesinplace.
6.Putthecamerabaselidbackinitsoriginalpositionandtightenthescrews(torque
1.5Nm).
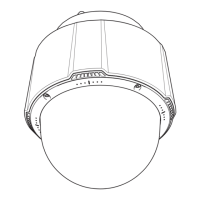
7.Slidetheunitholdersonthenetworkcameraintotheslotsinthemountingbracketand
rotatethecameraunit.
8.Securethenetworkcameratothemountingbracketbytighteningthescrews.
AccesstheProduct
AXISIPUtilityandAXISCameraManagementarerecommendedmethodsforndingAxisproducts
onthenetworkandassigningthemIPaddressesinWindows®.Bothapplicationsarefreeandcan
bedownloadedfromwww.axis.com/techsup
Theproductcanbeusedwithmostoperatingsystemsandbrowsers.Therecommendedbrowsersare
•InternetExplorer
®
withWindows
®
•Safari
®
withOSX
®
•Chrome
TM
orFirefox
®
withotheroperatingsystems.
Formoreinformationaboutusingtheproduct,seetheUserManualavailableatwww.axis.com
21