AXISQ60Series
6.Turnthecableholderstokeepthecablesinplace.
7.Putthecamerabaselidbackinitsoriginalpositionandtightenthescrews(torque
1.5Nm).
8.Slidetheunitholdersonthenetworkcameraintotheslotsinthemountingplateand
rotatethecameraunit.
9.Installthesuppliedmidspan.Seepage25.
DropCeilingMount
WARNING
Thecombinedweightofthecameraandceilingmountisapproximately3200g(7.1lb.).
Makesurethattheceilingmaterialisstrongenoughtosupportthisweight.
NOTICE NOTICE
NOTICE
Theceilingtileshouldbe5–60mm(0.2–2.4in.)thick.
1.Removetheceilingtileinwhichthedropceilingmountistobetted.
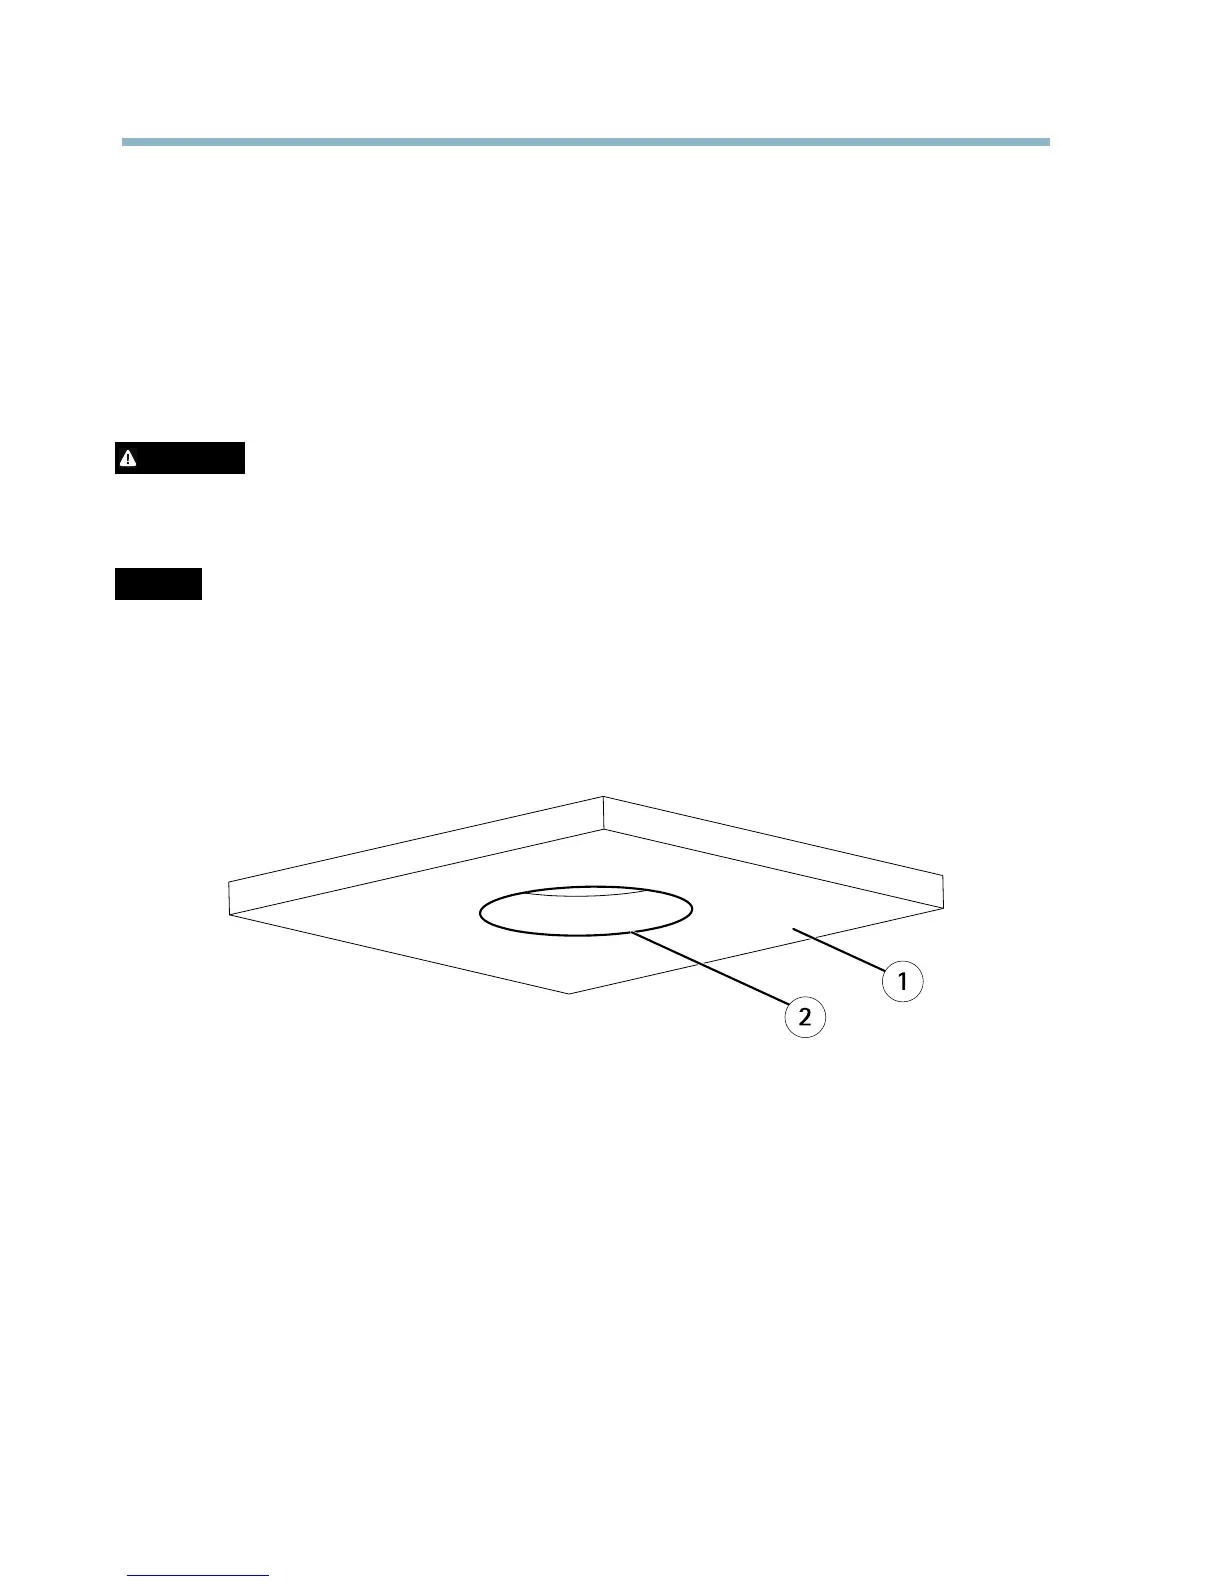
2.Cutaholeintheceilingtileforthedropceilingmount.Usethesuppliedtemplateto
markthepositionandcutaroundthetemplate.
1
Ceilingtile
2
Holediameter225mm(8.9in.)
3.Assembletheceilingbracketandattachittotheceilingtile.Makesurethearrowson
themountingplateandtheceilingbracketarepointinginthesamedirectionforthe
logotypesonthecameraandthetrimringtoalign.
4.Tightenthebracketarmscrews.
5.Loosenthecamerabaselidscrewsandremovethecamerabaselid.
6.Routeandconnectthenetworkcableandthemulti-connectorcable(soldseparately),if
applicable,tothecamera.
20