7
ASSEMBLY
7
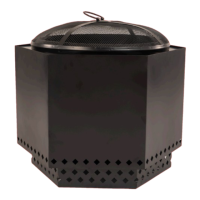
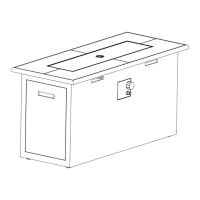
Orient the Air Vent 8 so the small vent-stop tab faces UP into the
Bowl
7
(HINT: place tab in circular hole with 2 notches).
Attach using M5x10 Screw/Nut
H
. Tighten all hardware.
NOTE: When the fire bowl is in use, it is best to keep the air vent
closed as opening the air vent will decrease the air circulation and
diminish
your fire.
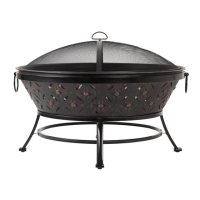
6
Attach Handle to Bowl . Slide M6x18 Washer
C
onto
M6x15 Screw
A
, then insert through holes and secure with
M6x9 Lock Washer
B
and M6x15 Nut
A
. Tighten all hardware.
Hardware Used: 2x M6x15 Screw/Nut,
M6x9 Lock Washer,
M6x18 Washer
8
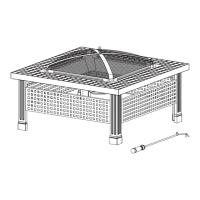
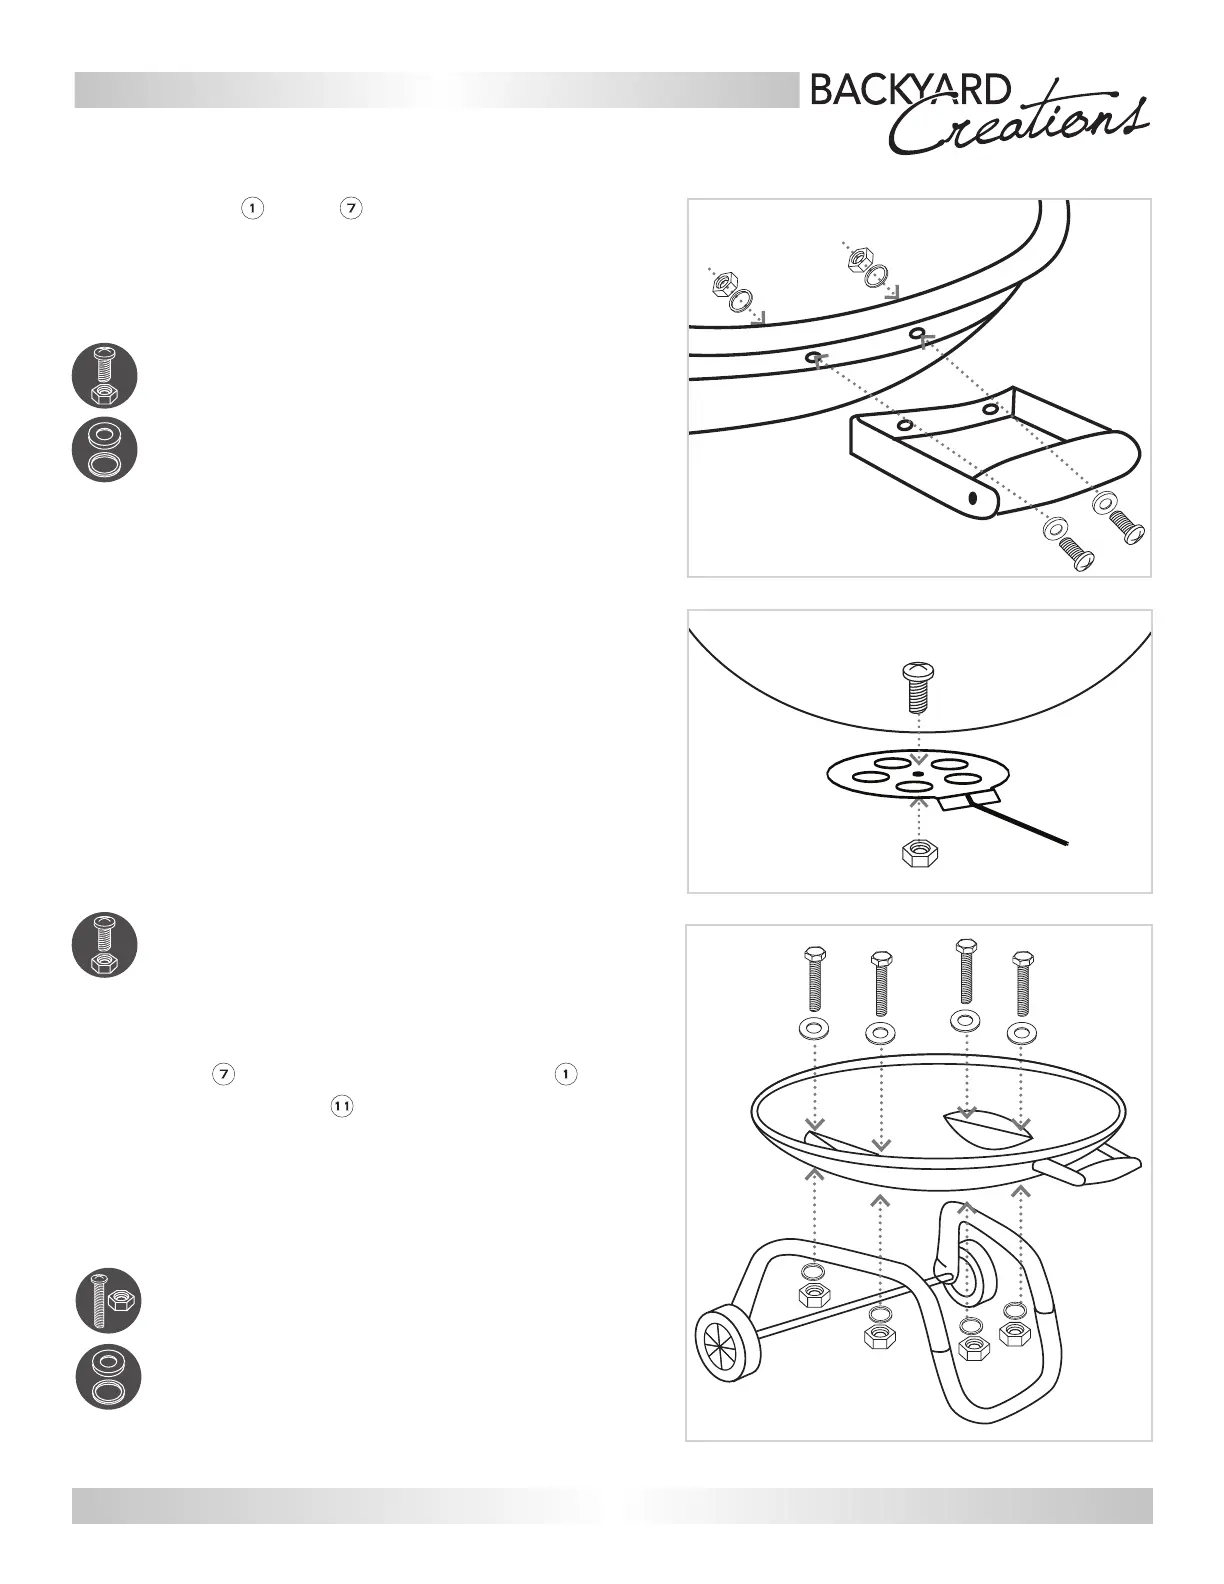
Place Bowl on leg assembly. Be sure the Handle is
directly above the U-Leg . Align holes in Bowl with the
holes in the leg stand assembly. Slide M6x18 Washer
C
onto
M6x35 Screw
E
, then insert
through holes in the Bowl and
Leg Assembly and secure with M6x9 Lock Washer
B
and
M6x35 Nut
E
.
Repeat for other side. Tighten all hardware.
Hardware Used: 4x M6x35 Screw/Nut,
M6x9 Lock Washer,
M6x18 Washer
6
7
8
Hardware Used: 1x M5x10 Screw/Nut
Contact us for assistance: cservice@welltraveled.net