1.18 Use Cases 121
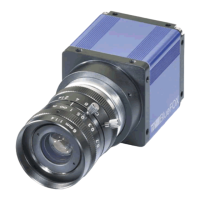
Figure 14: Saturation via Color Transformation Control dialog
4. Afterwards, click on "Enable".
5. Since driver version 2.2.2, it is possible to set the special color correction matrices at
(a) the input (sensor),
(b) the output side (monitor) and
(c) the saturation itself using this wizard.
6. Select the specific input and output matrix and
7. click on "Enable".
8. As you can see, the correction is done by the host ("Host Color Correction Controls").
Note
It is not possible to save the settings of the "Host Color Correction Controls" in the mvBlueFOX.
Unlike in the case of Figure 14, the buttons to write the "Device Color Correction Controls" to the
mvBlueFOX are not active.
9. Finally, click on "Apply".
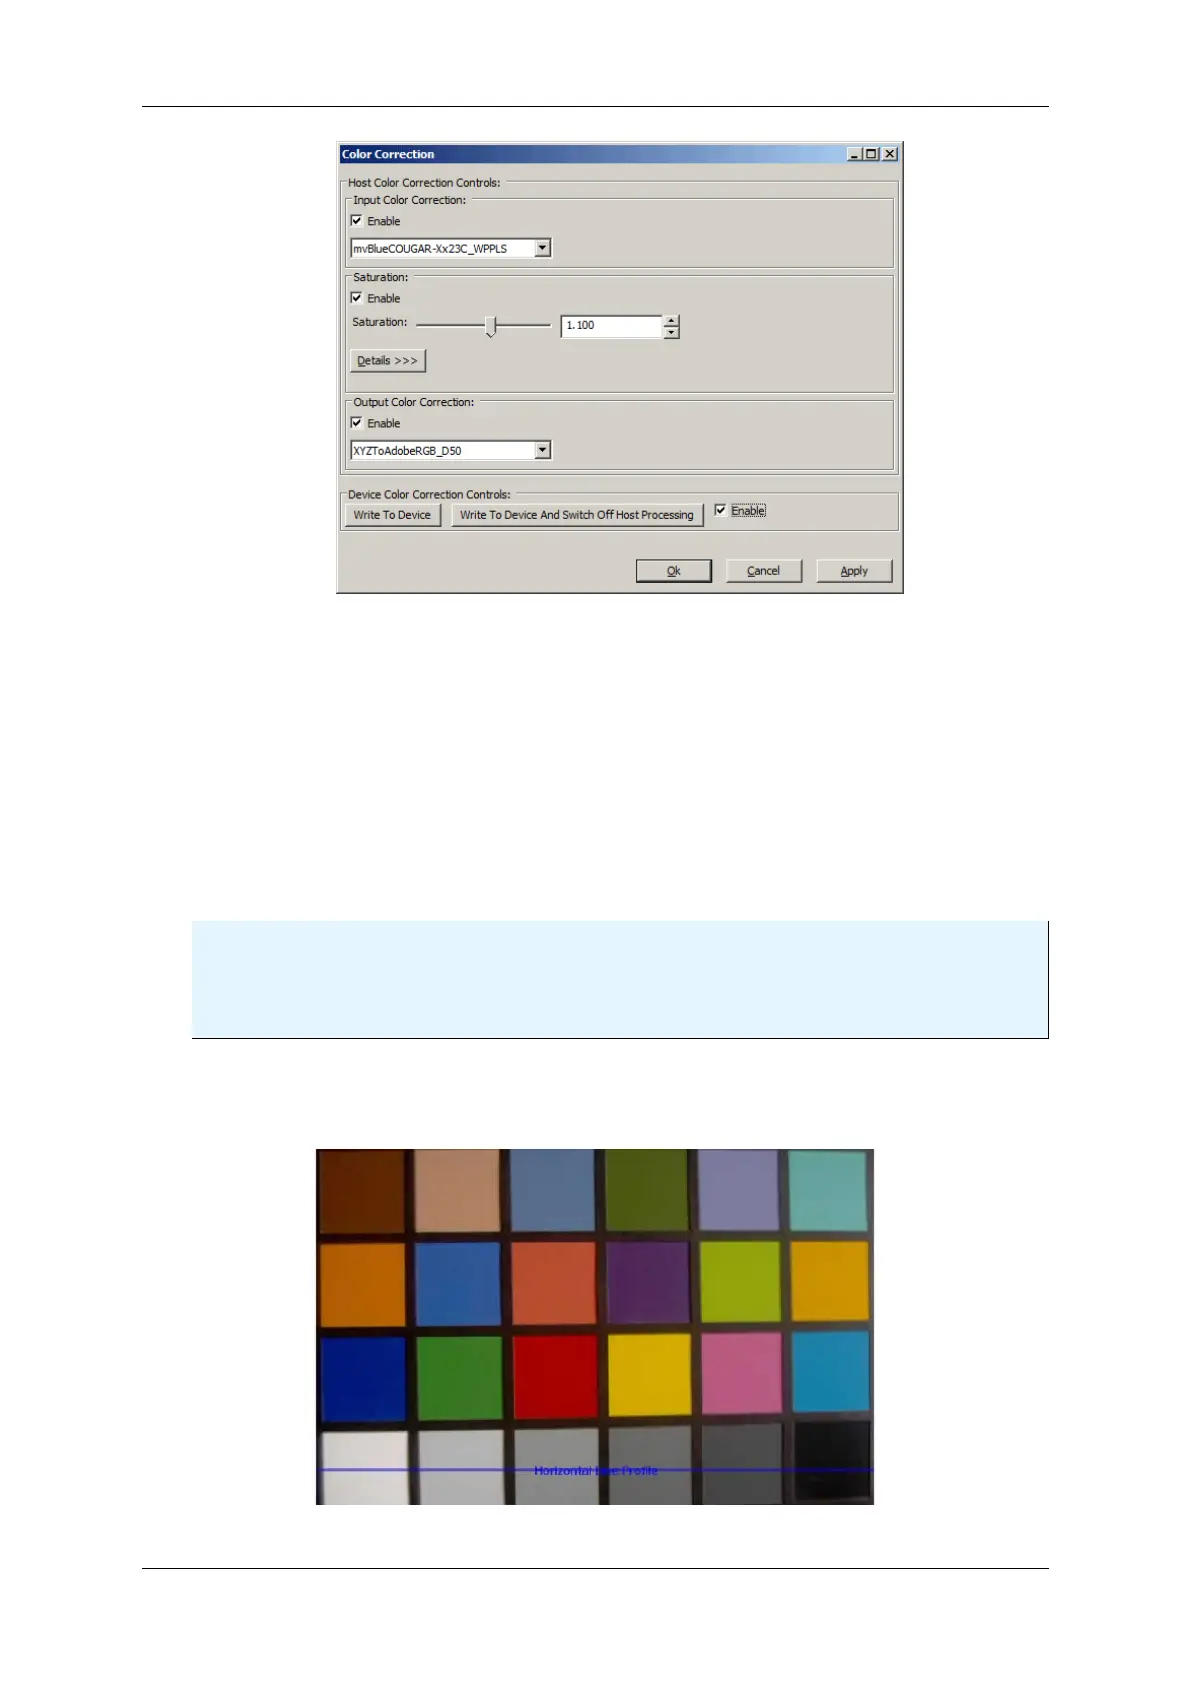
After the saturation, the image will look like this:
Figure 15: After adapting saturation
MATRIX VISION GmbH
 Loading...