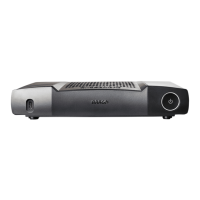
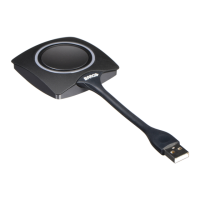
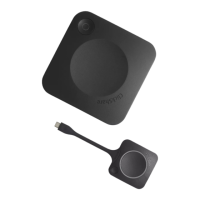
R5900120 /03 ClickShare CX-50 Gen240
3.12 Flexible Meeting Room setup
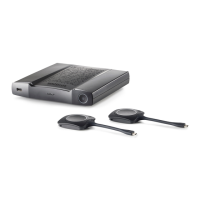
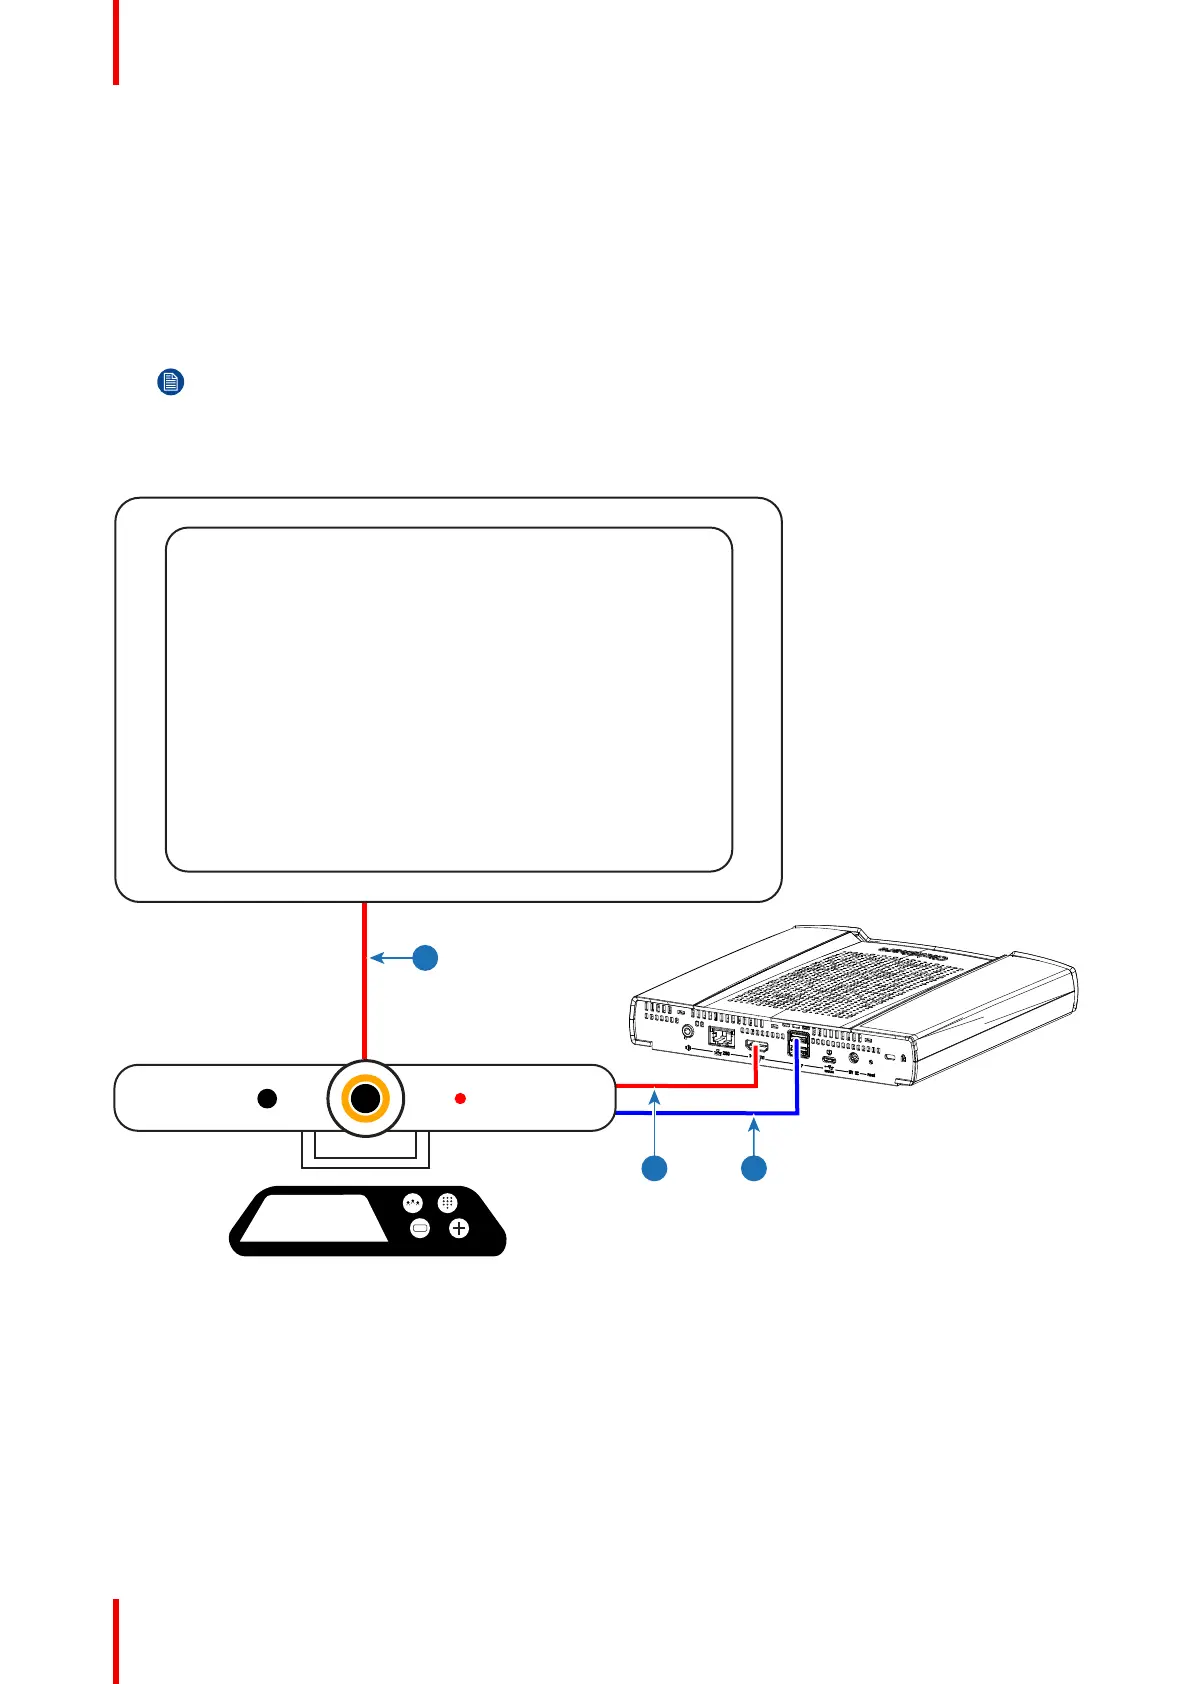
Collaboration bar
1. Connect the collaboration bar to the back ports of the CX-50 Gen2.
a) Connect an “HDMI” cable from the “HDMI out” port of the CX-50 Gen2 to the “HDMI in” port of the
collaboration bar (reference 1).
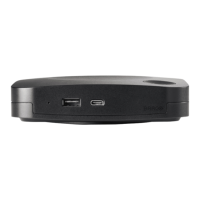
b) Connect a “USB” cable from the “USB-A” port of the CX-50 Gen2 to the dedicated “USB” port of the
collaboration bar (reference 2).
Note: Dual screen setups requires additional switching hardware.
Plugging a secondary display into the front “USB-C” port directly is not supported!
2. Connect an ”HDMI” cable from the “HDMI out” port of the collaboration bar to the “HDMI in” port of the
primary display (reference 3).
Image 3–10 Example collaboration bar connections
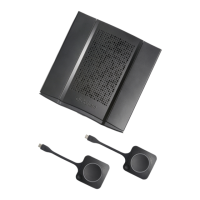
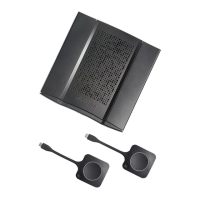
Modular setup
1. Connect an “HDMI” cable from the “HDMI out” port of the CX-50 Gen2 to the “HDMI in” port of the room
controller (reference 1).
2. Connect a “USB-A to USB-C” cable from the “USB-C” port at the front of the CX-50 Gen2 to the “USB-A”
of the room pc (reference 2).
3. Connect a “USB” cable from the “USB-A” or “USB-C” port at the back of the CX-50 Gen2 to the external
peripherals (reference 3).
CX-50 Gen2 Installation
 Loading...