3. Getting started
The ClickShare client software starts and its icon appears in the system tray.
On a Windows com puter:
On a Macintosh:
When the system is ready for use, a message appears close to the systray icon.
Image 3-5
The LEDs of the Button are static white.
4. To share yo ur screen on the display, click the Button.
The LEDs of the Bu tton be come static red and your s creen appears on the display. When audio is enabled on the ClickShare
Base Unit, the a udio of your laptop is also available on the audio output of the Base Unit and on the HDMI output, and it will be
played via the meeting room audio system. The icon returns to the same state as in step 3.
In the system tray, the ClickShare icon starts rotating. On Windows computers the icon changes into
.
The name of the user logged on to the laptop which is shar ing its content is briefly shown in the bottom left corner of the a dded
content.
ClickShare automatically scales the content of your s creen to the resolution of the meeting room display. The aspect ratio of yo ur
screen is mainta ined to make sure the proportions are correct.
5. To remove your c ontent from t he display, click the Button again.
The LEDs of the Button becom e static white.
6. Whe n leaving the m eeting room, unplug the Button from your laptop.
No trace of the ClickShare application is left on you r laptop.
A s econd user will replace the first user on screen just be pressing o n the button, no lo ng press is needed.
3.3 User Interface
User Interface functionality
After launching the client, the ClickShare icon appears in the system tray.
ClickShare context menu
The content of the context menu is related to the operating system.
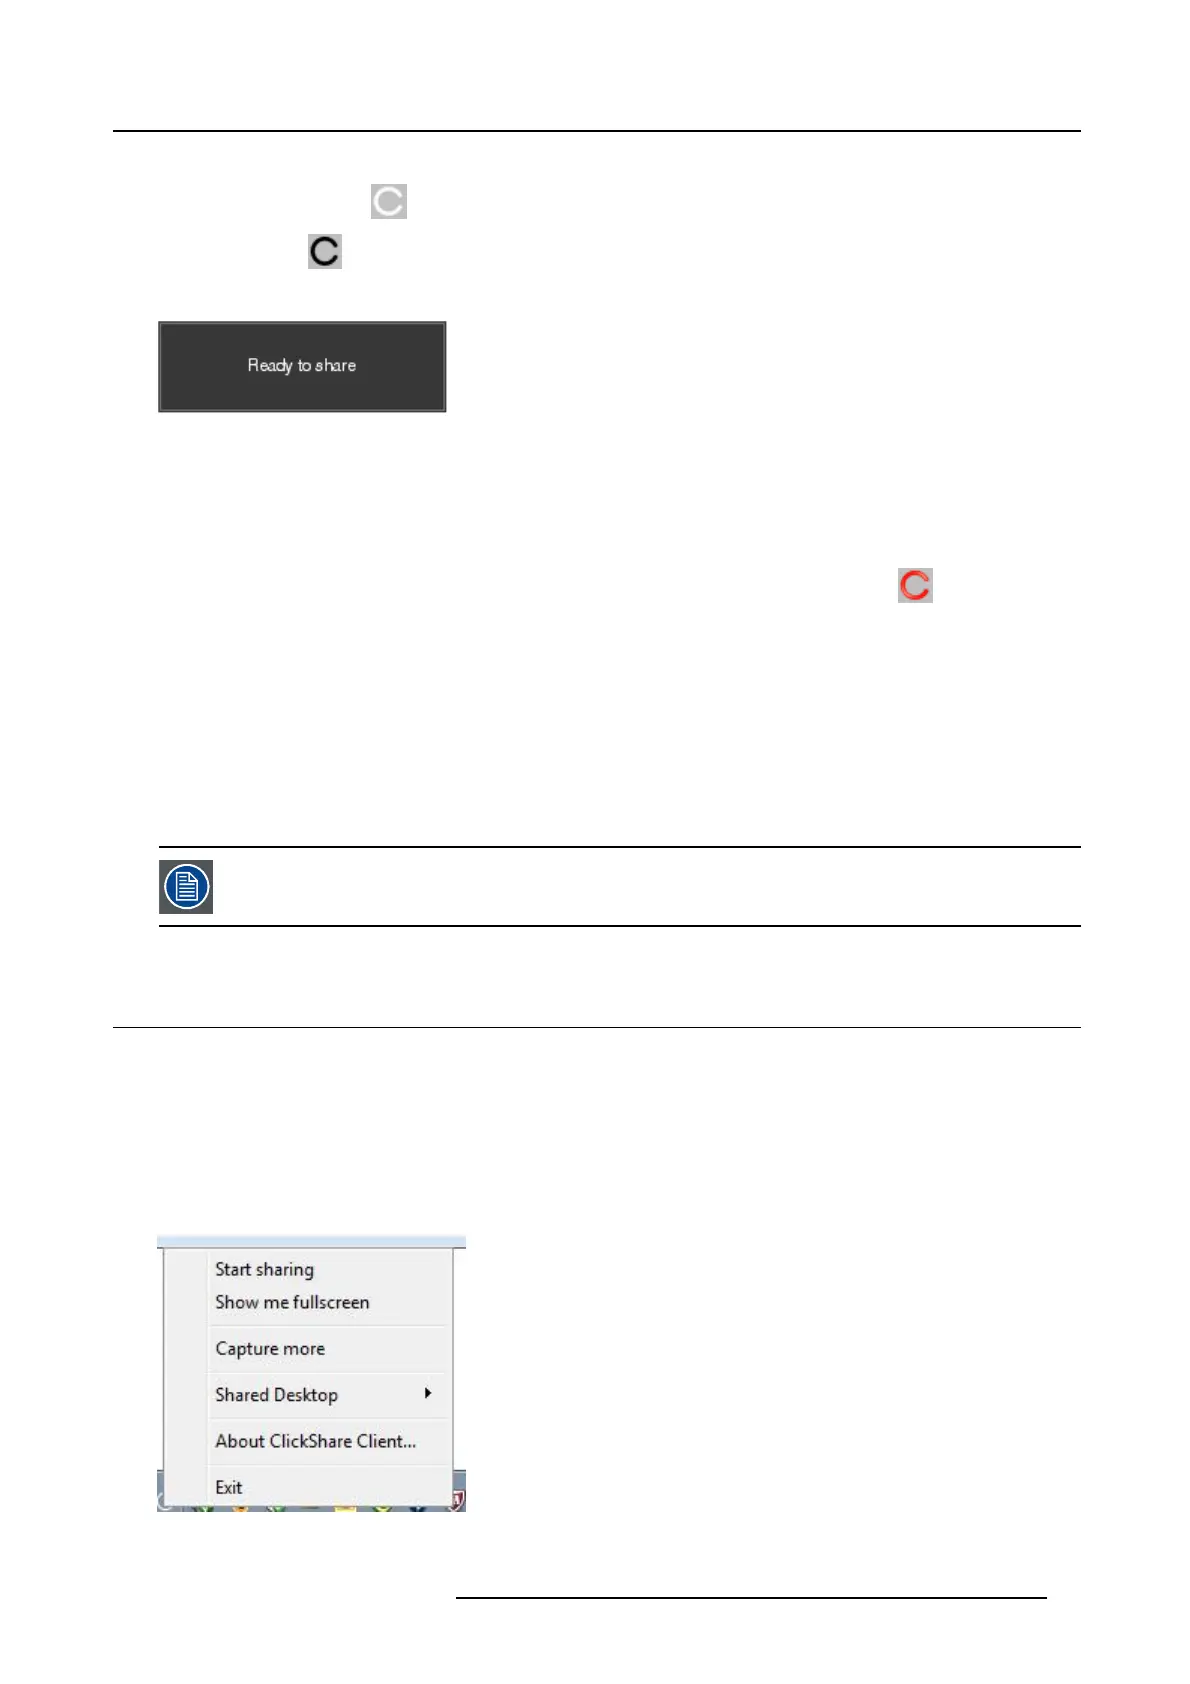
1. R ight-click the ClickShare icon in the system tray.
The context menu appears.
Image 3-6
Context m enu
R5900024 CLICKSHARE CS-100 24/07/2017 11