3. Getting started
A Button can o nly be paired to one Base Unit at a time.
The Button will alway s make connection to the Base Unit it was last paired to.
To pair a Button to the Base unit
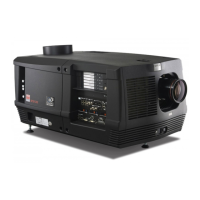
1. Insert the Button in the USB port at the front of the Base Unit you are using.
Image 3-15
Pair button
Both the LE Ds of the Button and the LEDs of the Base Unit are blinking white. This means pairing is in progress.
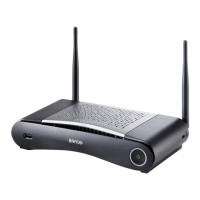
The Base Unit automatically checks whether the software of the Button is up to d ate. If not, the Base Unit updates the Button
software. This may take more tim e.
During the pairing and update proc ess, a small status bar is display.
Image 3-16
Pairing messa ge
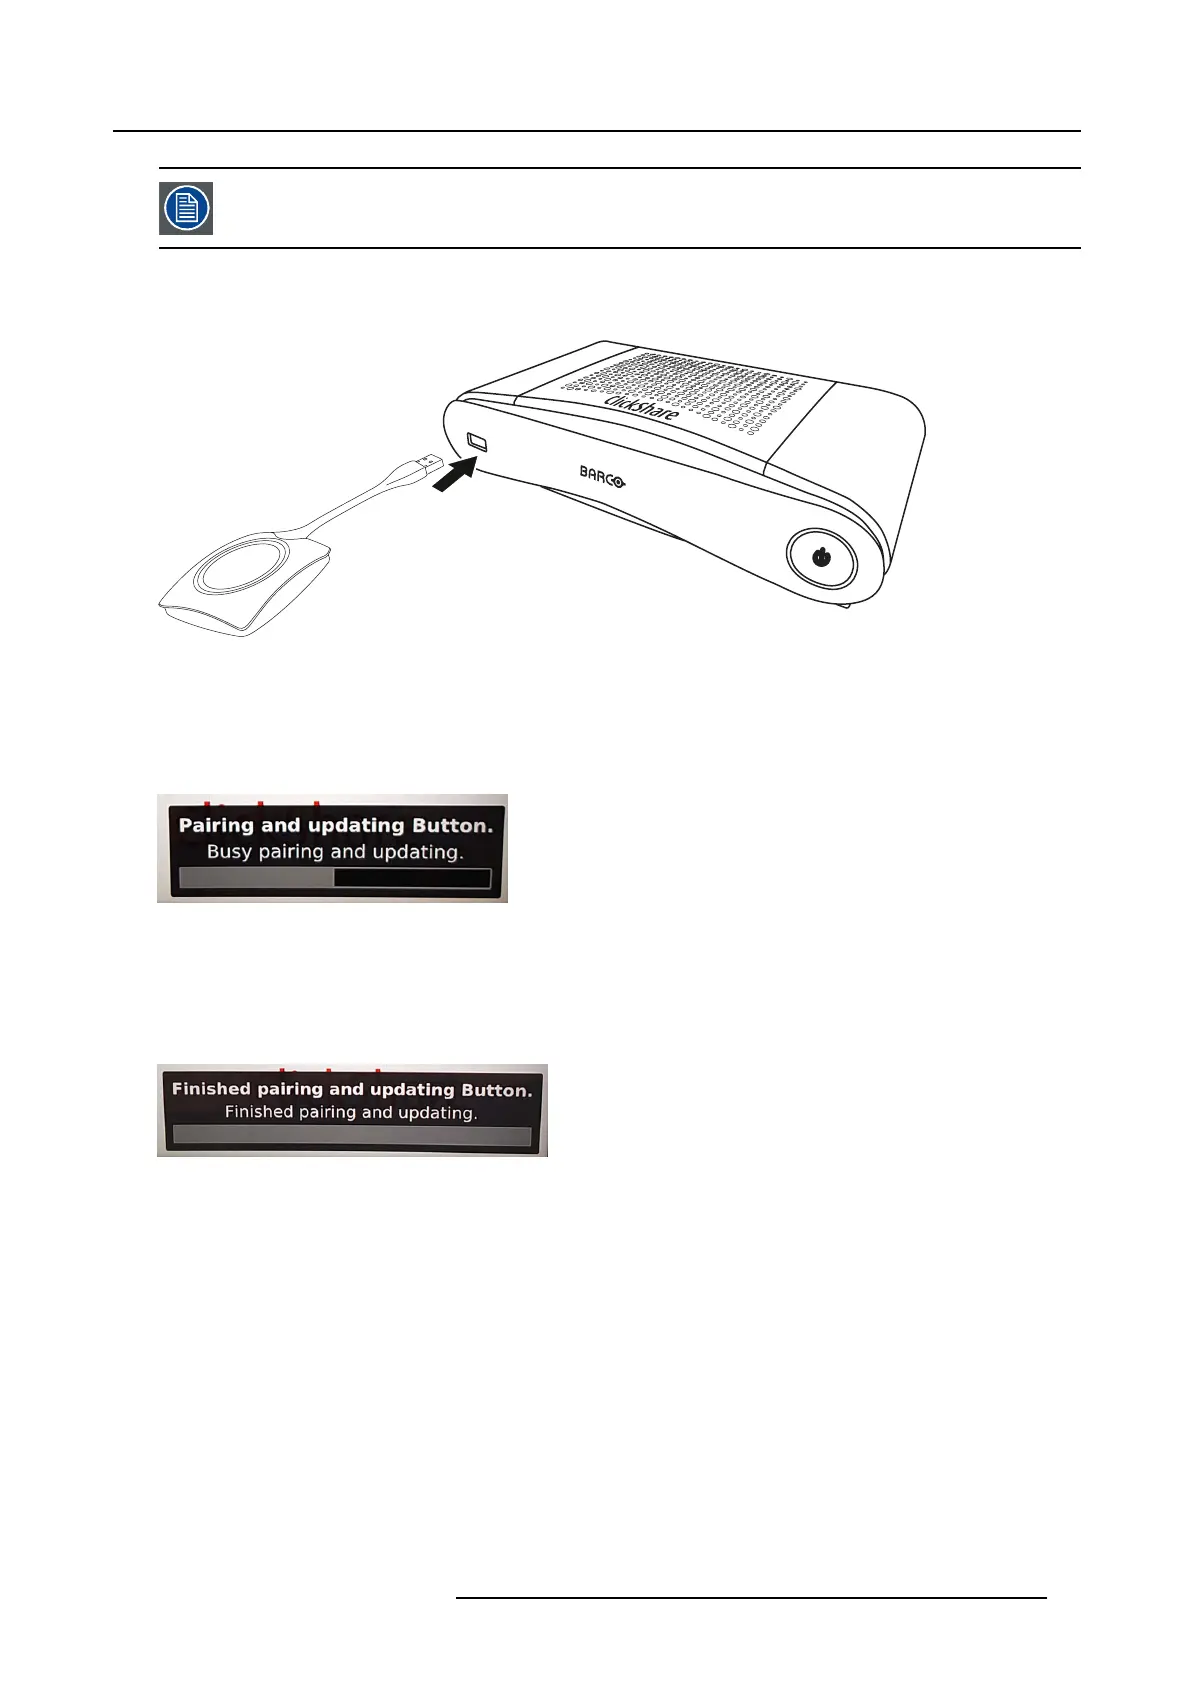
The result of the pairing process can be as follows:
- When the LEDs become static white, the Button is paired to the Base Unit, but no software update was needed. You can
unplug the Button from the Base Unit.
- When the LED s become static red, the Button is paired t o the Base Unit and the s oftware update has finished. You can unplug
the Bu tton from the Base Unit.
Image 3-17
Pairing finished
2. Unplug the Button from the Base Unit.
The B utton is now ready for use.
R5900024 CLICKSHARE CS-100 24/07/2017
17