Configuring the Camera
Basler IP Camera 21
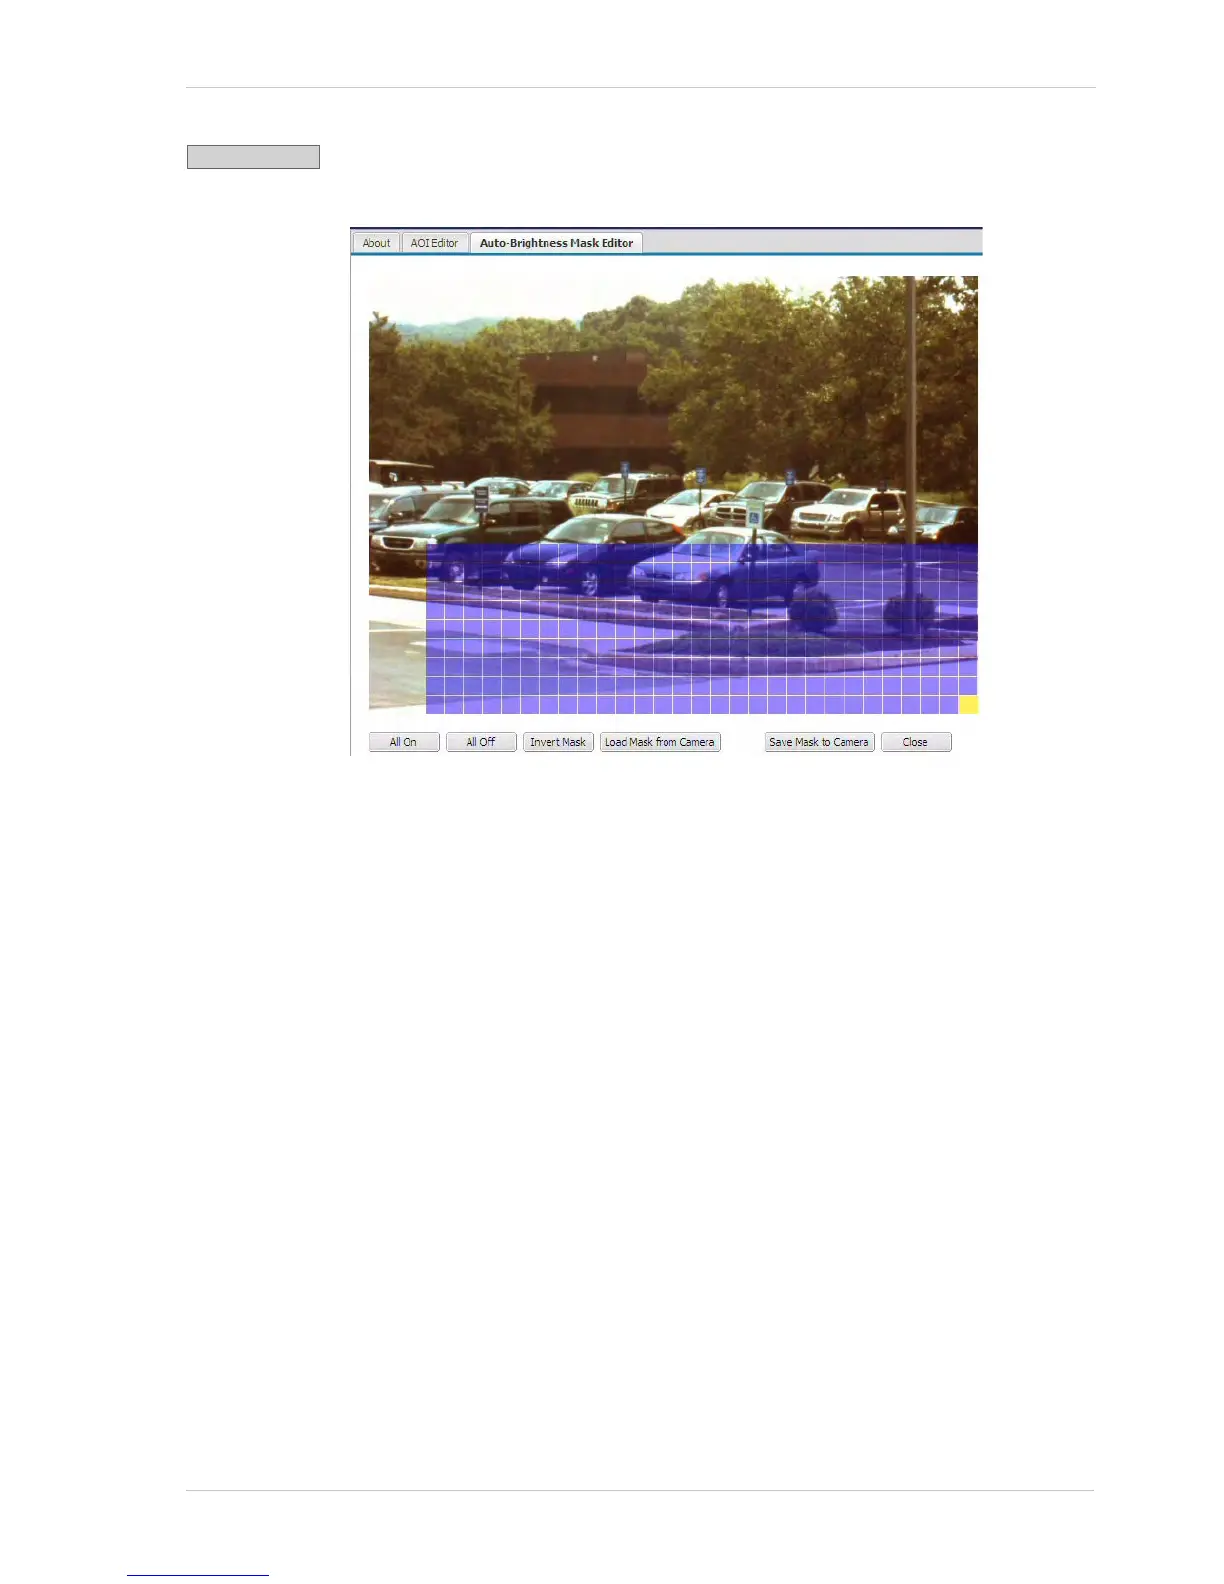
Click the Auto-Brightness Mask button to open the Auto Brightness Mask Editor
as shown below.
The auto brightness mask defines the area(s) of the image that will be used by
the camera when it performs automatic exposure, gain, and iris control (see
Section 3.3 on page 12). Highlighted areas in the editor will be included in the
auto-brightness mask and unhighlighted areas will not. To highlight an area within
the editor, simply left click your mouse and drag the cursor over the editor screen.
Normally, you should position the mask so that it covers the brightest areas of the
image. This will typically yield the best performance from the automatic exposure,
gain, and iris controls.
Note that you can set the mask so that it covers a single area as shown above or
so that it covers several different areas within the image.
You can use the All On button at the bottom of the screen to highlight all areas of
the editor and the All Off button to unhighlight all areas. Use the Invert Mask
button to swap the highlighted areas and the unhighlighted areas. Clicking the
Load Mask From Camera button will display the mask settings that are currently
saved in the camera.
Any changes you make using the mask editor will not be saved in the camera until
you click the Save Mask To Camera button. The Close button will close the editor.

 Loading...