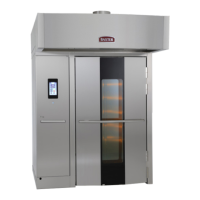
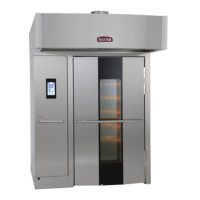
Fig. 8
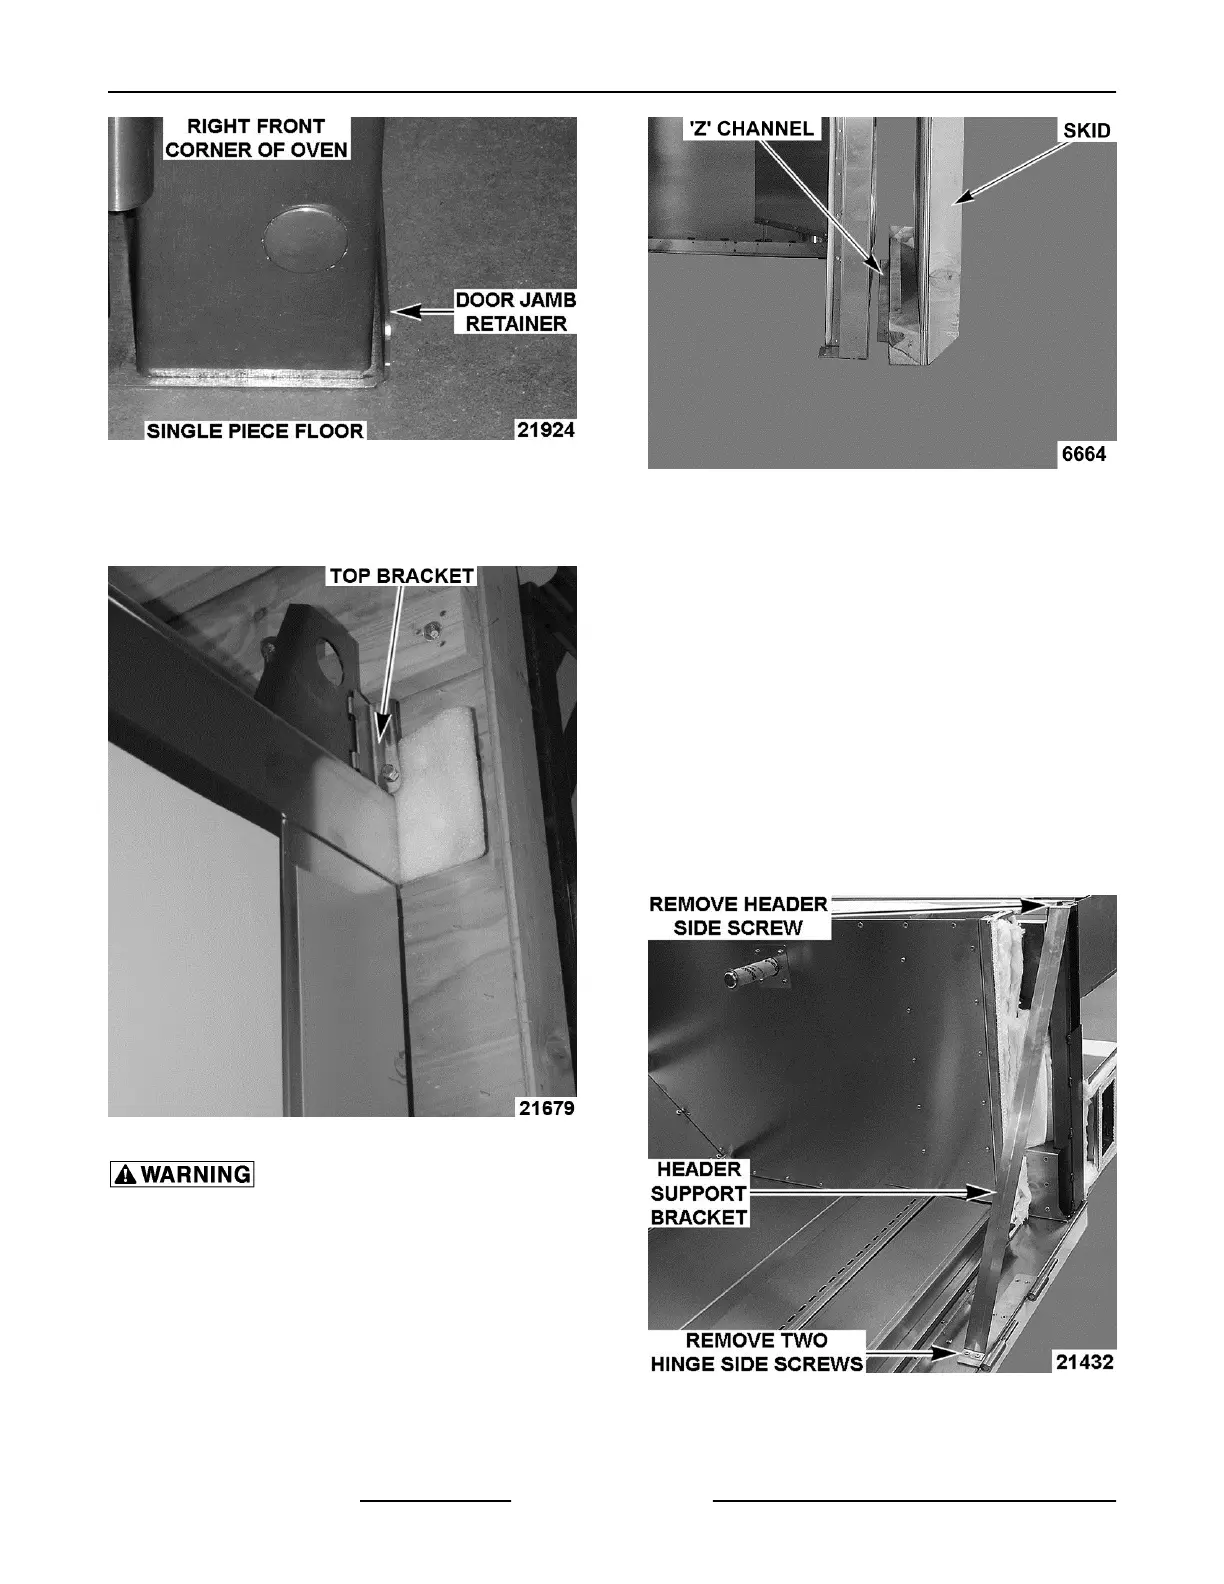
3. Once the oven is in the upright position, remove
the top two brackets securing the oven to the
skid.
Fig. 9
The z bracket location on the bottom
of the skid must be disengaged before lowering the
skid. If engaged when lowering the skid, the oven
section could fall.
A.
Pull the bottom of the skid away from the
oven to clear the Z channel.
Fig. 10
B. Lower the skid to the floor making sure that
the Z channel does not scratch the oven
side.
C. Perform the same procedure for other oven
section.
4. Remove the header support bracket.
A. Remove the two screws from hinge side of
bracket.
B. Move bracket and reinstall the hinge
screws.
C. Remove the single screw from the header
side of bracket and discard screw and
bracket.
Fig. 11
5.
Slide the oven sections together.
INSTALLATION INSTRUCTIONS OV500-EE SERIES GAS RACK OVENS AND OV500 SERIES ELECTRIC RACK
OVENS - INSTALLING OVEN
F45469 Rev. D (1019) Page 18 of 49
 Loading...