INSTALLING OVEN
This
manual is written for a new installation where you can position the oven sections while the oven is on the shipping
skids. Some installations may require that oven sections on the skids be lifted on there side and manipulated through
doorways prior to positioning sections for installation.
Prior to installing the oven, check facilities floor for being level within a maximum of 1/8" per foot up to 3/4" in all
directions using the laser level technique to determine if oven will need to be shimmed. Also check facilities floor
area at the threshold and door swing opening location to determine if facilities floor will need to be reworked.
OVEN SECTIONS
Remove all assemblies except oven sections from
skids prior to lifting oven sections. In some cases
OV500G1-EE
& OV500E1 ovens will be shipped with
sections assembled together.
NOTE: On split OV500 single rack ovens, remove the
rack lift/rotate assembly and center insulation cover
from the top of the oven prior to standing up.
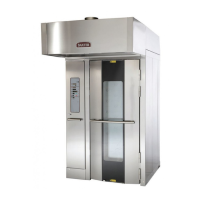
1. Place the oven sections as close to the final
position as possible, allowing enough room to
work, with the sections positioned for lifting.
A. Check for ceiling clearance. The oven is
tallest when it is approximately 60 degrees
to the floor during the raising process. If
oven section has been turned on its narrow
side in order to navigate through a doorway,
turn the oven section back to the shipping
position prior to raising.
B. Remove the bottom hold down brackets
from both pallets, but do not remove oven
sections from pallets.
DO NOT remove the two top
brackets prior to lifting units.
2. Lift the oven sections upright, using the hoist
technique. Both oven sections should be as close
as possible, but not touching.
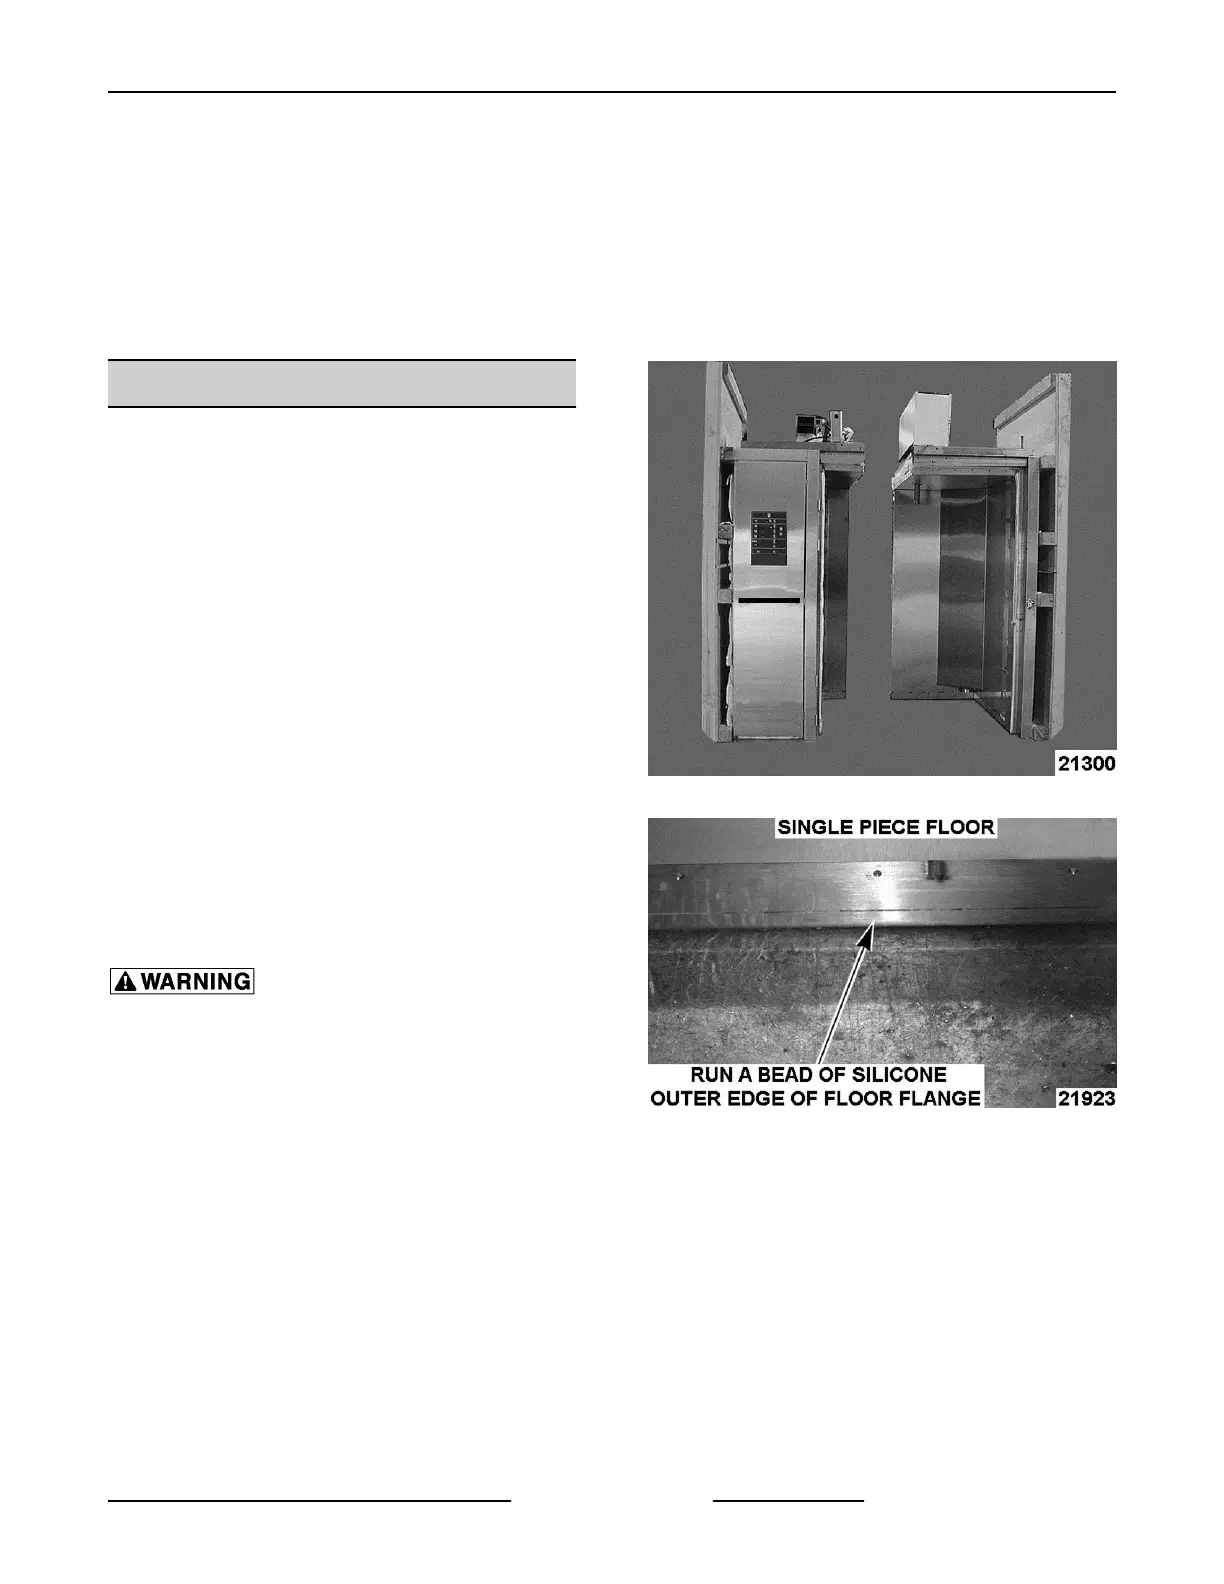
NOTE: Single rack ovens have a one piece floor. The
floor will need to be put into location with a bead of red
high temp silicone around the outer edge of floor
flange before oven sections are slid together. The right
front corner of oven will need to be lifted, to clear
flange on the floor (door jamb retainer) when installing
a one piece floor.
Fig. 6
Fig. 7
INSTALLATION INSTRUCTIONS OV500-EE SERIES GAS RACK OVENS AND OV500 SERIES ELECTRIC RACK
OVENS - INSTALLING OVEN
Page 17 of 49 F45469 Rev. D (1019)
 Loading...