Fig. 100
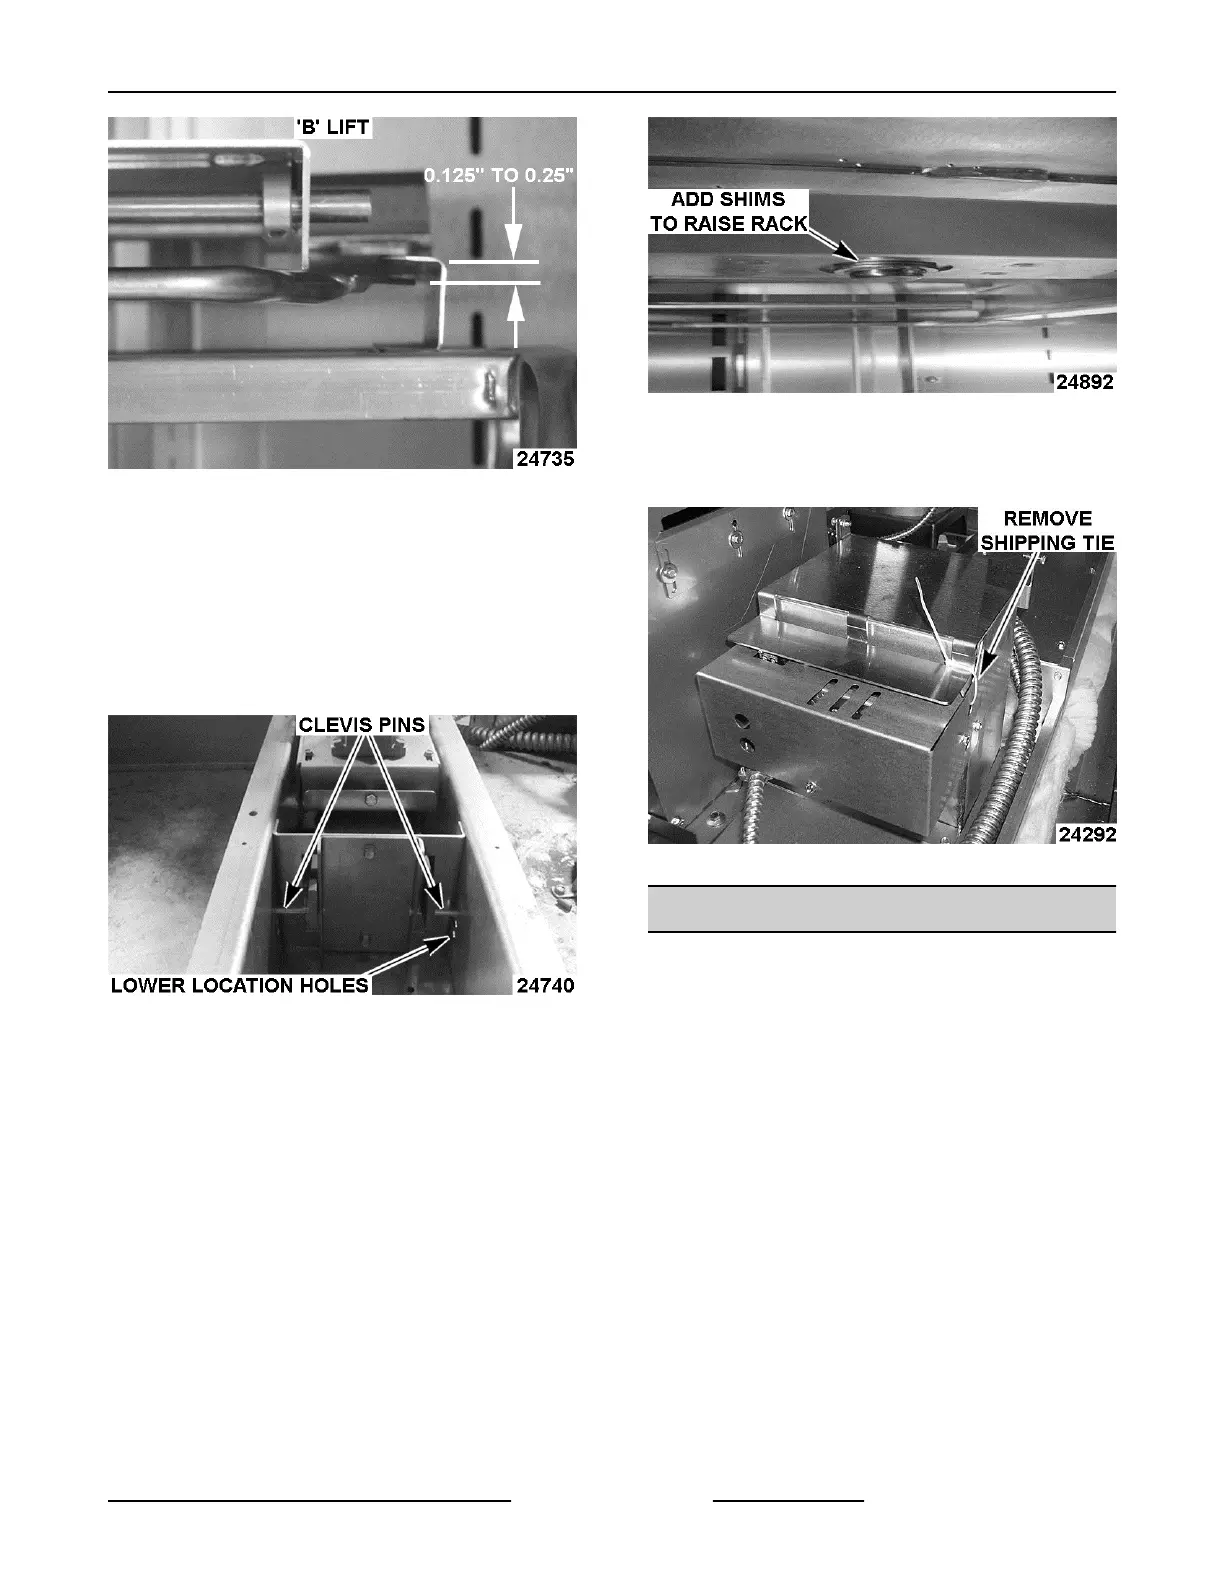
A. Access rotate/lift assembly at top of oven.
B. If carrier needs to be lower than snap ring
will allow, access clevis pins and lower
location to correct carrier height.
NOTE: Always lower left and right clevis pins the
same distance. One hole location equals 1/4"
adjustment.
Fig. 101
6.
If the carrier needs to be adjusted to get proper
spacing, remove rack and add shims between
snap ring and carrier as shown. Ten shims are
provided with each oven.
NOTE: Check multiple racks
Fig. 102
7. Snug the set screws to hold the carrier in place.
8. Remove shipping ties from vent lid.
Fig. 103
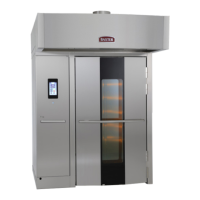
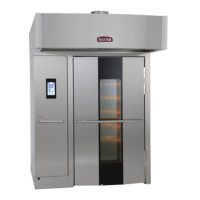
HOOD ASSEMBLY
NOTE: After the hood is installed the door assembly
can
not be lifted off the hinge pins. The door assembly
would have to be removed & installed from the door
hinges.
1. Set hood on the floor in front of oven (if hood
supplied). Remove only the necessary protective
plastic from the hood.
A. Attach side panels with 10-32 screws 10
screw holes to the back of the hood, and
ensure that the 3 screw holes are to the rear
on each side panel. Align top of hood up with
the top edge of side trim panels before
tightening the screws.
INSTALLATION INSTRUCTIONS OV500-EE SERIES GAS RACK OVENS AND OV500 SERIES ELECTRIC RACK
OVENS - INSTALLING OVEN
Page 39 of 49 F45469 Rev. D (1019)
 Loading...