Setting the door limit positions
Check whether the control unit is in learning mode. The control unit is in learning mode
when all 4 LEDs are flashing and when there is no fault present. If not, proceed as fol-
lows:
1. Withdraw the plug from the limit switch "E".
2. Press the OPEN/STOP/CLOSE buttons on the membrane keypad simultaneously
until all the LEDs are flashing.
3. Put the limit switch plug back into "E".
4. Acknowledge the emergency stop message by pressing the Stop button.
5. All the LEDs flash. You can now train the limit positions.
Caution
After every amendment of the door limit positions, you
must carry out fine adjustment of the limit positions and
check the pre-limit switch.
Attention
The absolute value encoder in the drive cannot be set.
Before the door’s limit positions are programmed, the
safety edge of the door must be connected to the door
control unit (see the "Connection" chapter).
When setting the limit positions, the process can be re-
started by pressing the buttons OPEN/STOP/CLOSE on
the membrane keypad simultaneously until all LEDs flash.
The door limit positions are set directly in the control unit. Make sure that all the LEDs
are flashing. The control unit is in dead-man mode.
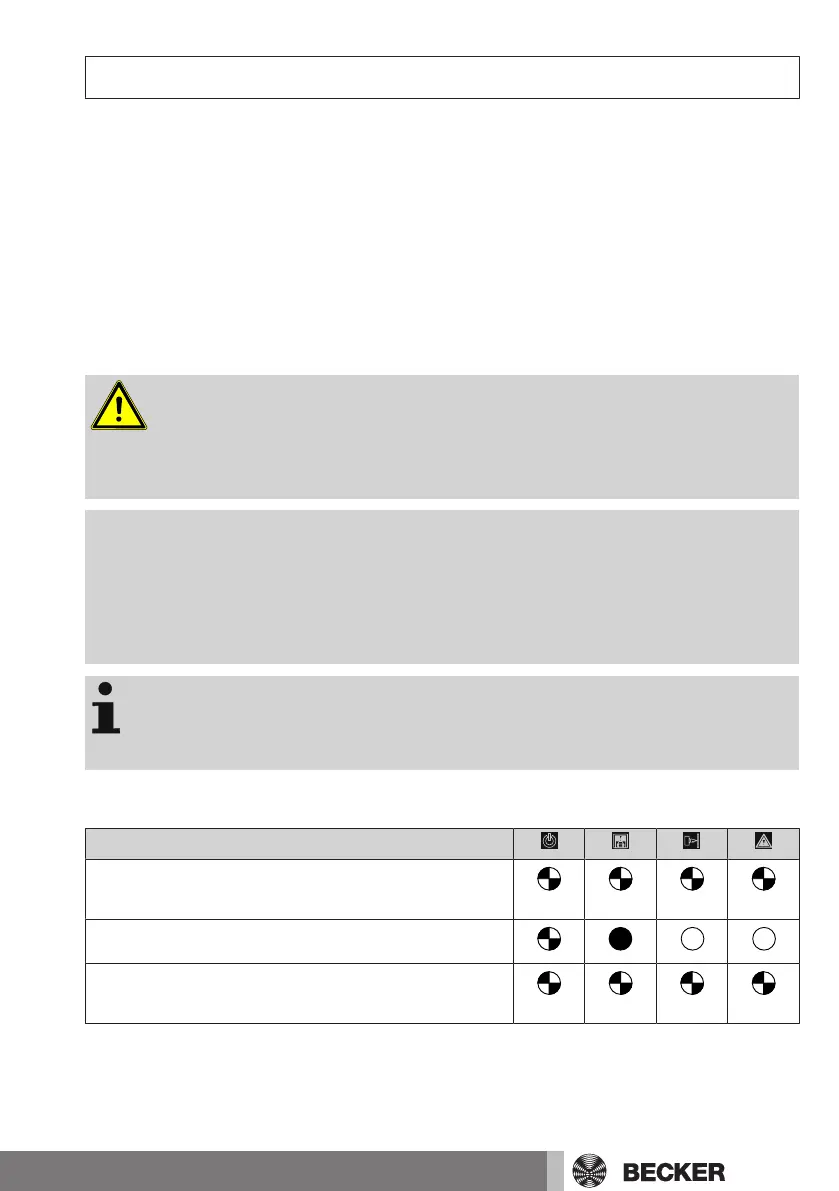
Description
1. Move Up or Down to check the direction of rota-
tion.
2. Travel to the desired CLOSE limit position.
3. Press the Stop button for 3 seconds in order to
save the limit position.
11