Do you have a question about the Behringer NX3000 and is the answer not in the manual?
Covers electrical shock, fire risk, servicing, and general warnings.
Shows the connection setup for a DJ rig.
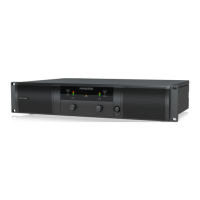
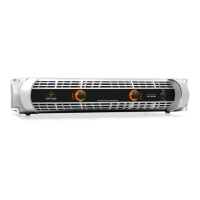
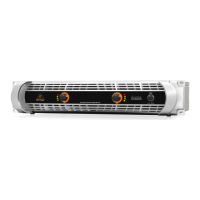
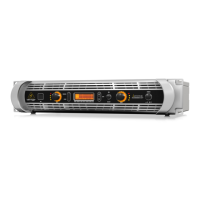
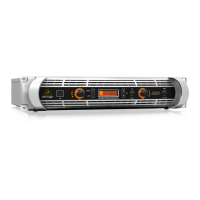
Explains SIGNAL/LIMIT/PROTECT LEDs and INPUT CONTROLS.
Explains MODE SWITCH, CROSSOVER, OUTPUTS, INPUTS, PIN OUT MATRIX.
Details the automated breaker and its reset procedure.
Controls for DSP setup: SETUP, PROCESS, UP/DOWN, EXIT, SELECT.
LCD SCREEN for viewing DSP modules and parameters.
Steps to turn off units, set controls, and power on.
Adjusts input controls for optimal signal and limiter management.
Turn on amplifier and navigate DSP screens.
Adjust DSP parameters and select operating modes.
Select Amp Mode and configure crossover settings.
Configure PEQ and XOVER screen settings.
| Damping factor | 145 |
|---|---|
| Amplifier class | D |
| Frequency range | 20 - 20000 Hz |
| Built-in crossover | Yes |
| Audio output channels | - channels |
| Peak power per channel | 1500 W |
| Signal-to-Noise Ratio (SNR) | 100 dB |
| Total Harmonic Distortion (THD) | 0.05 % |
| RMS power output per channel (4 Ohm) | 900 W |
| AC input voltage | 220 - 240 V |
| AC input frequency | 50 - 60 Hz |
| Power protection features | Overload |
| Power consumption (typical) | 350 W |
| Purpose | Performance/stage |
| Cooling type | Active |
| Product color | Black |
| Connectivity technology | Wired |
| Speakers connectivity type | XLR / 1⁄4\ |
| Depth | 231 mm |
|---|---|
| Width | 483 mm |
| Height | 94 mm |
| Weight | 3500 g |