23 X AIR User Manual
other microphones. In each channel's Main tab, a Weight knob is included which
allows certain channels to be attenuated more or less to compensate for louder
voices or more sensitive microphones.
6.9 Meters
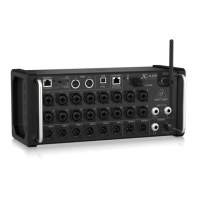
The Meters tab allows easy monitoring of all analog and digital levels, including
USB channels, Buses, Ultranet outputs, and the Main and Solo buses.
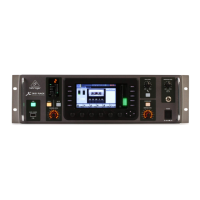
6.10 Eect Rack
The Eect Rack page is accessed via the “FX” icon at the top of the Main View
screen. There are 4 slots where various eects can be selected and adjusted
to suit the application. Tap on the eect slot to select an eect and adjust the
available parameters.
6.11 Snapshots
The snapshot function allows specic bits of information to be saved for
immediate recall. For example, quick changes can be selected for dierent acts
of a play, performances in a music festival with several bands, or dierent
church services.
Click the camera icon at the top of the main screen. A window will open with
a list of parameters to select for saving. You can select individual channels/
parameters that will be saved, or click the ‘All’ button to choose everything in
a category. There may be channels, buses, parameters, etc. that should remain
unaected throughout an event, so this method is benecial for its highly specic
method of recall.
The snapshots are listed in 3 categories: channel, parameter and global.
The Channel Section lets you determine which channels or bus masters will be
included in the saved snapshot.
The Parameter Section lets you determine which specic preamp elements will
be saved for the channels and buses selected in the Channel Section above.
Source saves the input vs. USB selection, Input saves basic preamp settings such
as phantom and gain setting, and Cong recalls the conguration. EQ, Dyn, Fdr/
Pan and Mute save these settings for the selected channels, and the bus/FX sends
can be individually assigned for recall.
Global Settings allow the input/output routing to be saved, as well as global
conguration, DCA assignments, and FX block settings.
After the snapshot recall scope has been fully dened, press and hold one of the
slots in the left-hand list. A new entry will appear in the list where you can type
in a name for the new snapshot. To recall a previously-saved snapshot, press and
hold the item in the list and then select the Load option.
To delete a snapshot that is no longer necessary, select it from the list and then
select Delete.
6.12 Scenes and Shows
The Scenes/Shows page is accessed via the folder icon at the top of the
MainViewscreen. This page allows you to save, edit and recall specic scenes or
entire shows. To prevent certain channels or buses from being aected by scene
or show recalls, arm the desired sources in the ’Channel safes’ section.
6.13 Routing
The Routing menu is accessed via the up/down arrow icon at the top of the
MainView screen. This allows the specic routing of input, output, USB and
monitor buses to be adjusted freely.
Tap inside an empty box in the grid to move the orange dots and reassign
the source for input channels, USB channels and P16 monitoring sources.
Modications to the Inputs/USB routing can be reset by pressing the revert
button on the far right. The USB sends and inputs can be selected from a menu in
the folder icon, or they can be moved manually.
The Routing – Outputs page allows the Main LR, Phones, Aux and P16 sources to
be reassigned.