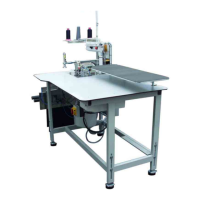
2.2.1 Distance between switching screw and limit switch
Checking
–
Push the transport carriage 7 to the front until the switching screw
4 is located under the limit switch 1.
–
Check the distance of 1 mm between limit switch 1 and switching
screw 4.
Correction
–
Loosen the counternut 3 at the switching screw 4.
–
Adjust the height of screw 4.
Distance between switching screw and limit switch=1mm.
–
Tighten the counternut 3.
2.2.2 Front end position of the transport carriage
–
Push the transport carriage 7 to the front until the switching screw
4 is located under the limit switch 1.
–
Measure the distance between the needles and the fronts of the
transport clamp.
This must amount to 325 mm.
–
Adjust the limit switch 1 in the slotted hole accordingly.
2.2.3 Stop guide for the transport carriage
Checking
–
Push the transport carriage 7 to the front until the surface of the
switching screw 4 is located centrically above the limit switch 1.
–
Check whether in this transport carriage position the distance
between the stop guide 6 and the transport carriage amounts to 2
mm.
Correction
–
Push the transport carriage to the front until the surface of the
switching screw 4 is located centrically above the limit switch 1.
–
Loosen the counternut 5.
–
Approach the stop guide 6 to the transport carriage by 2 mm.
–
Tighten the counternut 5.
9
3


 To Next Page