Setting up the display 7
Installing the pen tray
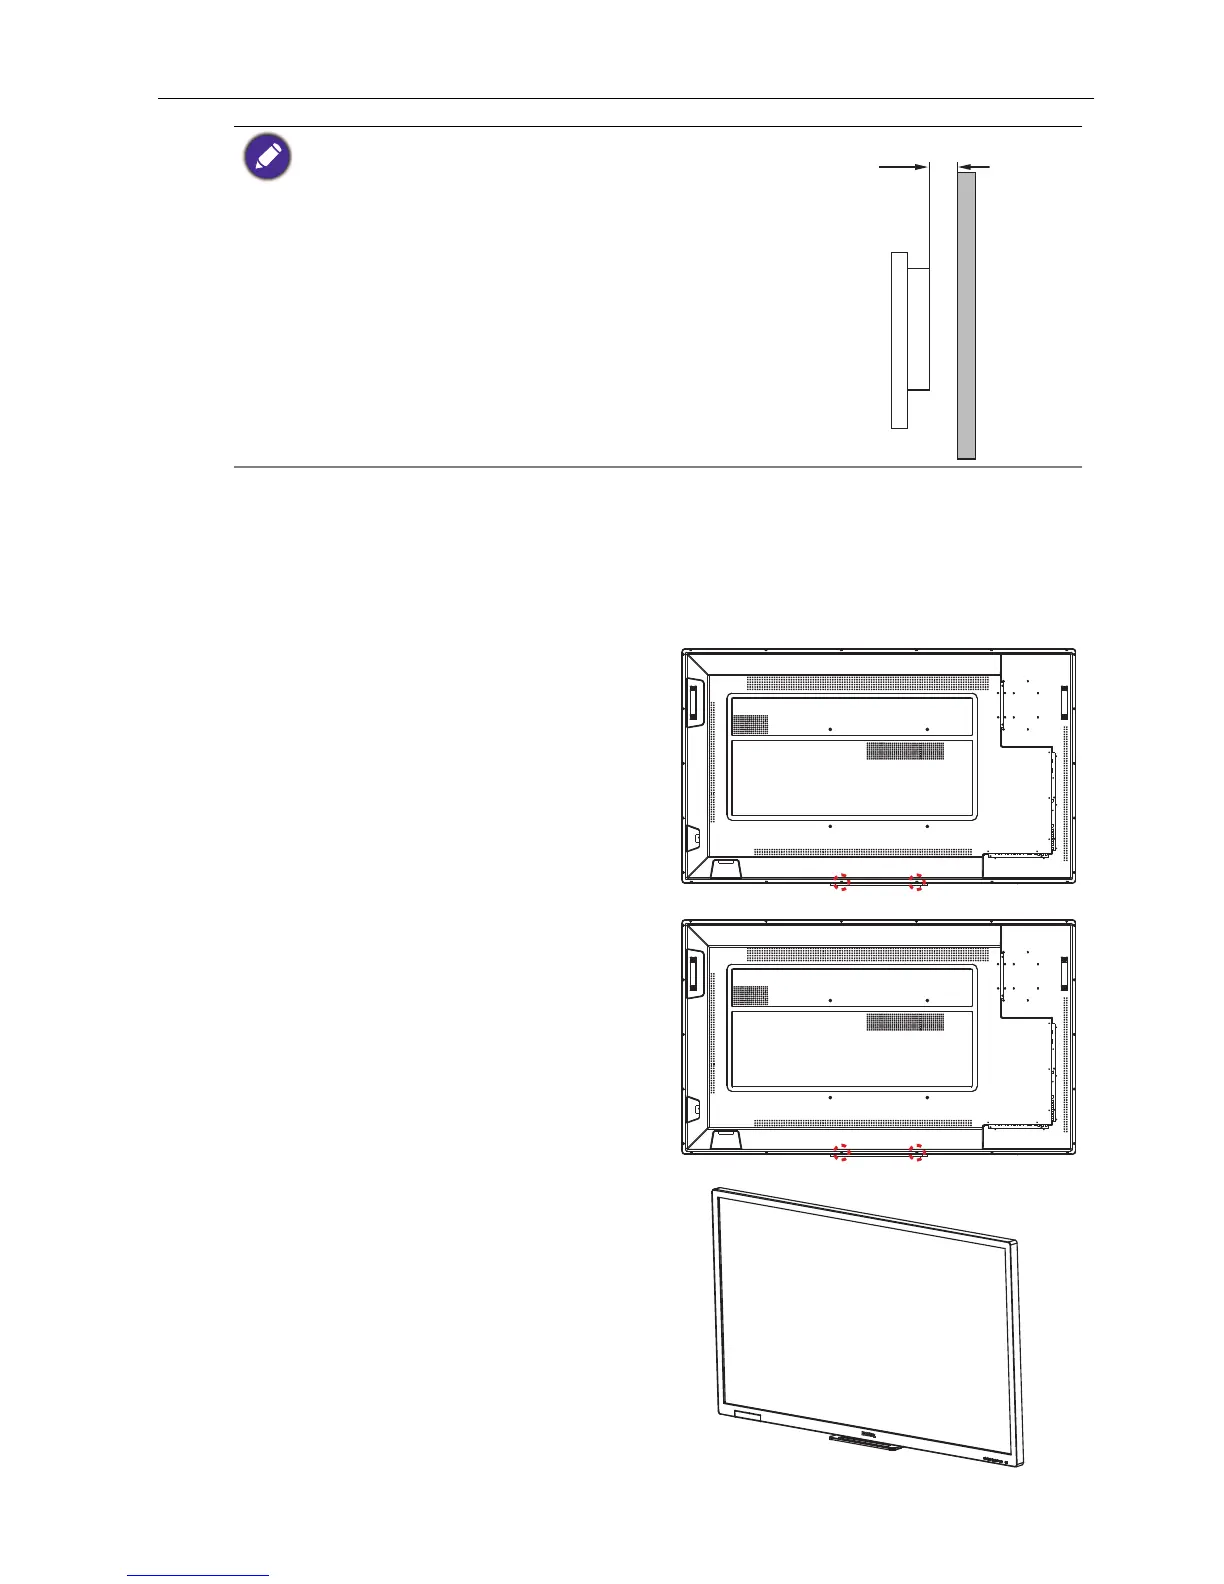
• To maintain proper ventilation, keep at least 10 mm of
clear space from the back cover of the display to the
wall.
• Please consult a professional technician for wall mount
installations. The manufacturer accepts no liability for
installations not performed by a professional technician.
1. Place a clean, dry and lint-free cloth on a flat, horizontal and object-free surface.
Make sure that the size of the cloth is larger than the display.
2. Gently lay the display on the cloth with the LCD screen facing down.
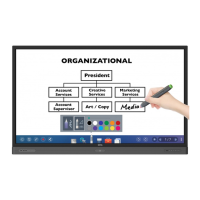
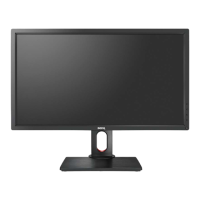
3. Identify the wall mounting screw
holes on the back of the display as
shown in the illustration and remove
the 3 screws on the display.
4. Place the pen tray on the back of the
display as shown, and fasten the 3
screws back to the respective holes.
5. Lay the display straight and the pen
tray is at the bottom edge of the
display.