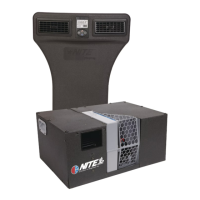
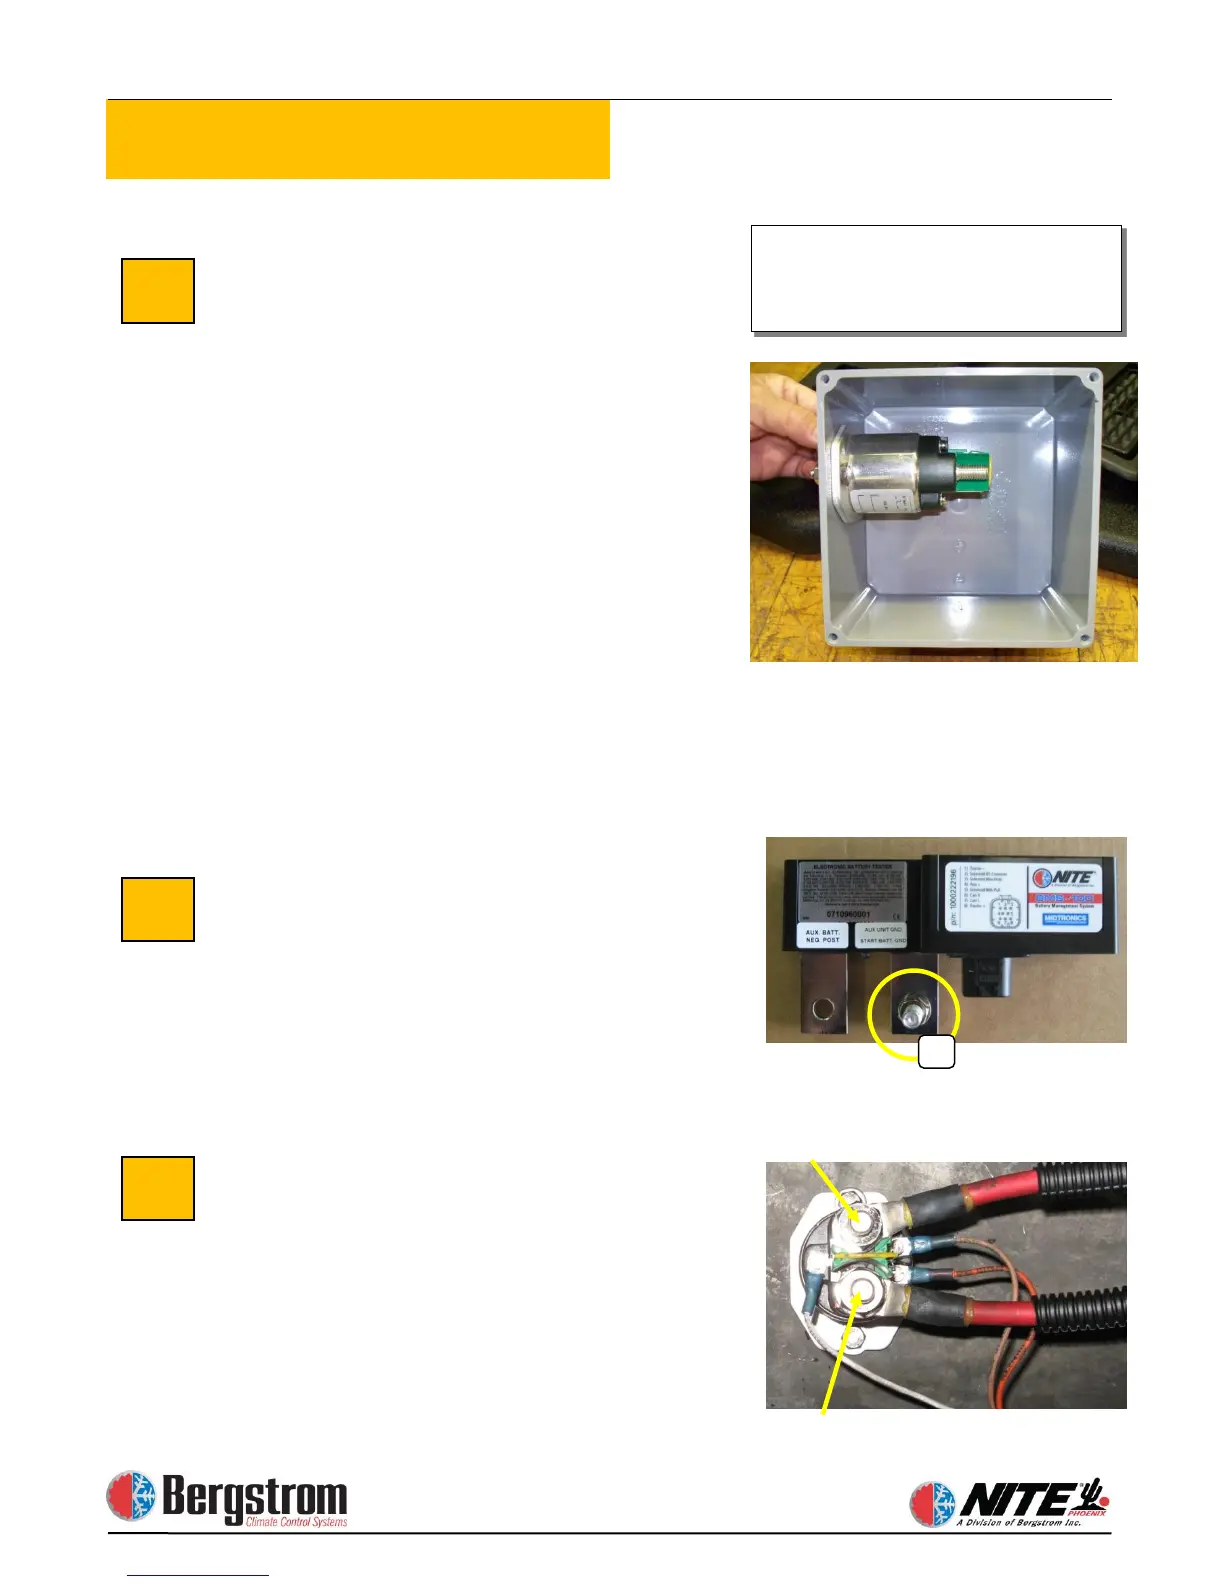
Mounting the Separator Enclosure
The battery separator can be located in a
battery box or in the supplied protected
enclosure. Mark and drill two ¼″ holes
through the back of the plastic box and
the support it will be mounted to. Before
permanently attaching the separator
enclosure, prepare and mount the
separator in the box. The separator will
mount to the side of the box with 2 ¼″
bolts and hardware. Drill large holes in
the bottom of the box and route the cables
through the holes to the separator.
Securely fasten the separator and box
using the provided ¼″ bolts, washers and
lock nuts.
Note: The separator ties to the truck’s
starting batteries and allows charging priority to the
starting batteries. The NITE Batteries begin
charging after the starting batteries reach 13.2 volts.
Run Cables from Truck Batteries
Loom 2 full length battery cables, 1 red
and 1 black. The red (pos) cable will
connect the truck starting batteries
positive post to the (start) post #88 of the
battery separator. The black (neg) will
connect the truck (neg) to the threaded
stud (A) of the BMS(see photo).
NITE Batteries to Battery
Using red battery cable,
measure and cut to proper length. Crimp
ring terminals and heat shrink. Connect
one end to the appropriate positive (+)
terminal of the NITE Batteries. See
diagrams on pages 2-3 and 2-4. Connect
the other end to the AUX terminal # 88a
of the battery separator.
instructions if you mount the
separator inside the battery box.
 Loading...