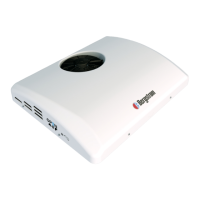
A typical installation of the NITE Phoenix
generally takes between 8 to 10 hours, although
your particular situation may vary. This manual
contains step-by- step installation instructions. It
is divided into three categories:
● General installation
● Electrical installation
● Heater installation (optional)
There is also a section on how to check your
NITE Phoenix to make sure the installation was
successful, and a section on how to operate your
NITE Phoenix.
If relocation or reinstallation of any pre-installed
equipment is necessary for installation of the NITE
Phoenix equipment - please refer to the components
manufacturer's instructions or safety guidelines for
proper installation.
Before you start, we highly recommend doing the
following to help make your installation as easy
as possible.
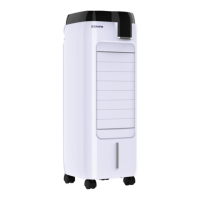
1. Lay out all parts and check to make sure
you have all parts listed on the parts list.
Depending on truck, some hardware
may not be used. If you are missing any
parts, please call 1-866-204-8570.
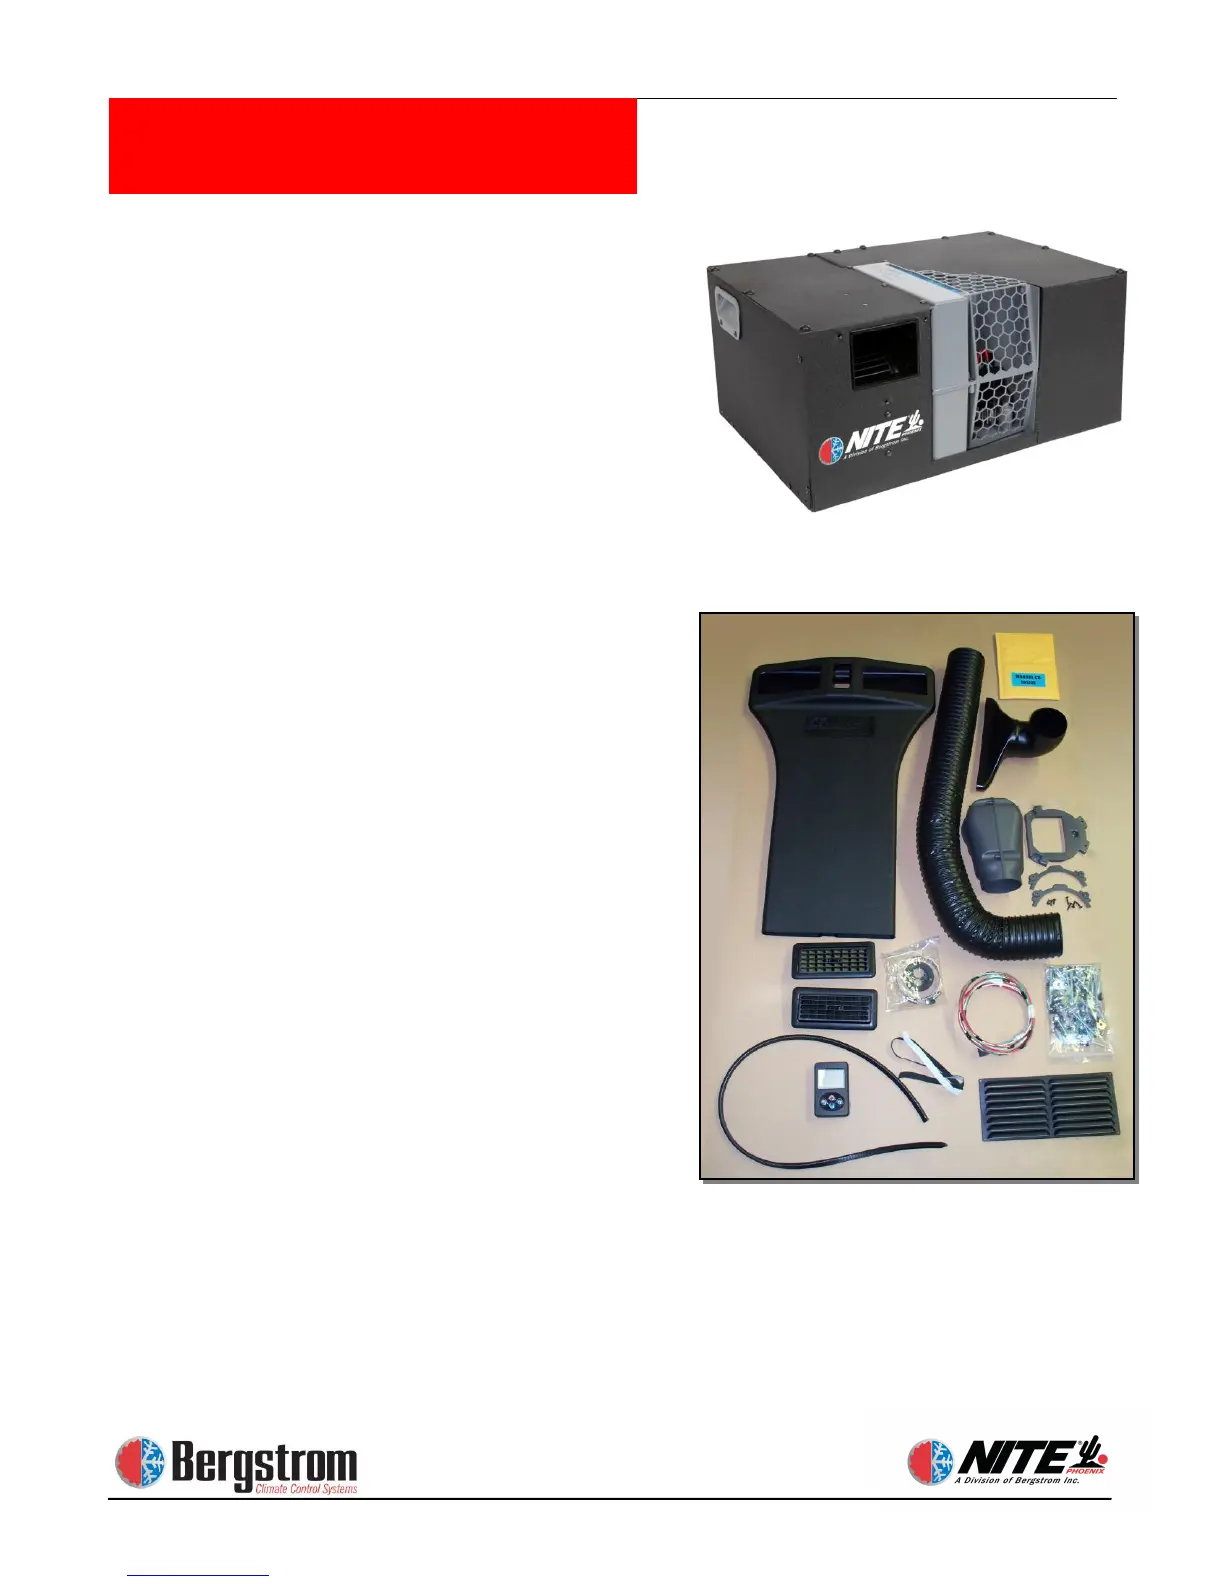
2. To prevent damage to compressor, keep the
NITE Phoenix unit in an upright position
at all times. If unit is tipped, place back in
upright position for a minimum of 6 hours
prior to running.
3. Check the list of tools needed for
installation and make sure you have all of
them. Keep all tools within easy reach.
4. Look through the whole installation
manual to get an understanding of the order
in which components are installed.
5. Make sure you have good lighting and
enough space to work in.
6. You may want to get an assistant to help
you to reduce the number of times you
have to climb in and out of the cab.
7. Make sure you wear all appropriate safety
equipment.