16
M8 20
M10 40
M12 70
M14 110
M16 160
M20 320
M22 420
M24 550
M27 800
M30 1100
M33 1400
M36 1700
MAN 604A Rev. 5
Installation
Section 2: Installation
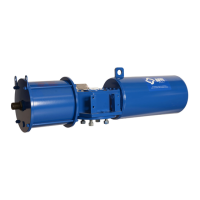
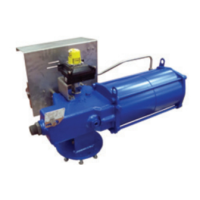
7. Connect a sling to the support points of the actuator and lift it: make sure the
sling is suitable for the actuator weight. When possible, it is easier to assemble the
actuator to the valve if the valve stem is in the vertical position. In this case the
actuator must be lifted while keeping the ange in the horizontal position.
8. Clean the actuator ange and remove anything that might prevent a perfect
adherence to the valve ange and especially all traces of grease.
9. Lower the actuator onto the valve in such a way that the insert bush, assembled
on the valve stem, enters the actuator drive sleeve. This coupling must take place
without forcing and only with the weight of the actuator. When the insert bush
has entered the actuator drive sleeve, check the holes of the valve ange. If they
do not meet with the holes of the actuator ange or the stud bolts screwed into
them, the actuator drive sleeve must be rotated; feed the actuator cylinder with
air at proper pressure, indicated on data sheet for actuator.
10. Tighten the nuts of the connecting stud bolts evenly with the torque prescribed in
the table. The stud bolts must be made of ASTM A320 L7 steel; the nuts must be
made of ASTM A194 grade 2 steel. See Table 10.
11. If possible, operate the actuator to check that it moves the valve smoothly.
Thread Size Recommended Tightening Torque (Nm)
Table 10.
June 2020
Installation, Operation and Maintenance Manual