14
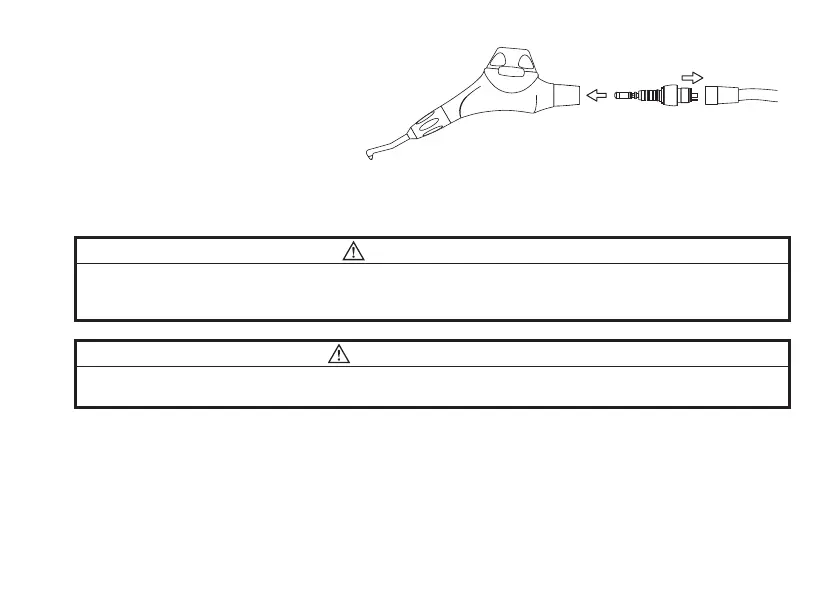
2) Connecting a coupling
(a) Connect a coupling (separately sold)
compatible with your polisher to your turbine
hose. Confi rm the coupling is fi rmly seated.
3) Connecting to turbine hose
(a) Insert your coupling on your turbine hose
into the joint of polisher until you hear a
locking sound. Confi rm the handpiece is
fi rmly seated.
(b) If your coupling has a light source, turn off
the illumination switch of your dental unit.
CAUTION
When connecting your coupling to this product, confi rm secure connection after hearing a locking sound. Make sure the head
and powder cap are fi rmly screwed in. A failure to attach correctly may cause injury due to instrument becoming disconnected
or powder being scattered.
ATTENTION
To avoid shortening the life of the light source (light bulb) of your coupling, turn off the illumination of your dental unit when
using this product.
Coupling Turbine hose
14
2) Connecting a coupling
(a) Connect a coupling (separately sold)
compatible with your polisher to your turbine
hose. Confi rm the coupling is fi rmly seated.
3) Connecting to turbine hose
(a) Insert your coupling on your turbine hose
into the joint of polisher until you hear a
locking sound. Confi rm the handpiece is
fi rmly seated.
(b) If your coupling has a light source, turn off
the illumination switch of your dental unit.
CAUTION
When connecting your coupling to this product, confi rm secure connection after hearing a locking sound. Make sure the head
and powder cap are fi rmly screwed in. A failure to attach correctly may cause injury due to instrument becoming disconnected
or powder being scattered.
ATTENTION
To avoid shortening the life of the light source (light bulb) of your coupling, turn off the illumination of your dental unit when
using this product.
Coupling Turbine hose