How to use BFM-900L 23
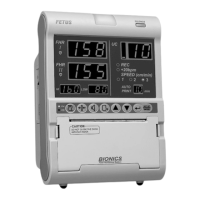
BFM-900L
FETAL MONITOR
(
Ver 1.1
)
22 How to use BFM-900L
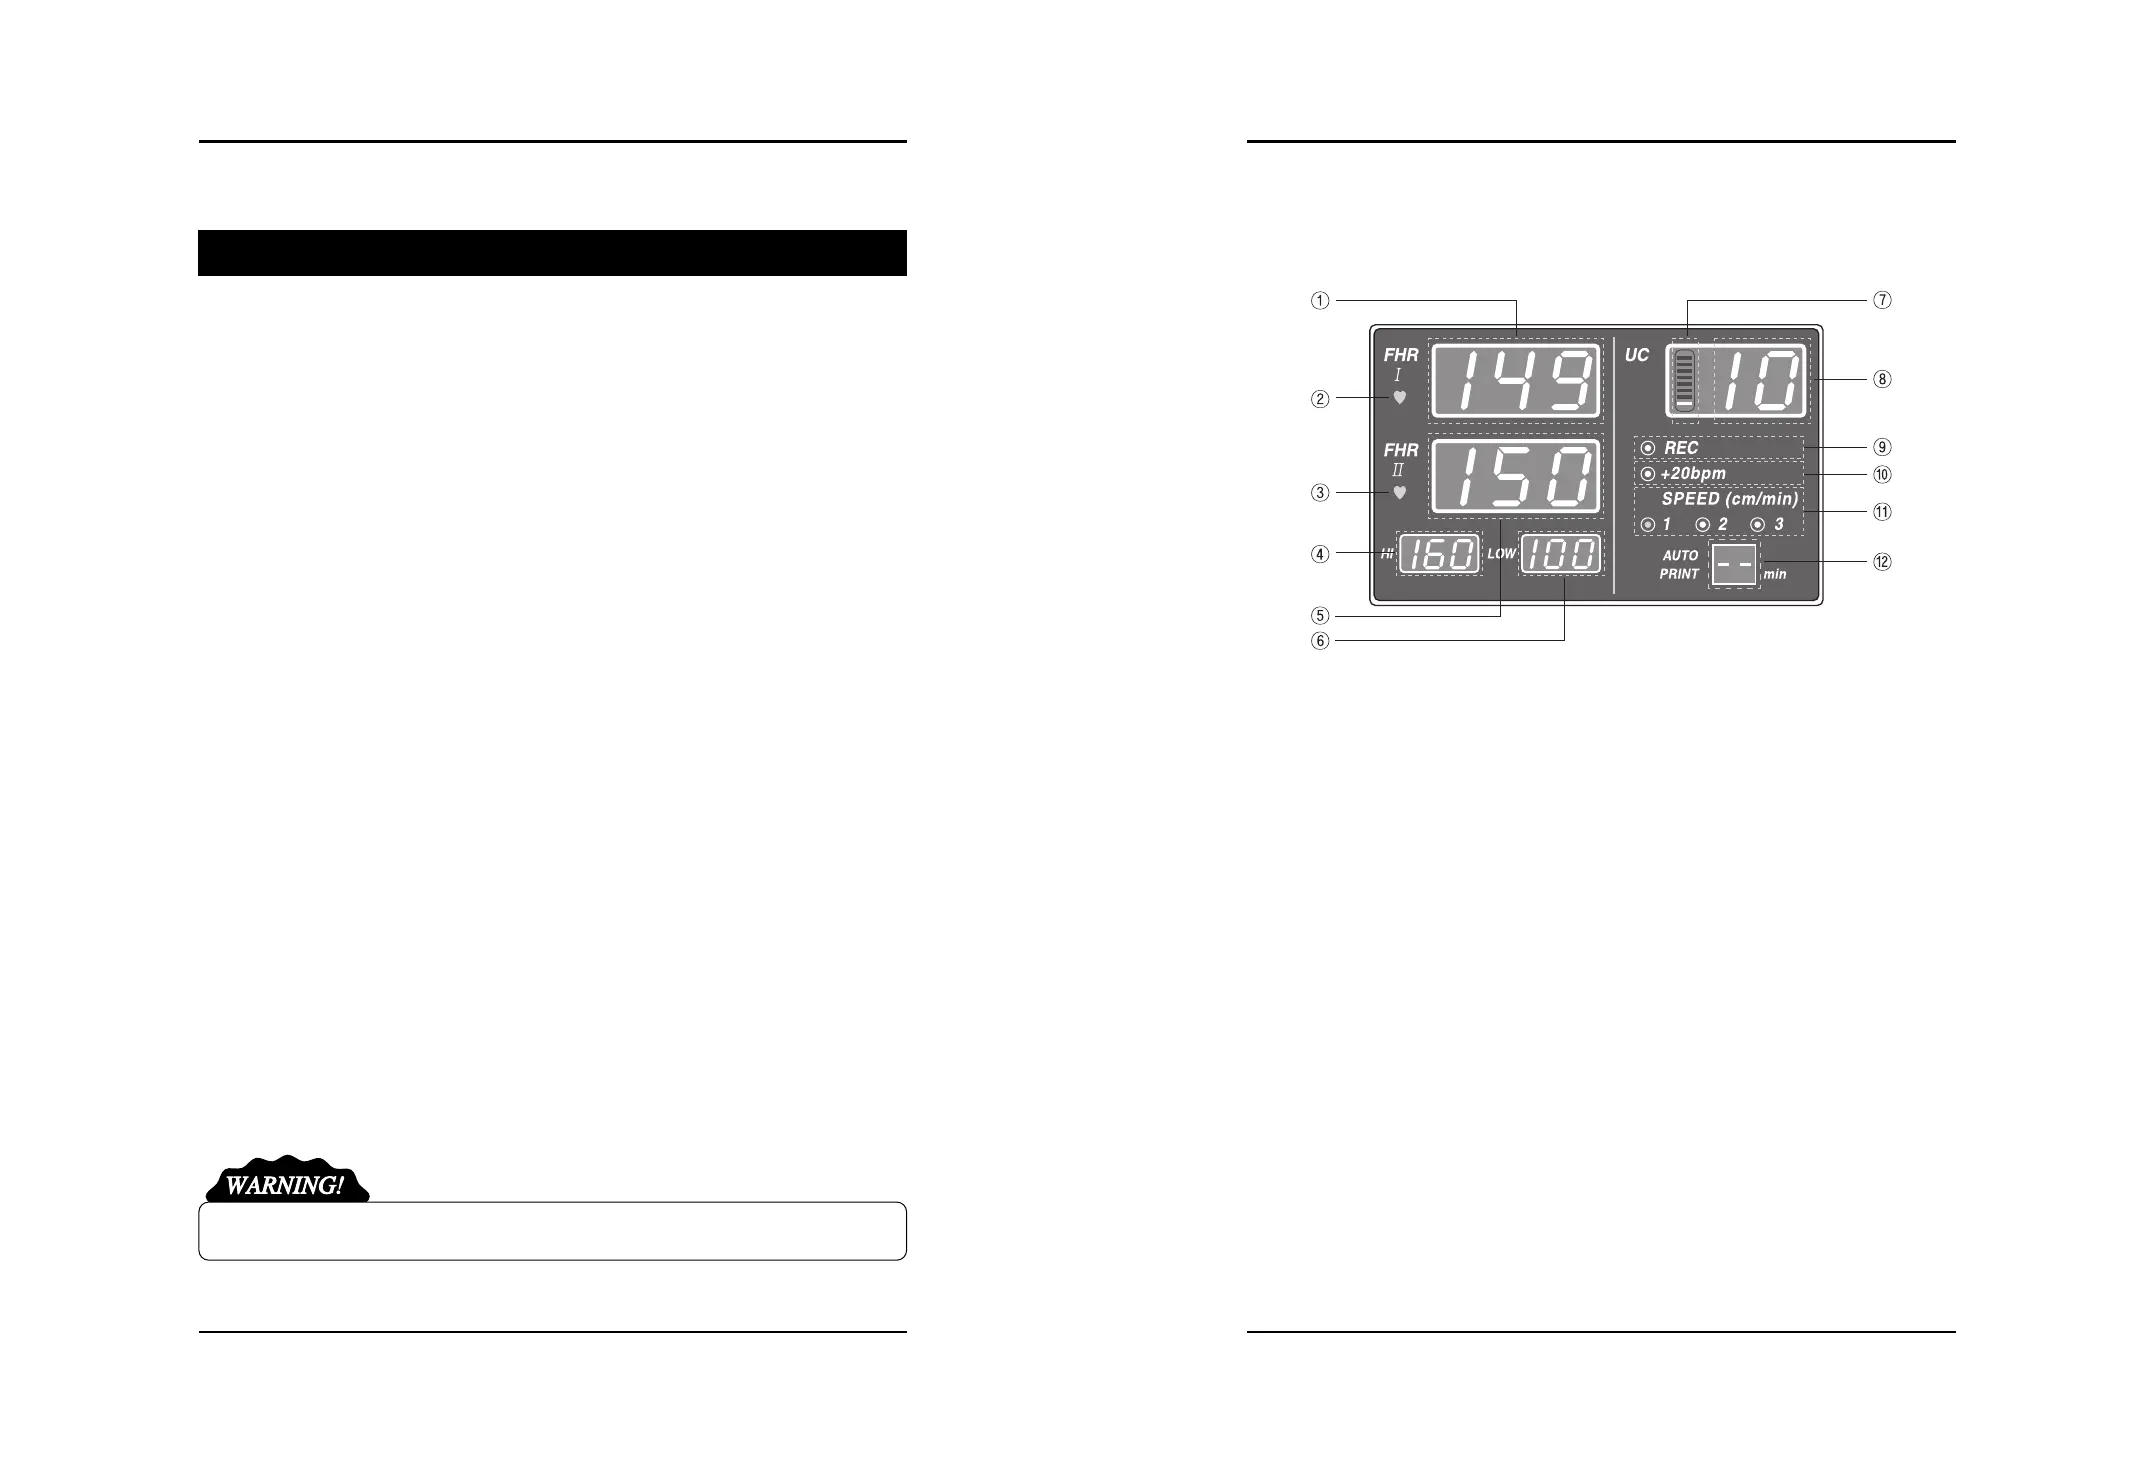
5.3 Basic Screen
(1) Displays Value of FHR 1
(2) Displays Heart Rate Rhythm of FHR 1
(3) Displays Heart Rate Rhythm of FHR 2
(4) Displays maximum limit of Alarm Level
(5) Displays Value of FHR 2 or Connecting Status of AST probe
(6) Displays minimum limit of Alarm Level
(7) Indicates bar graph of measured UC value
(8) Displays measured UC value
(9) Printer Status
(10) Offset Setting Status
(11) Printing Cycle for Printer Auto-Printing. Indicate remain print time during printing
CHAPTER 5
How to use BFM-900L
5.1 Before using BFM-900L
Check for following items before measuring the condition of the fetus.
Possibilities of any mechanical danger
Power plug and cable, and accessories
All items and equipment necessary to measure and inspect the condition of the fetus
5.2 Using BFM-900L
Connect the probe you want to use on the main body. Normal procedure is as follows.
- Pre-labor diagnosis for non-twin fetus : DOP I Probe, UC Probe, Mark Jack
- Pre-labor diagnosis for twin fetus : DOP I Probe, DOP II Probe, UC Probe, Mark Jack
- Wake up the baby : AST probe(optional)
Step 1) Turn on the Power Switch.
Step 2) Attach the probe to the patient. (Refer to 5.5, 5.6, and 5.7)
Step 3) Sound signal is heard.
Step 4) Measured signal is displayed on the FND as numbers.
Step 5) Record the measured readings with the print function.
Step 6) SETUP Key is used to modify the configuration. (Refer to 6)
Step 7) If you want to wake up the baby during measuring, please remove the Doppler from
DOP2 and connect AST probe(optional). Then press the button on the AST probe on the
patient’s abdomen. It makes sound for waking up the baby. Please do not close this device
to the ear. It makes you harmful.
“ DO NOT CLOSE THE DEVICE TO THE EAR!”