Project Type
Instructions
Date: February 12 2021
Customer: Thermor Ltd
Job Number: TH6151
Item Number: BD353
Designer: Alex Vranjesevic
Revision: C
Artwork is not to be amended or scaled. If any changes
are required please send through Thermor oce with
instructions, and we will amend here and resend artwork
through. PLEASE RETURN WITH SIGNATURE
Contact: Graphic’s Department
graphics@thermor-ins.com
Colour Breakdown
Reason For Project:
New Item:
New Branding:
Design Update:
N/A: X
UPC (For Reference Only)
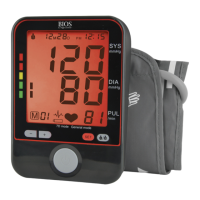
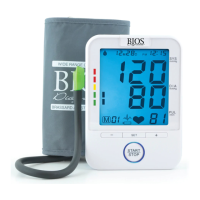
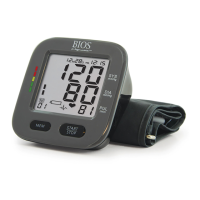
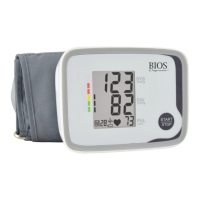
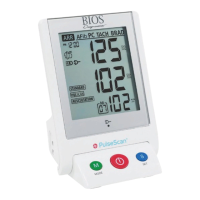
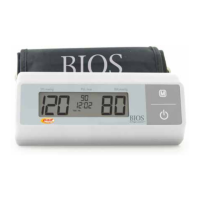
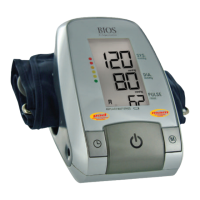
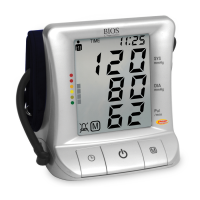
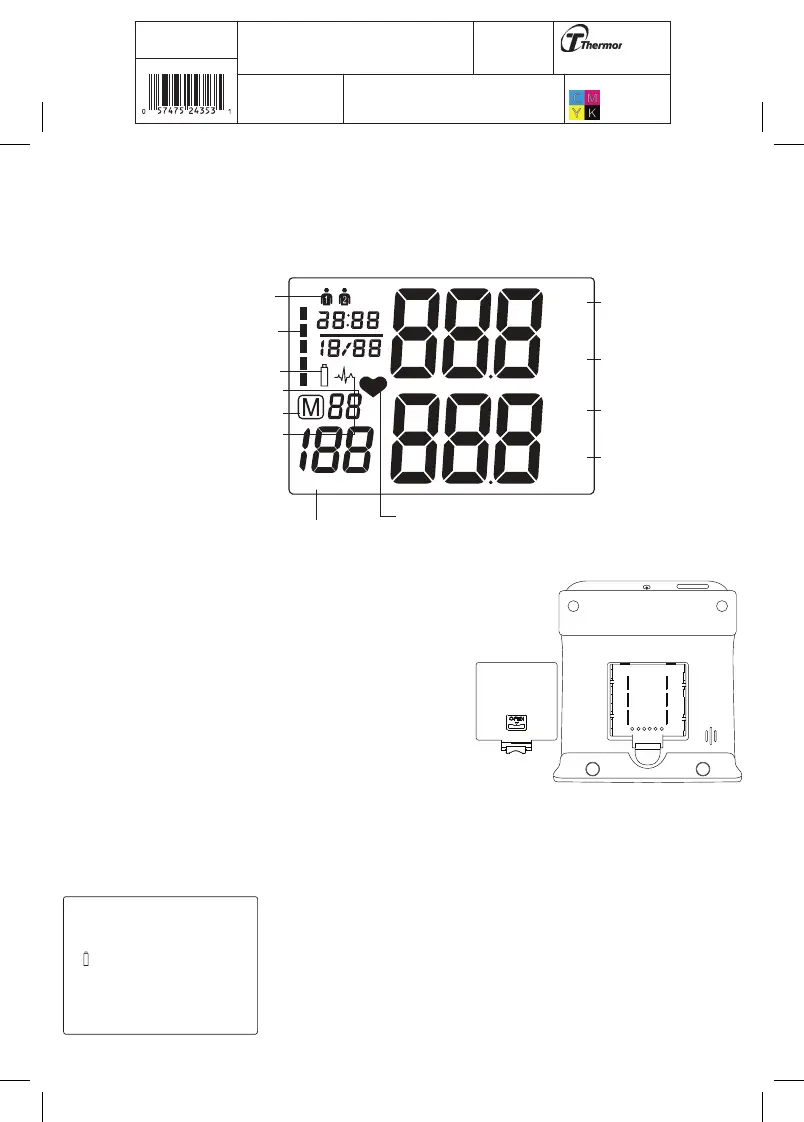
2.2 About the LCD Screen
The LCD screen displays the systolic and diastolic blood pressure measurements along with
your heart rate. It also displays previously recorded measurements and the date and time,
when the appropriate button is pressed.
mmHg
SYS
DIA
mmHg
PUL
/min
Mode
7D
Mode
General
User
Blood Pressure Classification
Memory Symbol
Memory Times
Systolic Blood
Pressure
Diastolic Blood
Pressure
Pulse
Heartbeat Rythym
Low Battery
7D Mode
General
Mode
Irregular Heartbeat
2.3 Inserting the Batteries
Follow these steps to insert four “AAA” batteries in the
device.
1. Open the battery compartment cover in the direction
shown.
2. Insert four “AAA” batteries with the correct polarity
as indicated.
3. Replace the battery compartment cover.
Attention!
• After the battery warning appears, the device is blocked until
the batteries have been replaced.
• Please use “AAA” Long-Life or Alkaline 1.5V batteries.
• If the blood pressure monitor is left unused for long periods,
please remove the batteries from the device.
• Do not mix old and new batteries. Do not mix alkaline,
standard (carbon-zinc) or rechargeable batteries.